Modular LED Display Installation

Unlocking Flexibility and Savings with Modular LED Displays

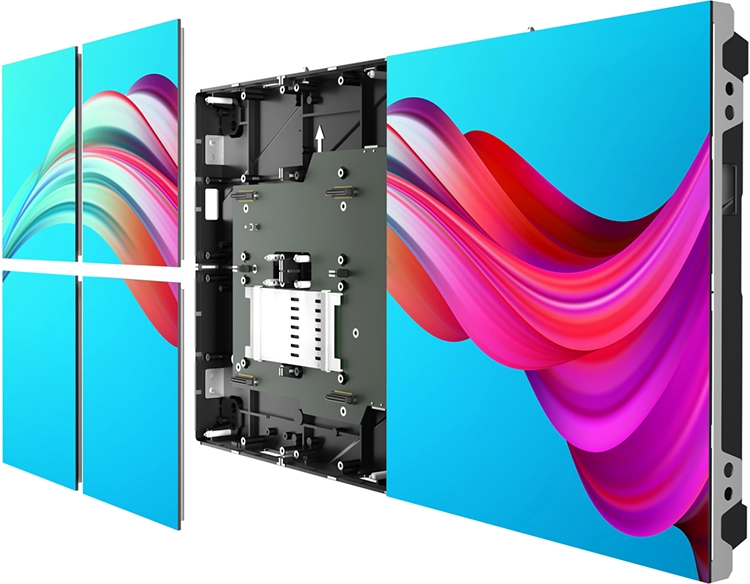
In the evolving world of digital displays, modular LED displays are gaining traction for their unmatched flexibility and efficiency. Unlike traditional LED screens that come pre-assembled in bulky cabinets, modular LED displays consist of independent modules that can be directly installed onto a frame. This innovative approach not only allows for customized screen sizes but also offers significant savings in space and cost. In this blog post, we’ll delve into the advantages of modular LED displays and provide a comprehensive guide on how to install them effectively.

Modular led display installation
led modules installation withou cabinet

Modular LED Display Installation Guide

  1. Preparation:
    Assess the Installation Area: Measure and evaluate the space where the display will be installed. Ensure the wall or structure can support the weight of the modules.
  2. Gather Necessary Tools and Components:Besides the LED modules, ensure you have all mounting brackets, screws, and tools at hand.
led screen installation components

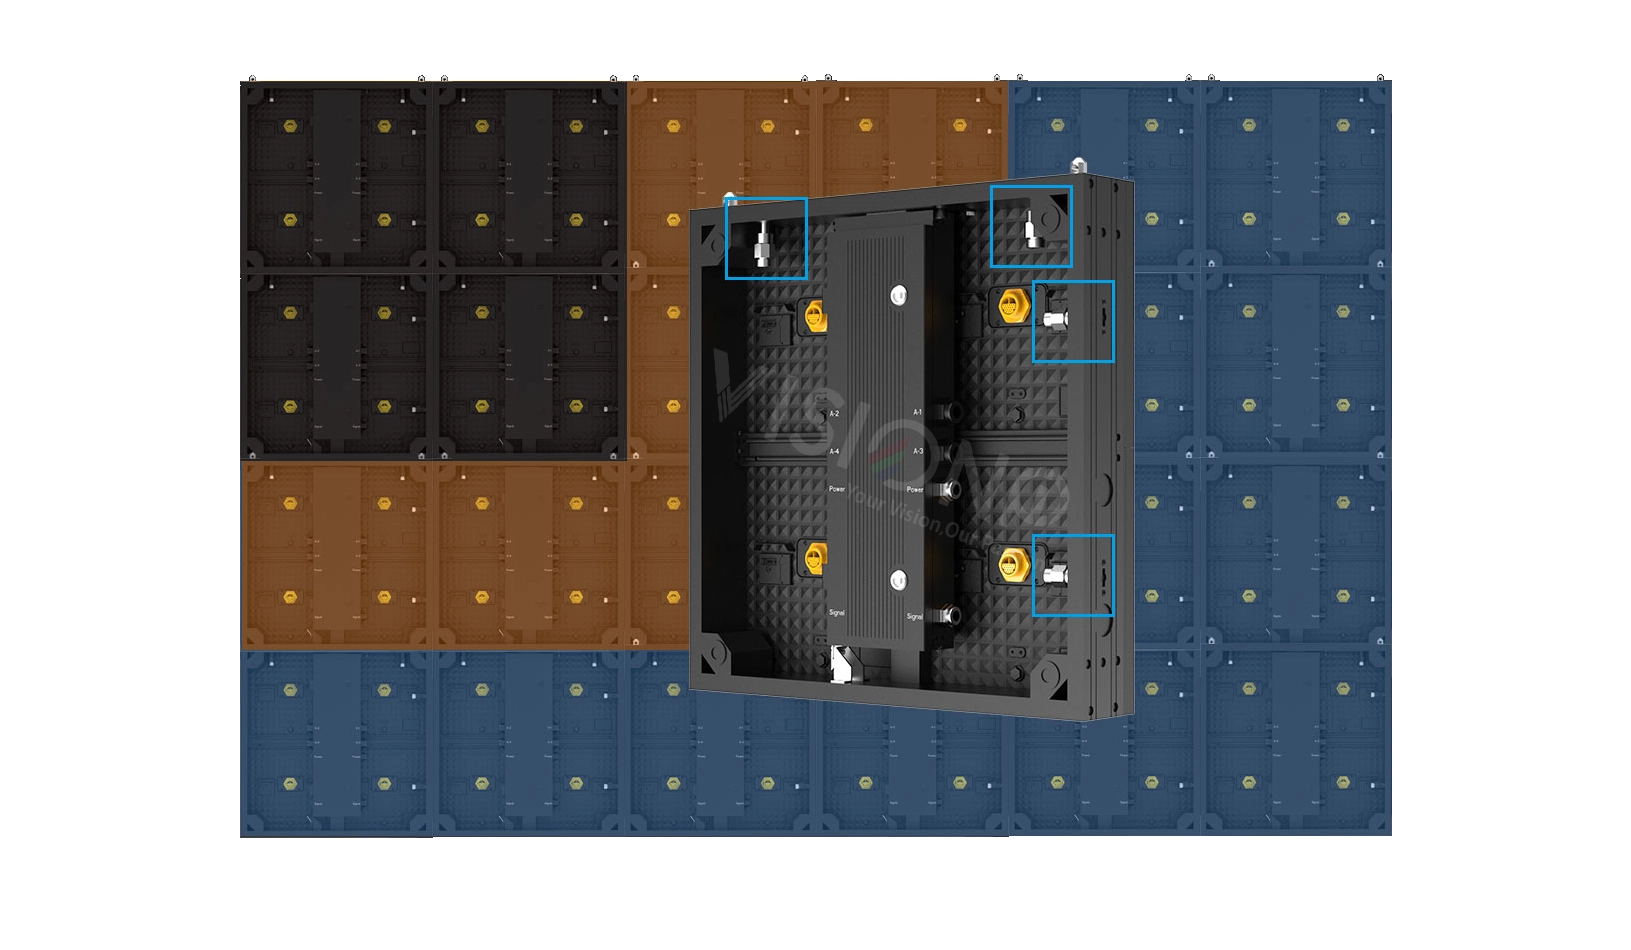
4. 5V Power Cable Wiring: Essential for powering the LED modules, the 5V power cables should be connected from the power supply to the LED modules ensuring secure and stable connections. Use appropriately rated cables to handle the current requirements and minimize voltage drop across long distances.

5.Receiving Card Wiring: This involves connecting the receiving card to the LED modules using flat cables. The flat cables transmit data signals and need to be carefully routed to avoid interference and ensure stable signal transmission.

Advantages of Modular LED Displays

  • Customization: Modular LED displays can be tailored to fit led screen size more flexiblely than the cabinet type.
  • Space Efficiency: By eliminating the need for bulky cabinets, modular LED displays can be integrated into environments where space is at a premium. This makes them ideal for locations like retail stores, art galleries, and places where aesthetic integration is crucial.
  • Cost-Effectiveness: With modular LED displays, you’re investing only in the technology you need without additional structures. This not only reduces the initial investment but also decreases shipping and labor costs due to the lighter and more compact nature of the modules.
  • Ease of Maintenance and Upgrades: Since each module can be accessed and replaced individually, maintenance and upgrades become simpler and less disruptive. This modular nature ensures that the display can evolve over time with the latest technology without needing a complete overhaul.
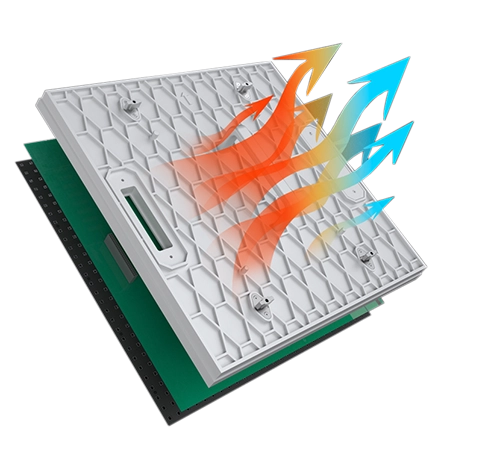
  • Improved Heat Dissipation: Without the confinement of a cabinet, modular LED displays typically have better heat dissipation. This can lead to longer lifespan of the LEDs and reduced risk of overheating, ensuring consistent performance even in challenging conditions.
led receiving card wiring
power supply wiring led modules

3.Frame Setup: Construct the Supporting Frame: Depending on the design, this could be a simple rectangular frame or a more complex custom shape. The frame should provide stable and even support for the modules.

4.Secure the Frame: Fix the frame securely to the wall or structure, making sure it is level and sturdy.

led display frame
led display module installation

Installing LED Modules

  1. Mount the Modules: Attach each LED module to the frame, starting from one corner and working your way across to ensure alignment. Use the mounting brackets and screws provided.
  2. Connect the Modules: Wire the modules together according to the manufacturer’s instructions. This usually involves connecting power and data cables between modules.
  3. Configuration and Testing:System Configuration: Once all modules are installed and connected, configure the display using the control system provided by the manufacturer.
  4. Testing: Test the display for all functionalities. Check for color uniformity, brightness, and connectivity issues.
  5. Final Adjustments:Calibration: Calibrate the display for optimal color and brightness to match the installation environment.
  6. Cleaning and Finishing Touches: Clean the surface of the modules and remove any installation debris. Add any protective coverings or aesthetic finishes as required.
led modules power cable and flat cable wiring

Interested in exploring the potential of modular LED displays for your business or next event? Contact us today to find out how our cutting-edge solutions can be tailored to fit your unique requirements.

Upgraded Cost Effective Plastic Cabinet LED Display

320x480mm indoor led cabinet p1.8 p2 p2.5

320*480mm LED Cabinets

320x480mm led cabinet installation layout

Advantages of Plastic-Cabinet-Type LED Displays

  • Precision Alignment:Plastic Cabinet-type displays, especially those with  Die-cast cabinets, are produced with high precision due to their machine-made nature. Features like interlocks and module positioning holes ensure perfect alignment. This contrasts sharply with cabinet-less designs, which rely on less precise handmade structures that can affect the final screen alignment.
  •  Enhanced Flatness: The flatness of an LED screen is crucial for providing a seamless visual experience.  This level of flatness is difficult to achieve with mild steel (MS) cabinets and nearly impossible with cabinet-less screens, which often suffer from inherent structural unevenness.
  • Reduced Fire Hazard : Safety is paramount in any installation, and cabinet-type LED displays offer significant advantages here. Each cabinet in these designs is equipped with an internal electrical terminal block, which acts as a first line of defense against electrical shorts, cutting power to prevent potential fire hazards. In contrast, cabinet-less designs expose power supplies and cables to increased risk, as they are often mounted directly on flammable materials like plywood.
  • Protection Against Environmental Hazards: The structured framing of cabinet-type displays, , effectively shields the internal components from dust, insects, and rodents. This enclosure prevents damage that could lead to electrical shorts and hardware failure, issues that are more prevalent in cabinet-less designs due to their open construction.
  • Compliance and Safety Certifications: Cabinet-type displays are often backed by quality and safety certifications that are not typically available for cabinet-less modules. These certifications assure buyers of the product’s compliance with international standards, reducing the risk of purchasing substandard or unsafe products.

HEXAGON LED DISPLAY

bee comb hexagon led display

Why Hexagon LED Display is Revolutionizing Visual Experiences

In the era of immersive branding, the NSE Hexagon LED Display redefines spatial storytelling through its modular honeycomb technology. Unlike traditional square panels, these precision-engineered hexagonal modules unlock infinite design possibilities for architects and marketers alike.

hexagon led display creative design

Competitive Advantages of Hexagon LED Screens

Shape-Shifting Versatility

    • Connect 200+ modules to create organic shapes (flowers, molecules, abstract art)
    • Dual installation modes: semi-permanent (wall/ceiling) or mobile truss systems

Plug-and-Play Intelligence

  • Synch content via Novastar/Linsn control systems
  • Supports 2D/3D formats with <5ms latency

Pixel-Perfect Clarity

      • 1.9mm~3.9mm pixel pitch options
      • 1500nits brightness with anti-glue front maintenance

    Where Hexagon LED Screens Create Maximum Impact

    Corporate Identity Amplifiers

    Turn company lobbies into brand galaxies:

    • Auto-adjusting “Team Achievement Walls”
    • Responsive culture-timelines triggered by visitor movement
      office hexagon led display company culture display
      bee comb led display stage bar

      Stage Design Revolution

      Concert/Event Applications:

      • Holographic backdrops (270° viewing)
      • Real-time social media visualizers
      Bee comb led display hexagon

      Retailtainment Powerhouse

      Mall atriums transformed with:

      • Floating product constellations (26%↑ dwell time)
      • AI-powered gesture-controlled catalogs
      hexagon bee comb led display shopping mall advertising
      hexagon led display ceiling decoration

      Ready to Captivate Your Audience?

      ↓ Limited Stock Alert: Book Your Hexagon LED Prototype Today ↓

      LED Display repairing PCB Circuit Pad

      LED display modules circuit pad paper repairing tools

      Circuit paper, a specialized double-layer flexible circuit board with a thickness ranging from 0.08 to 0.1 mm, is essential for repairing damaged PCB pads in LED modules. Its components include screen printing, base material, pads, holes, wires, and cutting lines. During installation, disassembly, or transportation, LED displays may suffer collisions leading to PCB pad detachments. In such scenarios, circuit paper serves as an effective repair solution.

      Table of Contents
      ;
      3

      Selecting Appropriate Circuit Paper for your LED Modules

      To ensure compatibility and functionality, consider the following factors when choosing circuit paper:

      1. Pixel Pitch Consistency: The pixel pitch of the circuit paper must match that of the original LED module. Pixel pitch refers to the distance between the centers of two adjacent pixels, typically measured in millimeters. A consistent pixel pitch ensures uniformity in display resolution and image quality. citeturn0search8
      2. LED Bead Specifications: Align the specifications of the LED beads on the circuit paper with those on the original module. This alignment is crucial for maintaining consistent brightness, color, and overall visual performance.
      3. Lamp Orientation: LED modules can feature vertical or horizontal lamp orientations, with vertical lamps being more prevalent. It’s imperative to select circuit paper that matches the lamp orientation of the original module to ensure proper alignment and functionality.


      soldering pad, pcb circuit pad paper repairing led modules

      Measuring LED Module Pixel Pitch

      Accurate measurement of the pixel pitch is vital for selecting compatible circuit paper. Follow these steps:

      1. Measure Module Width (W): Using a caliper, determine the horizontal dimension of the LED module.
      2. Count Horizontal LED Beads (N): Tally the number of LED lamp beads along the horizontal axis.
      3. Calculate Pixel Pitch (P): Apply the formula P = W / N to compute the pixel pitch. Ensure numerical accuracy to three decimal places for precision.
      calculated the pixel pitch of the led modules

      Determining LED Bead Specifications

      To identify the size of surface-mount device (SMD) LED beads:

      1. Measure Horizontal Dimension (X): Use a caliper to measure the LED bead’s width.
      2. Measure Vertical Dimension (Y): Similarly, measure the LED bead’s height.
      3. Specify LED Bead Size: Document the specifications as SMD (X×Y), indicating the precise dimensions.
      LED DISPLAY SMD SIZE 2020

      Differentiating Vertical and Horizontal Lamps

      Understanding the distinction between vertical and horizontal lamps is essential for proper circuit paper selection. Vertical lamps are more commonly used and have specific structural orientations compared to horizontal lamps. Choosing circuit paper that matches the lamp orientation of the original module ensures seamless integration and optimal performance.

      honrizontal circuit pad paper and veritial circuit pad paper

      Application of Circuit Paper

      To effectively use circuit paper in repairing PCB pads:

      1. Prepare Tools and Materials: Gather necessary items such as an anti-static bracelet, soldering iron, hot air gun, multimeter, tweezers, tin wire, solder paste, scissors, screwdriver, LED beads, circuit paper, and integrated circuits (ICs).
      2. Clean the Damaged Pad: Gently scrape the damaged PCB pad with a blade and clean it with alcohol to prevent potential short circuits when applying the circuit paper.
      3. Cut and Tin the Circuit Paper: Trim the circuit paper to the required size and apply a thin layer of tin to both sides of the pad. This step ensures a secure connection without causing short circuits due to excessive tin.
      4. Attach the Circuit Paper: Set the soldering iron to approximately 320°C. Using tweezers, position the tinned circuit paper over the PCB pad, ensuring correct alignment of common poles. Gently press and heat with the soldering iron or hot air gun to fuse the circuit paper with the PCB pad.
      5. Test and Solder LED Beads: Power the module, display a full white screen, and adjust brightness to a comfortable level. Solder the appropriate LED beads onto the circuit paper, ensuring correct polarity. Use a multimeter to verify proper connections before finalizing the soldering.
      6. Finalize the Repair: After successful testing, apply glue to the repaired area to secure the LED beads. Note that indoor modules may not require glue filling.

      By meticulously following these guidelines, technicians can ensure precise repairs of LED display PCB pads, maintaining the display’s integrity and performance.

      🔥 Need Precision Soldering Pads for LED Displays?
      Ensure flawless connections with industry-grade soldering pads:
      📲 Chat with Our PCB Engineers Now!
      👉 WhatsApp Us

      How to Install Indoor LED Wall

      How to install indoor led wall

      1. Preparations

      1.1. Unpacking

      Warning: To prevent damage to the LED panel, wear anti-static gloves before installing/touching the display. After unpacking, do not place the display vertically on the floor, an accident such as a fall may be caused.

      Die-casting LED Display Cabinets Installation

      Use a pair of scissors to cut the sealing tape on the cardboard box. Carefully take the cabinet and accessories out of the cardboard box. After opening the cardboard box, ensure that the contents are complete and in good condition.
      package of indoor led display
      • LED Cabinets &LED Modules

      • Power cable;LAN cable (RJ45, CAT-5)

      • Connection plates

      • LED Controller

      led display and accessories visionpi led display
      1.3. Tools

      • LED Cabinets &LED Modules

      • Power cable;LAN cable (RJ45, CAT-5)

      • Connection plates

      • LED Controller

      led screen installation tools
      • Test led modules

      Press the CHECK button on the back of each cabinet to check if the product can operate normally.

      test led display

      2. Structure Installation

      Precautions when handling the cabinets:

      • Do not drop or apply shock/vibration to the product. Strong impacts may damage the component inside.

      • Only a qualified service technician should perform the installation.

      • Only use approved cabinets. • Be careful not to damage the corners of the cabinet.

      • Install the display in a well-ventilated area.

      • Always wear anti-static gloves when touching the display.

      • Provide air conditioning around the LED display to allow heat dissipation away from the display.

      • To maintain proper ventilation, keep clear space from the mounted displays to the wall. Installing the product in poorly ventilated spaces may damage the LED.

      led display installation standing structure

      Wall Mount Kits

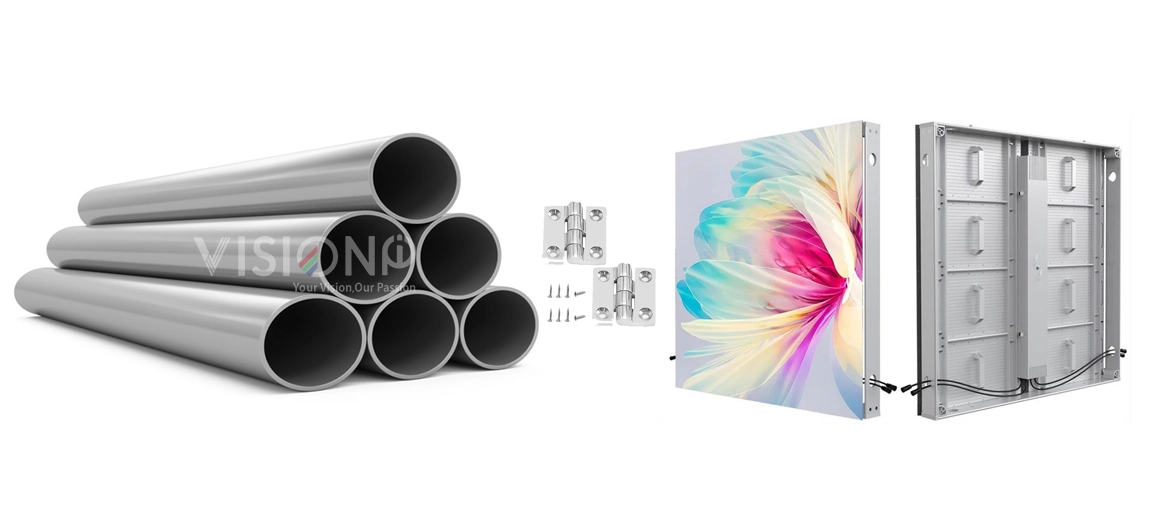
      A wall mount kit is made of aluminum profile 40x40mm (in some regions sold separately or available from third party vendors) allows you to mount the LED display on the wall. For detailed information on installing the wall mount, see the instructions provided with the wall mount. Wall mounting can only be performed from the front side of cabinets.

      wall mounted structure led wall visionpi
      1. Fixed the aluminum profile on the wall with anchors. Insert cage nuts into the slot of the aluminum pipe

      2. Insert the connection plate on the structure, and use the Allen screw bolt to connect the cage nuts.

      led wall wall mouted structure
      3 connect cabinets with structure by connection plate with Allen; connect cabinets together by faster lockers

      4. Install led modules (follow the arrow direction of the modules)

      led screen installation steps

      3. Cabinet installation

      Step 1. Use a gradienter to adjust the flatness and verticality and then secure the cabinet to the connectors on the rack frames. Use connection plates to fix the screen. Start your installation from the bottom row. Install the connecting plates on the bracket (Fig 1). Rotate the hex key clockwise until the screw bolts are inserted, and fasten the fast locker on between two cabinets (left to right, up to down)(Fig2.) ※Do not fix the screws between the connectors and cabinets too tight for future adjustment.

      led screen cabinet installaiton
      Step 2. Install the connecting plates on the structure. Rotate the hex key clockwise until the screw bolts are inserted. Do not over-tighten the screw bolts yet as you may need to adjust the connecting plates again. Ensure that the seam and flatness between cabinets conform to the standard after each cabinet is installed. Otherwise, make some adjustments, lockout LED lamp boards after they are adjusted horizontally and vertically because the boards will probably be moved during the installation of other lamp boards. Repeat the above steps to install the other cabinets in the lowest row.
      connect two led screen cabinet
      Step 3. fasten the lockers and check the unevenness of the nearby cabinets, and adjust them by the hex, loosen, or tighten to bring the cabinets to the same level. can use fingers to feel the “cross” of four nearby cabinets to see if the cabinet is well aligned. Ensure that all the cabinets are flat and vertical and the seams between the cabinets are even. Then tighten the screws to complete the installation.
      cabinets connection

      4. Power and Signal Wiring

      The data wiring process must follow a zigzag order between the cabinets, always starting from the one located at the bottom left. The modules are then connected to the data in and data out ports. Thanks to our system software we can verify the correct wiring of the entire screen with simple tests. Finally follows the color calibration and brightness setting.

       5. LED Modules installation.

      After check all the cabinets are well installed, attach the led modules to the cabinet, please check the arrow on the back of the PCB and follow the direction, and connect the flat cable and power cable from the hub to each of the modules. tips: to check the status of each led module on the cabinet, you can use one spare cabinet to test the condition of the led modules by pressing the test button on the hub.

      led modules installaiton step 4
      To install the module to the hub board, the flat cable that connects between them has to be properly wired. One end of the flat cable is already attached to the hub board, use the other end to connect it to the module. Before connection, make sure that the arrow sign on the module ispointing up. Connect the flat cable to the connector on the module until it clicks into place. 
      modules installaiton indoor led screen

      Modular Cabinet 320x480mm Installation

      320x480mm led cabinet installation layout
      320x480mm led cabinet installation layout

      Auditorium LED Screen

      LED Display For Auditorium

      Auditoriums are venues where large audiences gather to enjoy various types of performances, such as concerts, plays, musicals, lectures, and ceremonies. To enhance the visual experience of the spectators, auditoriums need to have high-quality display screens that can show clear and vivid images, videos, and texts. LED screens are the ideal choice for auditoriums, as they offer many advantages over traditional projection screens.

      Why are LED screens better than projection screens for auditoriums?

       LED screens have several benefits over projection screens for auditoriums, such as:

      • Higher brightness and contrast: LED screens can emit light directly, while projection screens rely on reflected light from a projector. This means that LED screens can achieve higher brightness and contrast levels, making them more visible and attractive in bright or dark environments. LED screens can also adjust their brightness automatically according to the ambient light, ensuring optimal viewing conditions at all times.
      • Wider viewing angle and color gamut: LED screens can provide a wider viewing angle and color gamut than projection screens, which means that they can display more colors and details, and they can be seen from different angles and distances without distortion or color loss. LED screens can also support high-definition (HD) and ultra-high-definition (UHD) resolutions, delivering sharper and smoother images.
      • Longer lifespan and lower maintenance: LED screens have a longer lifespan and lower maintenance costs than projection screens, as they do not require bulbs, filters, or lenses that need to be replaced or cleaned regularly. LED screens are also more durable and resistant to dust, moisture, and temperature changes, making them suitable for indoor and outdoor applications.
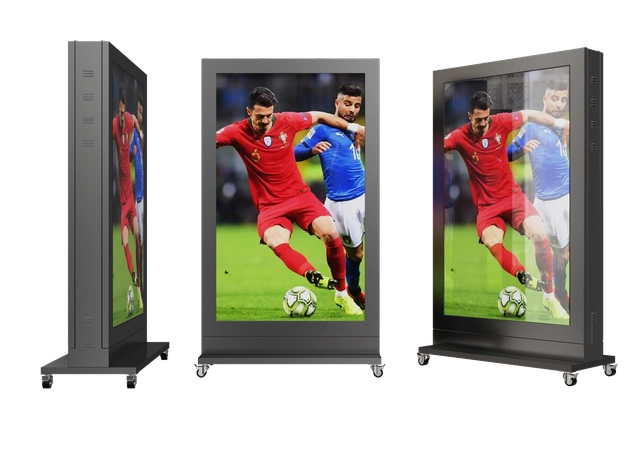
      • More flexibility and creativity: LED screens can offer more flexibility and creativity than projection screens, as they can be customized to fit any size, shape, and curvature of the auditorium. LED screens can also be integrated with other elements, such as lighting, sound, and stage design, to create immersive and interactive experiences for the audience.

      How to choose the best LED screen for your auditorium

      Full-colour auditorium LED screens, LED curtains, and LED mesh can also make a very effective backdrop for the stage, the content of which can be changed with every event at the click of a button. Cylindrical LED video walls which can be viewed from all directions can be artistically placed in the center of the room.

      There are many factors to consider when choosing the best LED screen for your auditorium, such as:

      640 indoor led display visionpi

      Fixed installation

      xr led rental display

      Rental & Mobile

      led transparent display

      Transparent LED

      The type and purpose of the performance: The type and purpose of the performance will determine the content and format of the LED screen. You need to consider the genre, style, and theme of the performance, and the message and mood you want to convey to the audience. You also need to consider the frequency, duration, and schedule of the performance,and how they will affect the operation and management of the LED screen.

      • Rental & Mobile Type could move from one hall to another from times to times,
      • Fixed installation. Fixed mounted led screen will be permantly installed,to general cost will be lower and with higher Resolution. Pixel pitch usually from 1.2 to 2.5mm.
      • Transparent led display. When there is lighting behind the led wall, or the space is limited. transparent led display will be a good option . Hower ther resolition is lower than normal led screen, if the screen size is not big enough.
      Auditorium led display indoor stage copy
      Auditorium Transparent led display stage copy
      led stage for auditorium

      The size and layout of the auditorium.

      The size and layout of the auditorium will determine the optimal size, shape, and position of the LED screen. You need to consider the dimensions, height, and distance of the stage, the seating capacity and arrangement, and the sight lines and viewing angles of the audience. You also need to consider the acoustics, lighting, and ventilation of the auditorium, and how they will affect the performance and installation of the LED screen.

      The budget and resources of the project.

      The budget and resources of the project will determine the quality and quantity of the LED screen. You need to consider the cost, availability, and reliability of the LED screen, and the return on investment (ROI) and value for money (VFM) you can expect from it. You also need to consider the installation, operation, and maintenance of the LED screen, and the technical support and service you can get from the supplier.

      LED Display Parameters.

      Refresh rate

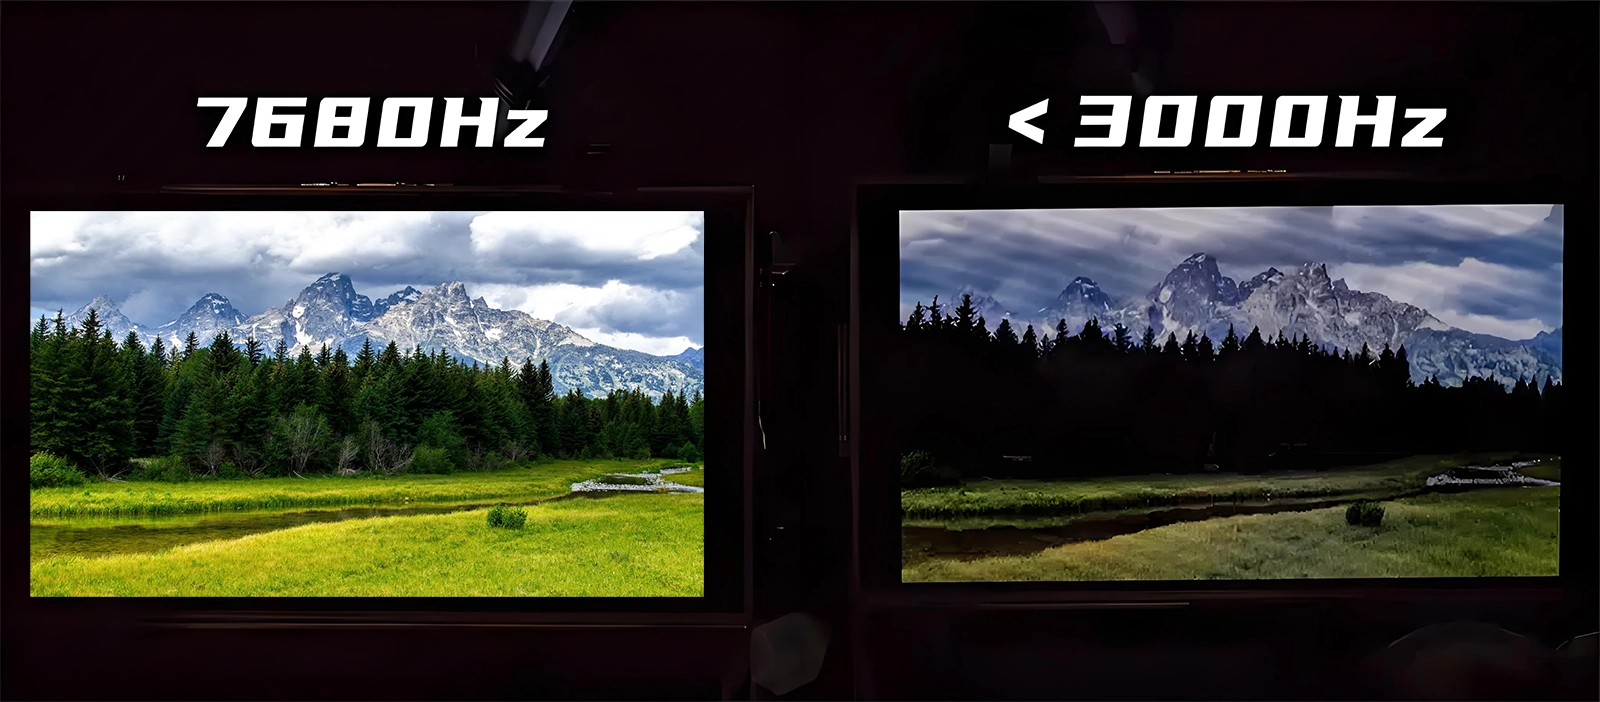
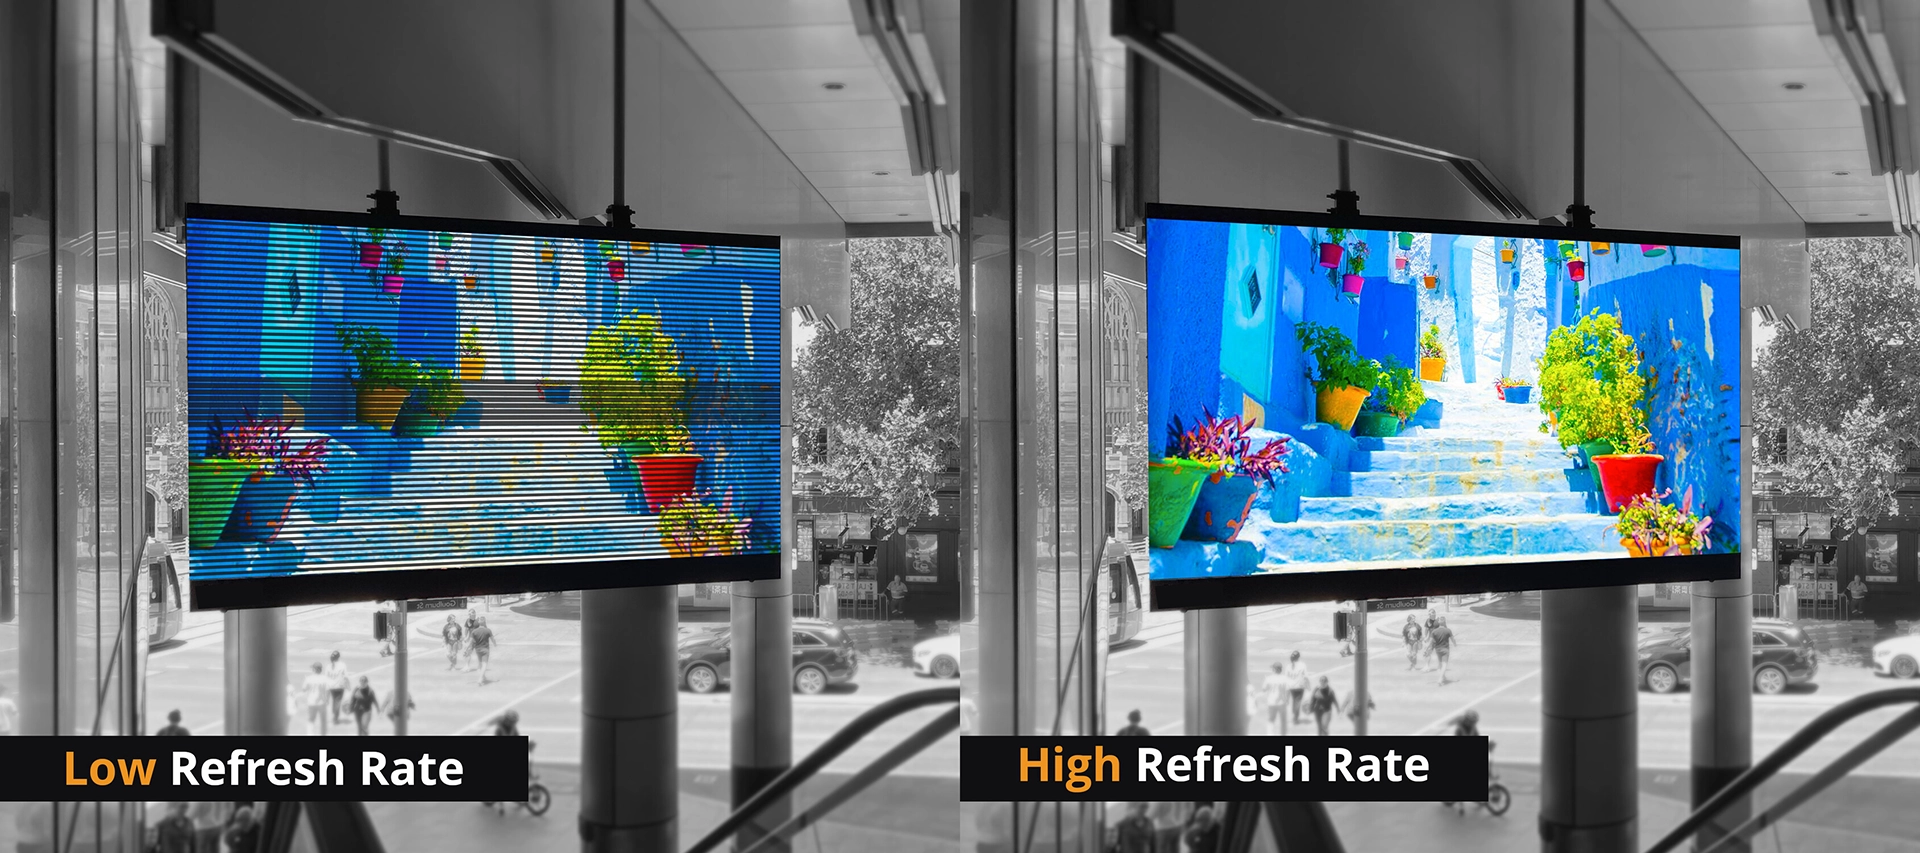
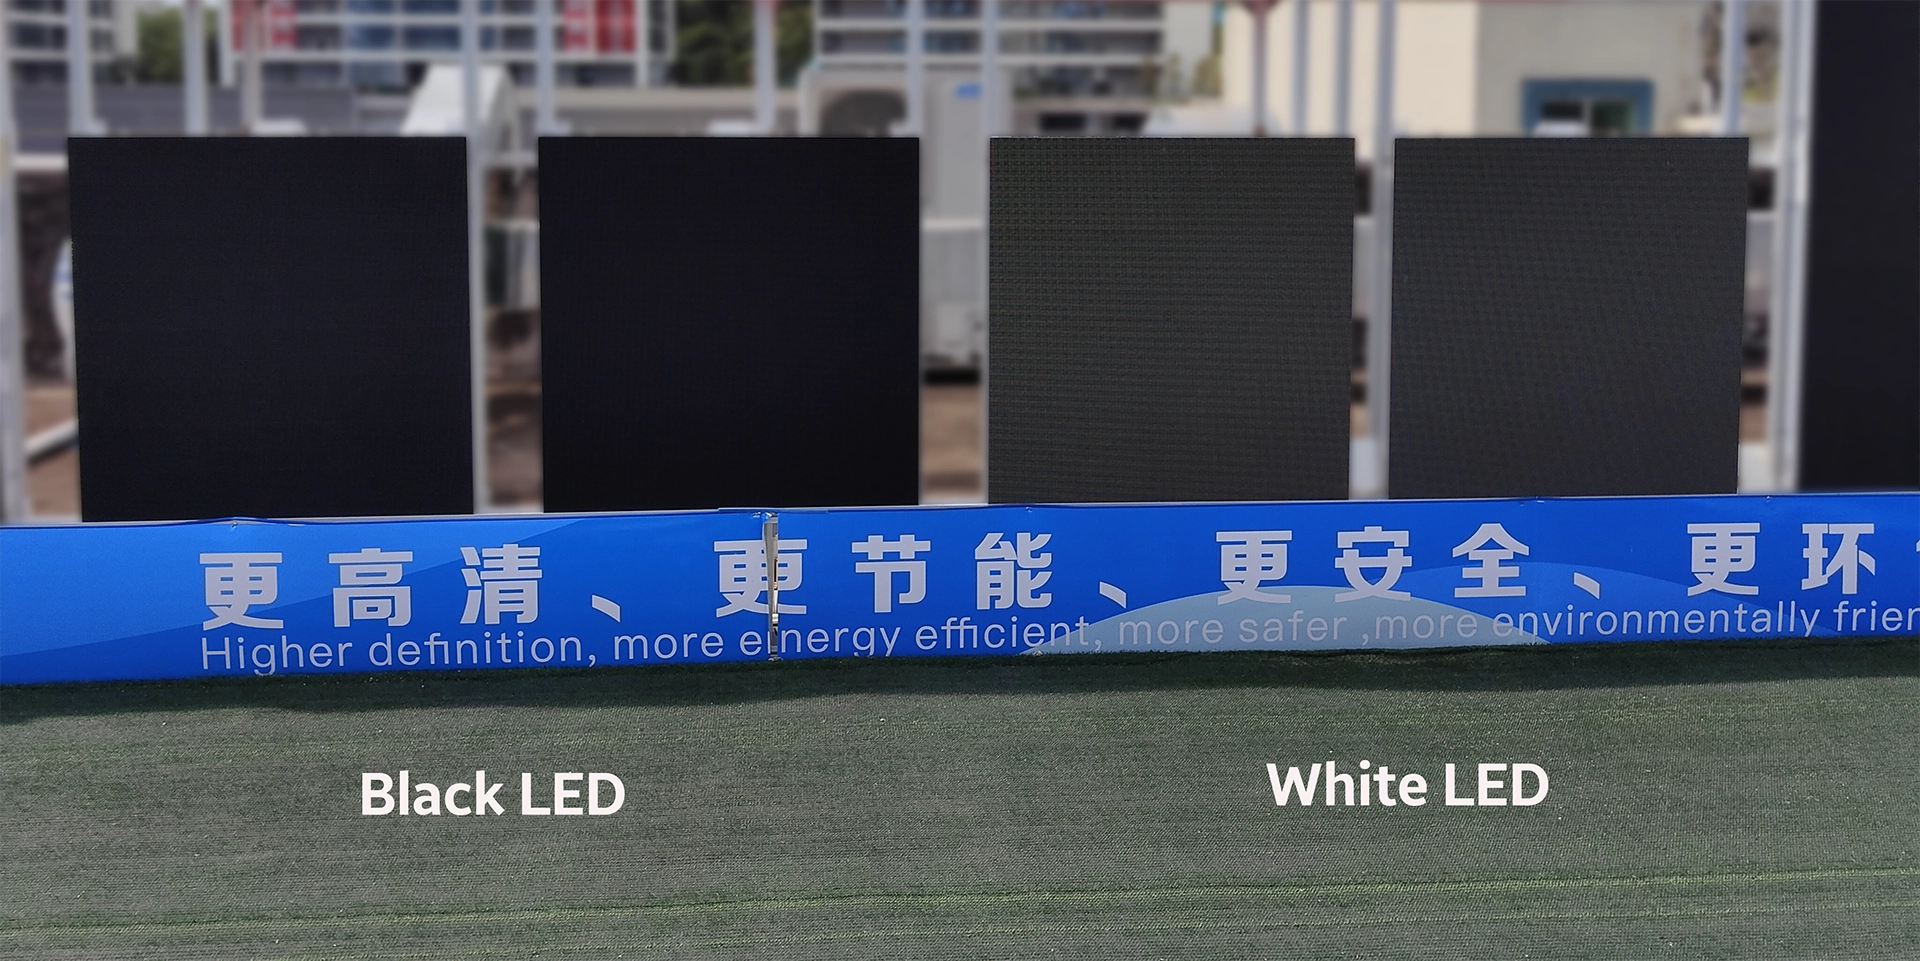
      The refresh rate of an LED screen is the number of times per second that it updates the image on the display. The higher the refresh rate, the smoother and clearer the motion on the screen. A high refresh rate screen can reduce flickering and ghosting effects, which can cause eye strain and fatigue. You should look for a screen with a high refresh rate, preferably above 2880 Hz if the led screen is going to be taken video by the audience.
      led display refresh rate
      • Color gamut

        The color gamut of an LED screen refers to the range of colors that it can display. The wider the color gamut, the more colors and shades that the screen can reproduce. A wide-color gamut screen can show more realistic and natural colors than a narrow-color gamut screen. You should look for a screen with a wide color gamut, preferably covering at least 85% of the DCI-P3 color space. However, you should also check for color accuracy, as some screens may have a wide color gamut but poor color calibration.

      Subscribe To Our Newsletter

      Join our mailing list to receive the latest news and updates from our team.

      You have Successfully Subscribed!

      Pin It on Pinterest