LED Display Surround Trim Kit
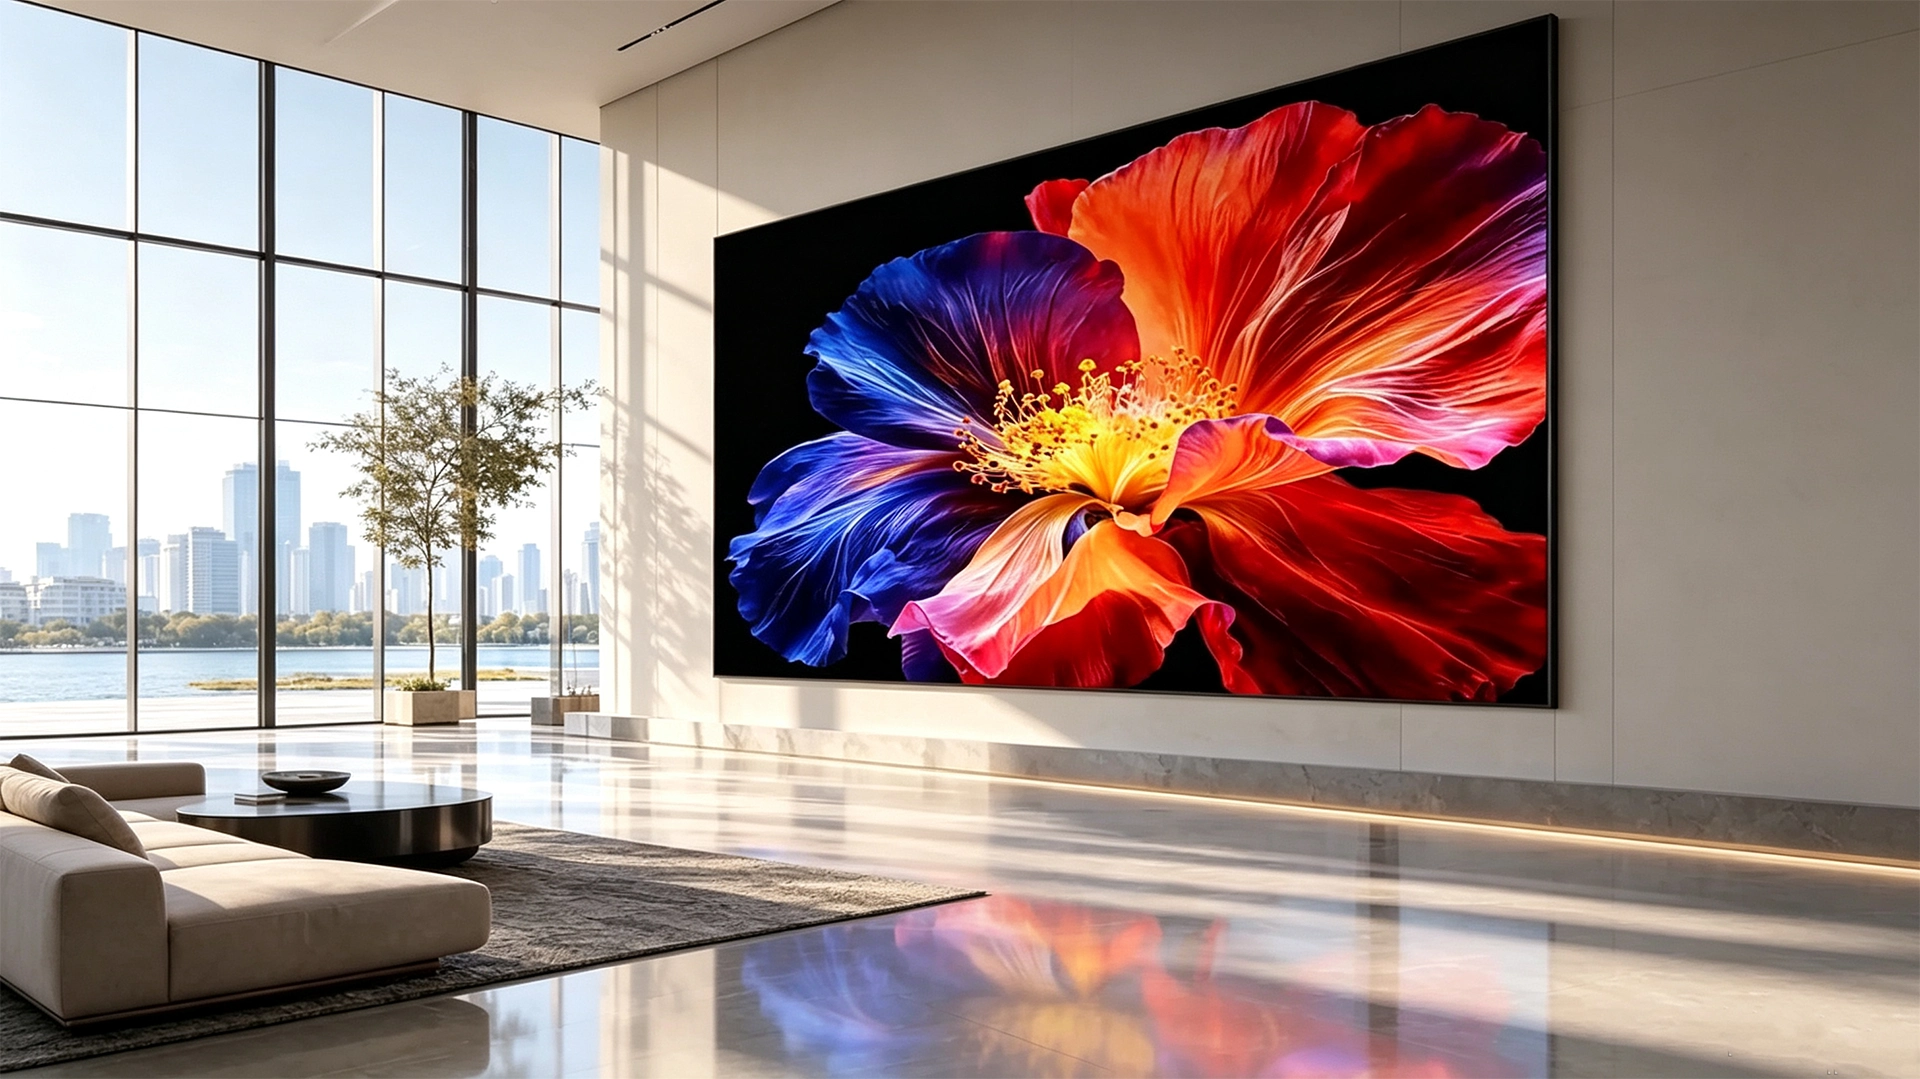
The brushed finish trim delivers an aesthetically pleasing installation and polished final look. VisionPI trim is crafted from solid aluminum profile, lightweight yet with high structural strength. It features magnetic attachment structure for simple, hassle-free installation. Our sleek, narrow-bezel Trim Kit elegantly completes the video wall, seamlessly concealing the exposed edges of the dvLED display.
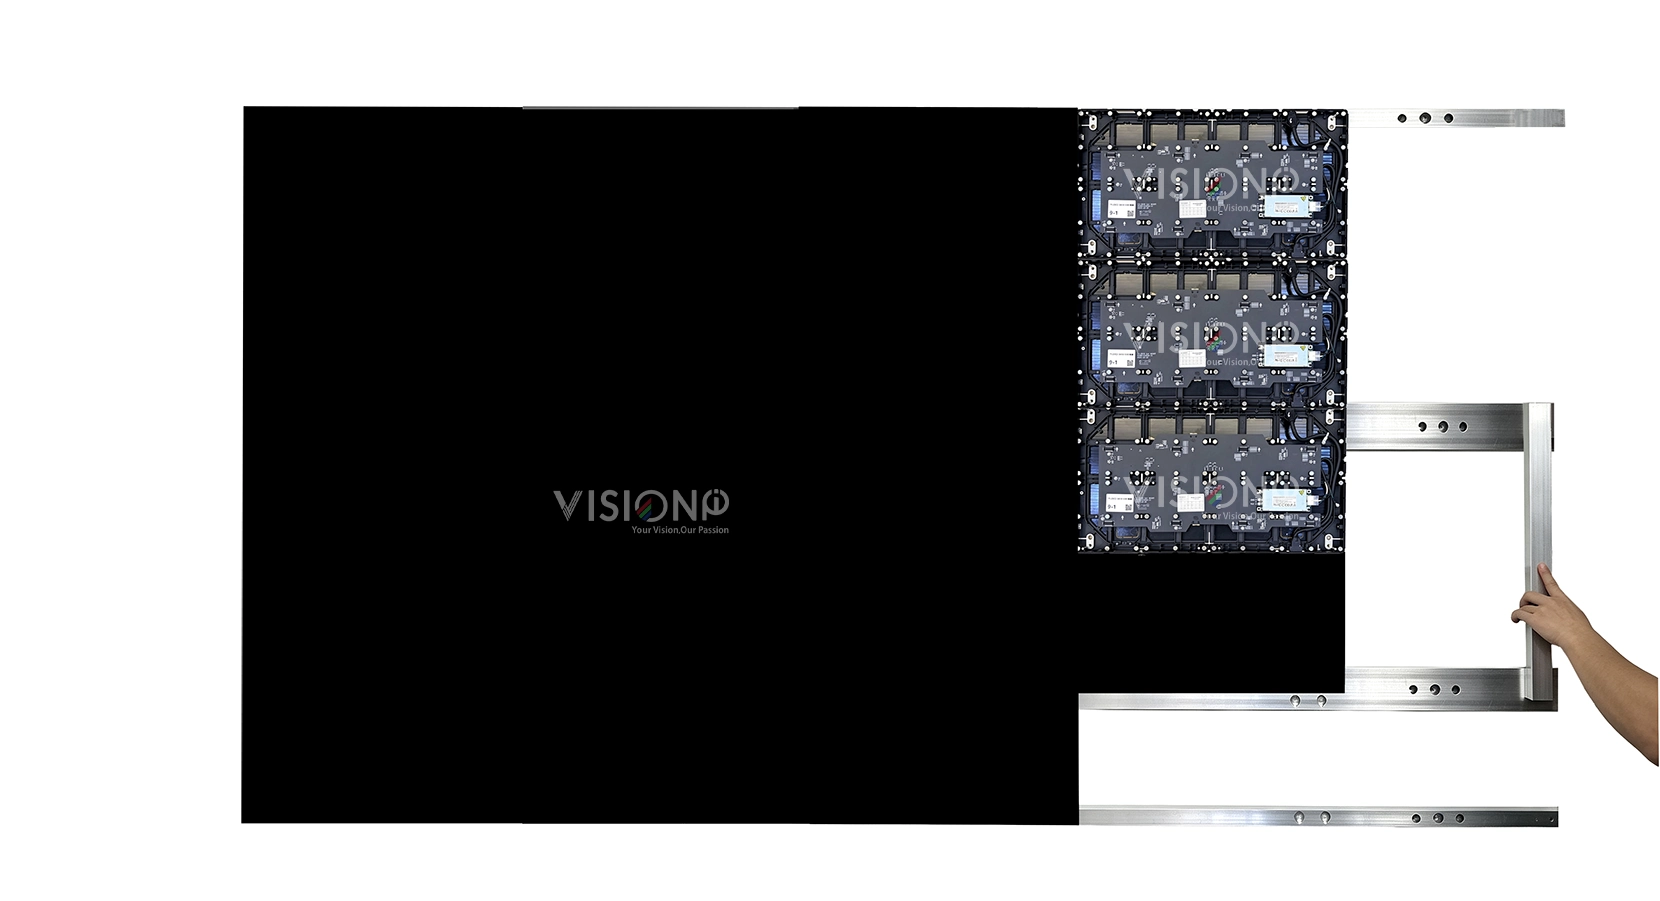
LED DISPLAY WALL-MOUNTED FRAME INSTALLATION
This manual applies to the standard wall-mounted LED display back frame system. The frame adopts a segmented splicing structure with dedicated connecting plates and positioning tools. It ensures fast installation, stable structure, and precise assembly for LED display screens.
Frame Assembly Steps
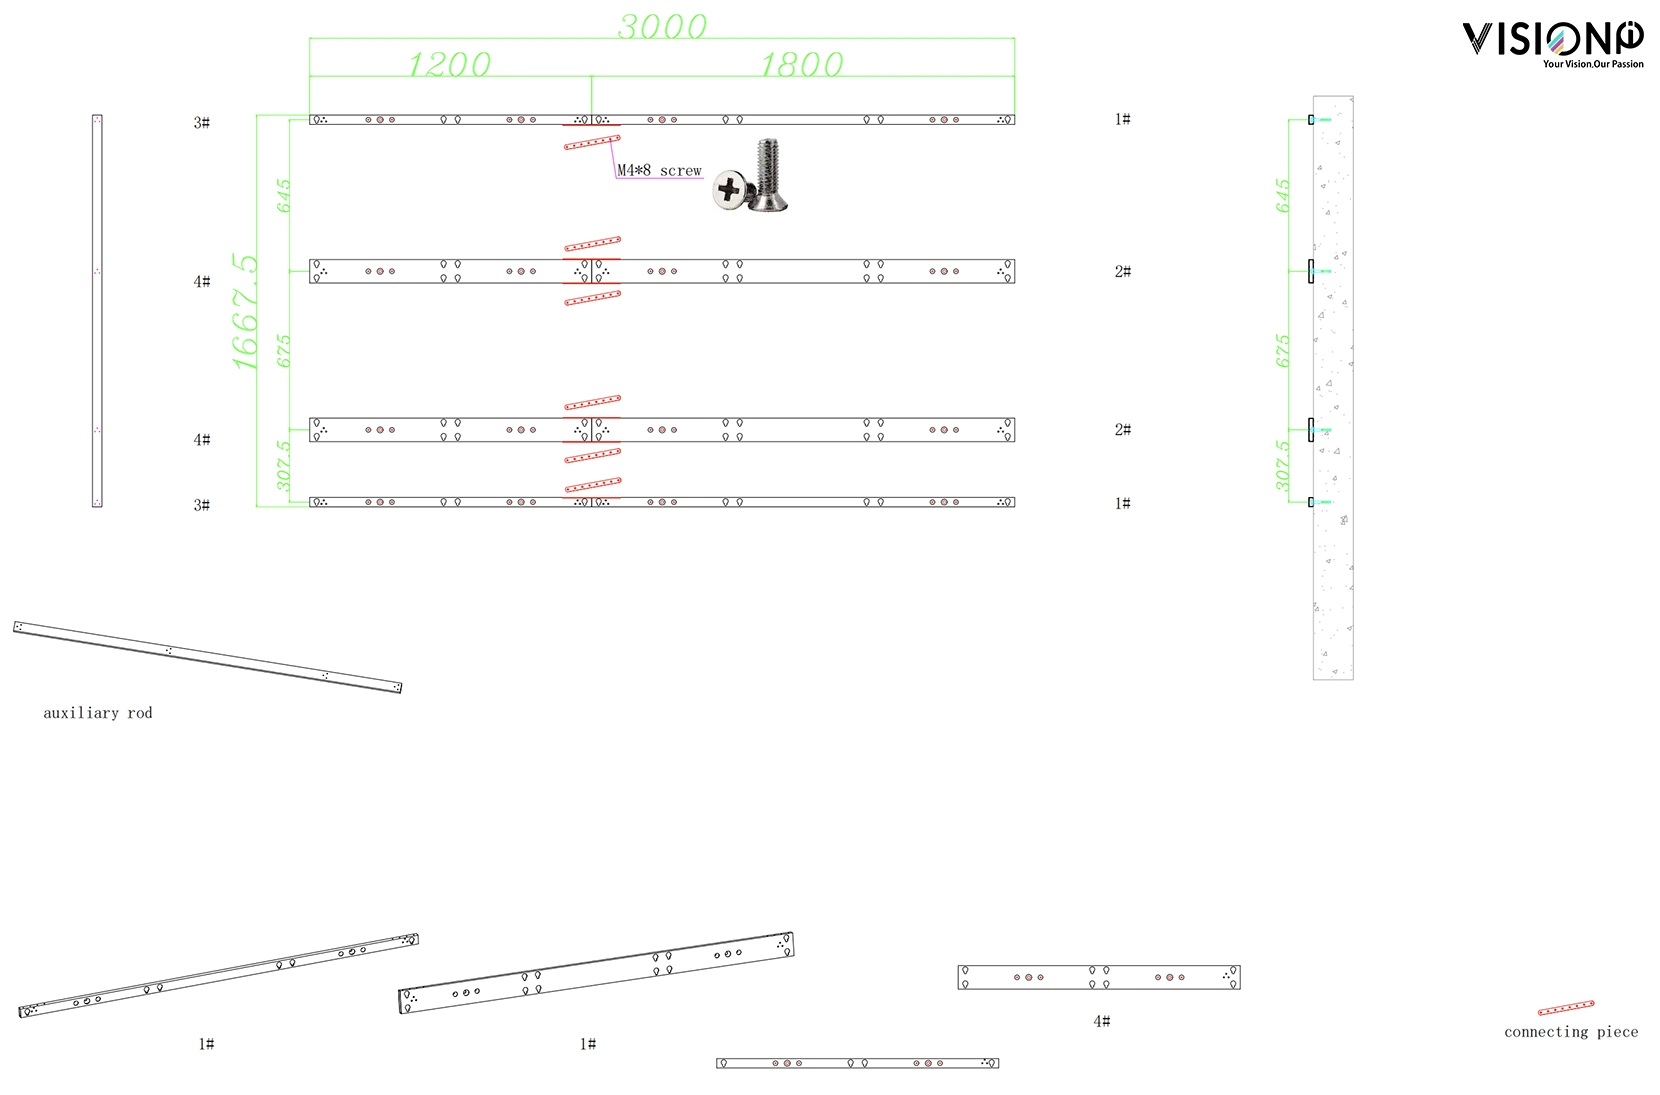
- Please assemble the frame strictly according to the official installation drawings provided by our factory.
- Example reference: For a 5×5 layout display with an overall dimension of 3m × 1.6875m, a total of 4 full-length back frame rails are required.
- Each full-length rail is composed of two short rails. Use the matched connecting plates to splice and lock the short sections into one complete long rail.
- Use the special positioning tool to fix the standard vertical distance between the upper and lower rails at 337.5 mm, ensuring uniform spacing and overall flatness.
- Check all connections to ensure the entire frame is firm, level, and free of deformation or looseness
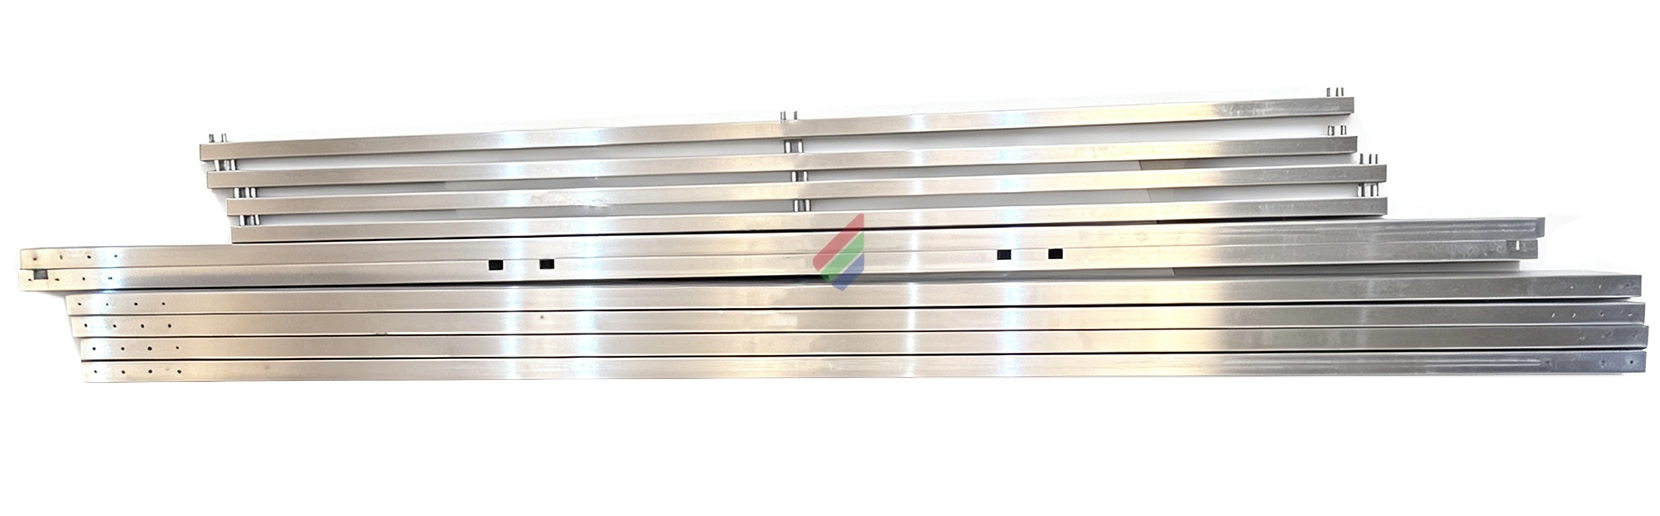
LED Cabinet Mounting Steps
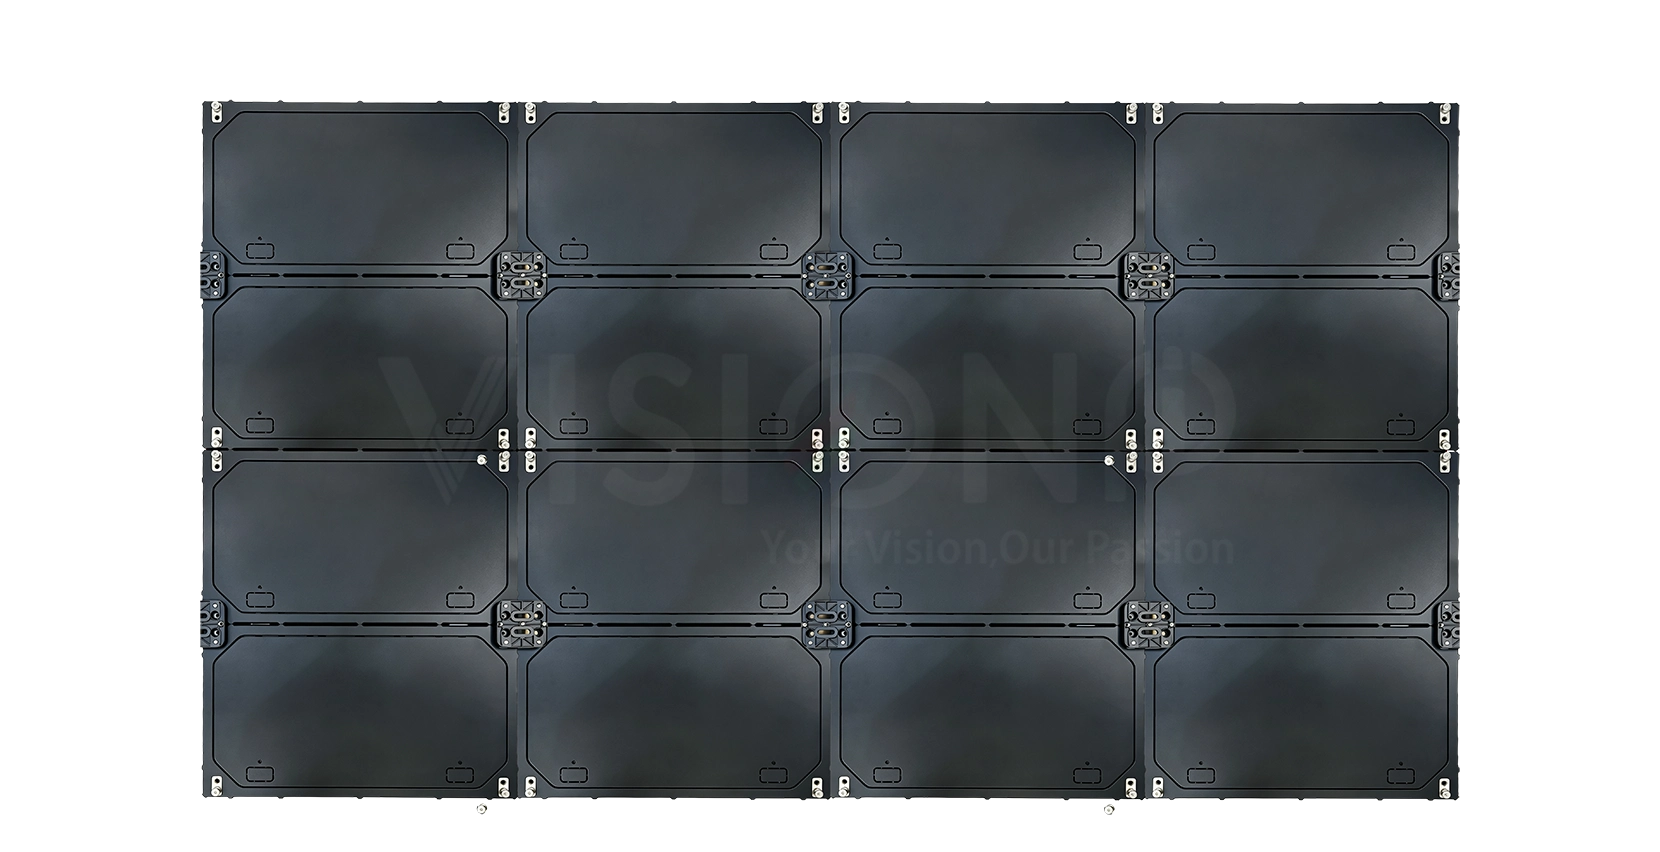
- Each LED cabinet has four mounting holes on its four sides.
- Fasten the wall mounting screws firmly into the reserved holes on each cabinet.
- Hang the cabinets accurately onto the corresponding mounting positions of the installed back frame.
Two Standard Installation Methods (Optional)
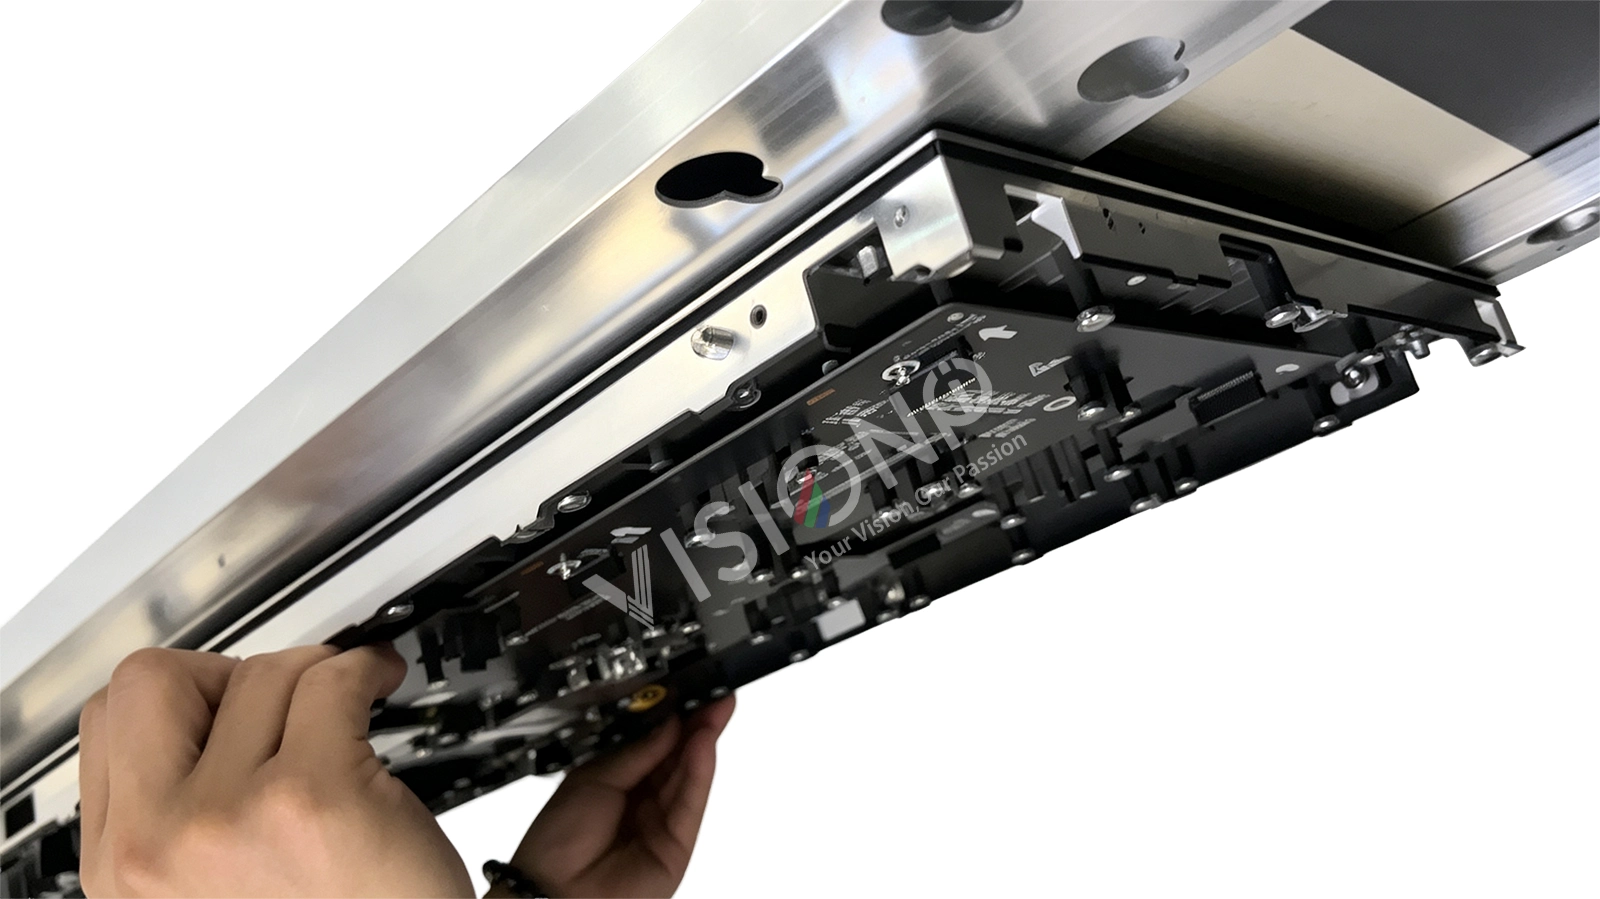
1: Single Cabinet Installation
Install and hang the cabinets one by one onto the back frame. Suitable for narrow installation space or single-person operation.
2: Pre-assembly Integral Installation
- Assemble four cabinets together flat on the ground and align all seams.
- Fasten all mounting screws and connect the four cabinets as one integrated unit using connection plates.
- Mount the whole four-cabinet assembly onto the wall frame at one time. This method provides better overall flatness and higher installation efficiency
LED Display Surround Trim Installation
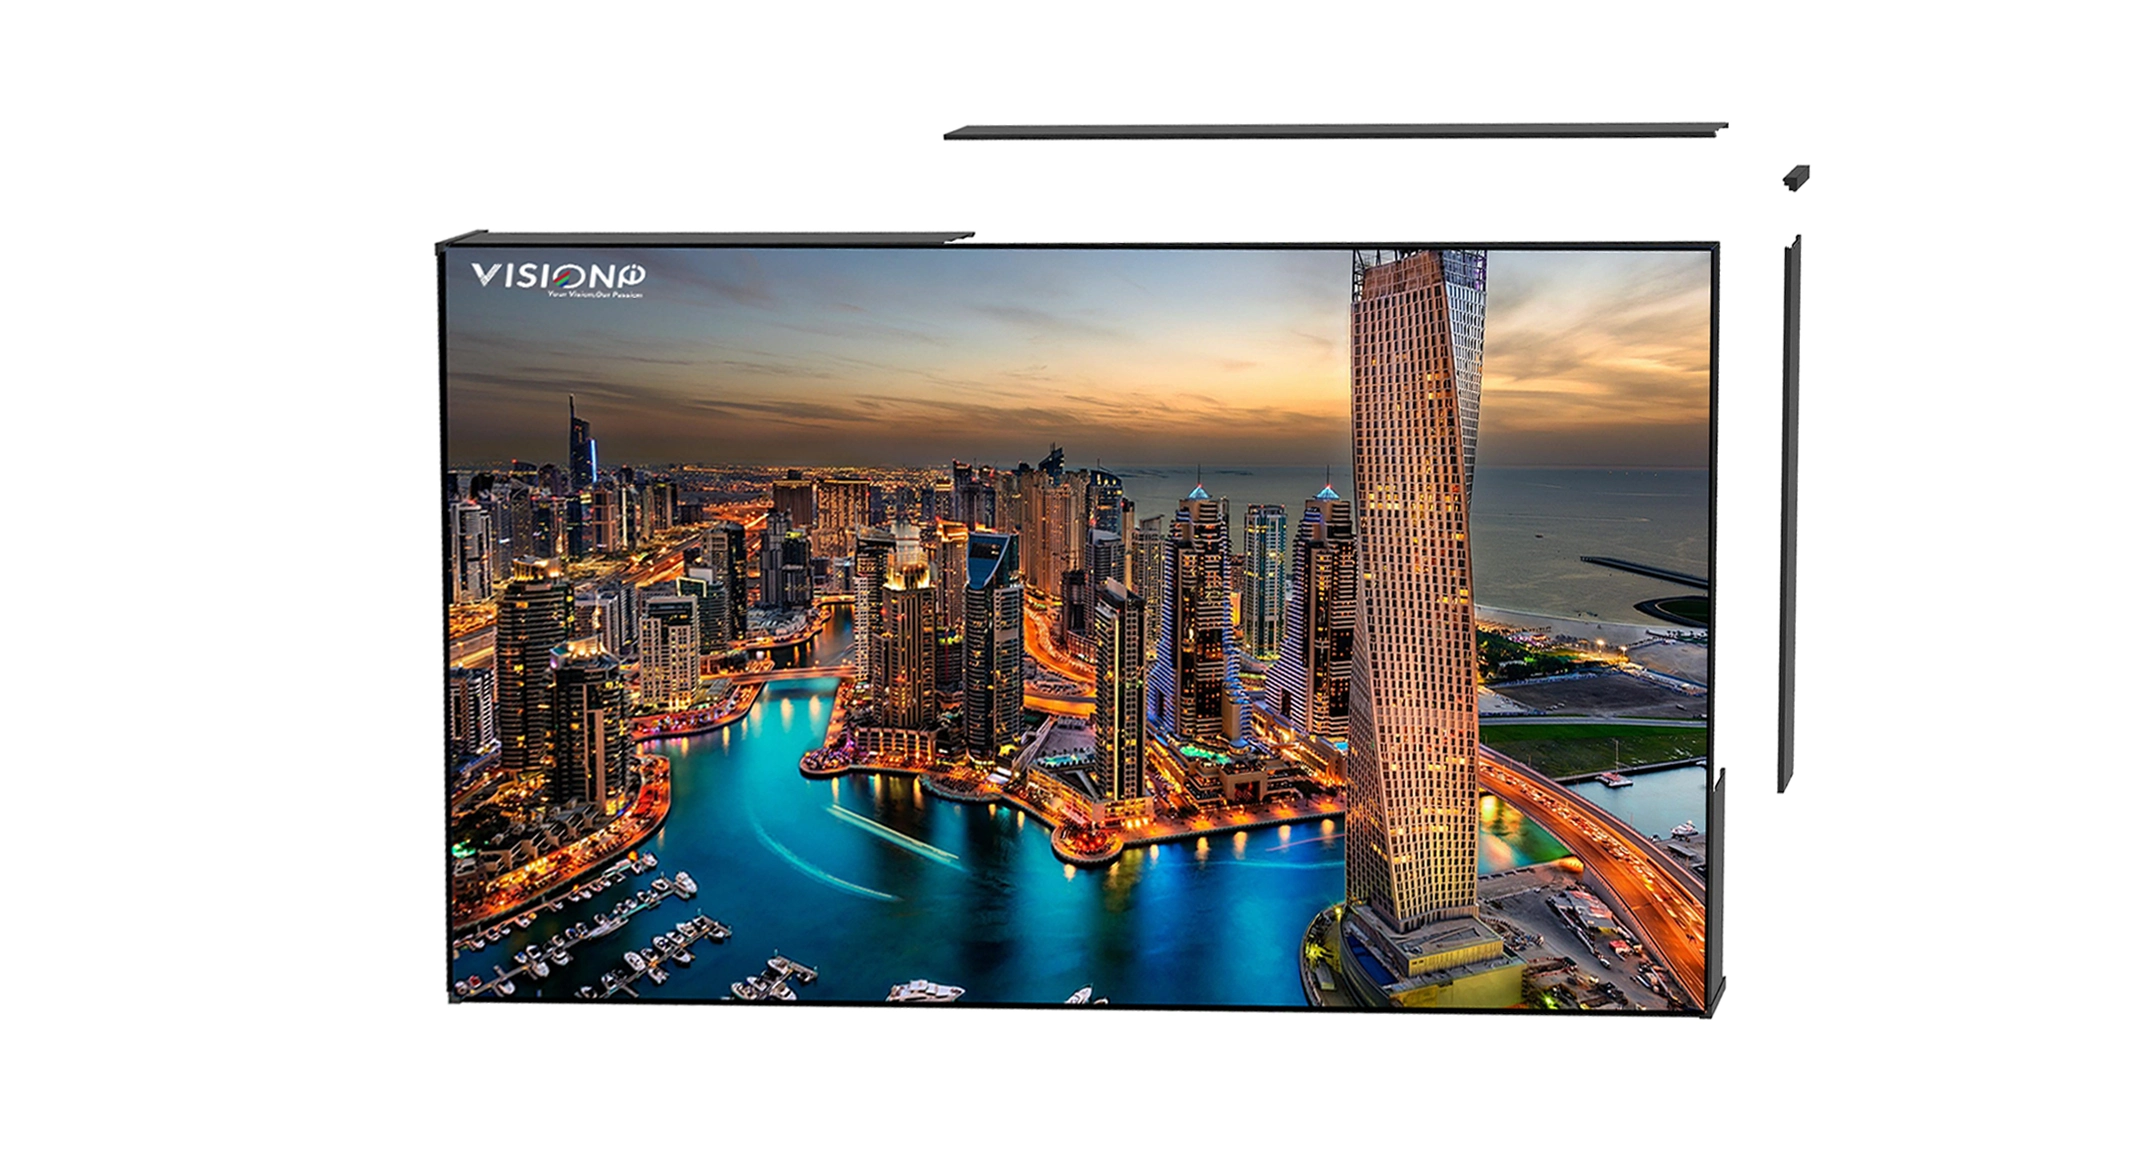
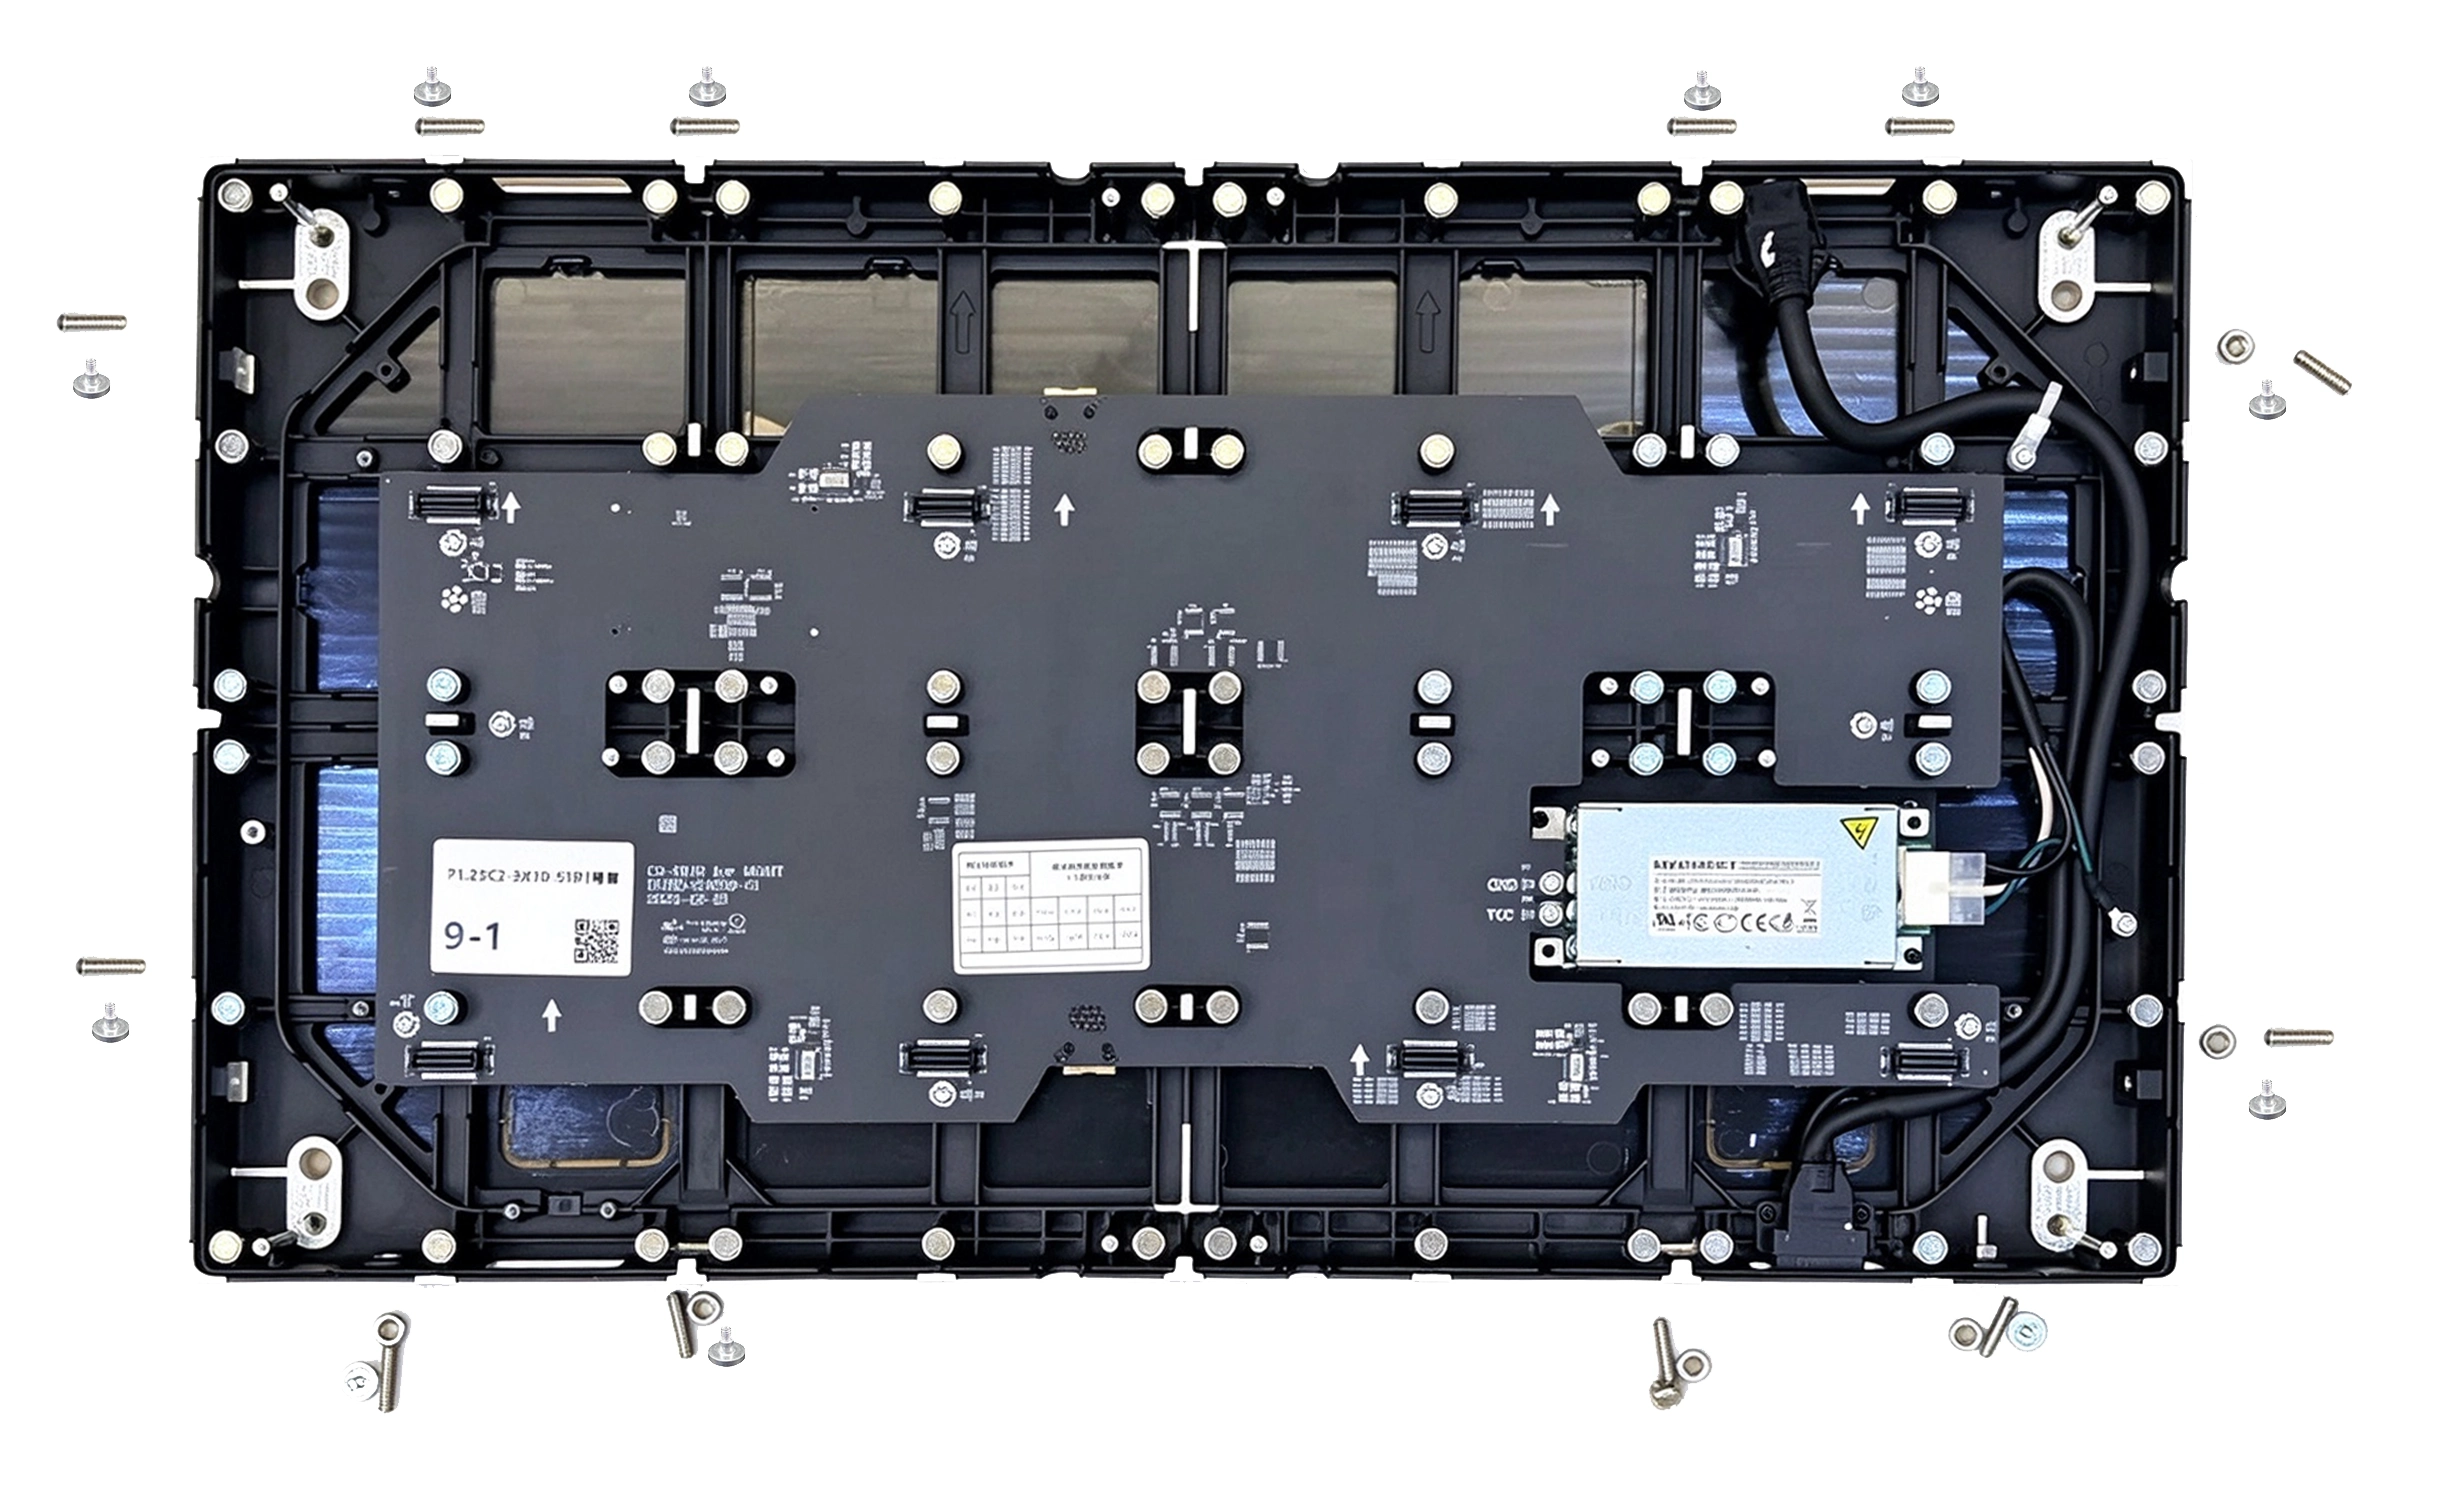
First, prepare the cabinet. There are 2 magnets on each side of the cabinet and 4 screws on the top. Tighten all these screws first.
Our edge trim comes in separate cut sections, not one whole piece. Let’s take a 5×5 screen layout as an example, using 600×437.5mm cabinets.
-
- Total width of this screen: 3m
- Total height of this screen: 1687.5mm
- We make the 3m top/bottom trim by joining two 1.5m pieces together. For the left and right sides, we use one 1687.5 mm trim piece each.
- In this case, we need 6 trim pieces in total.
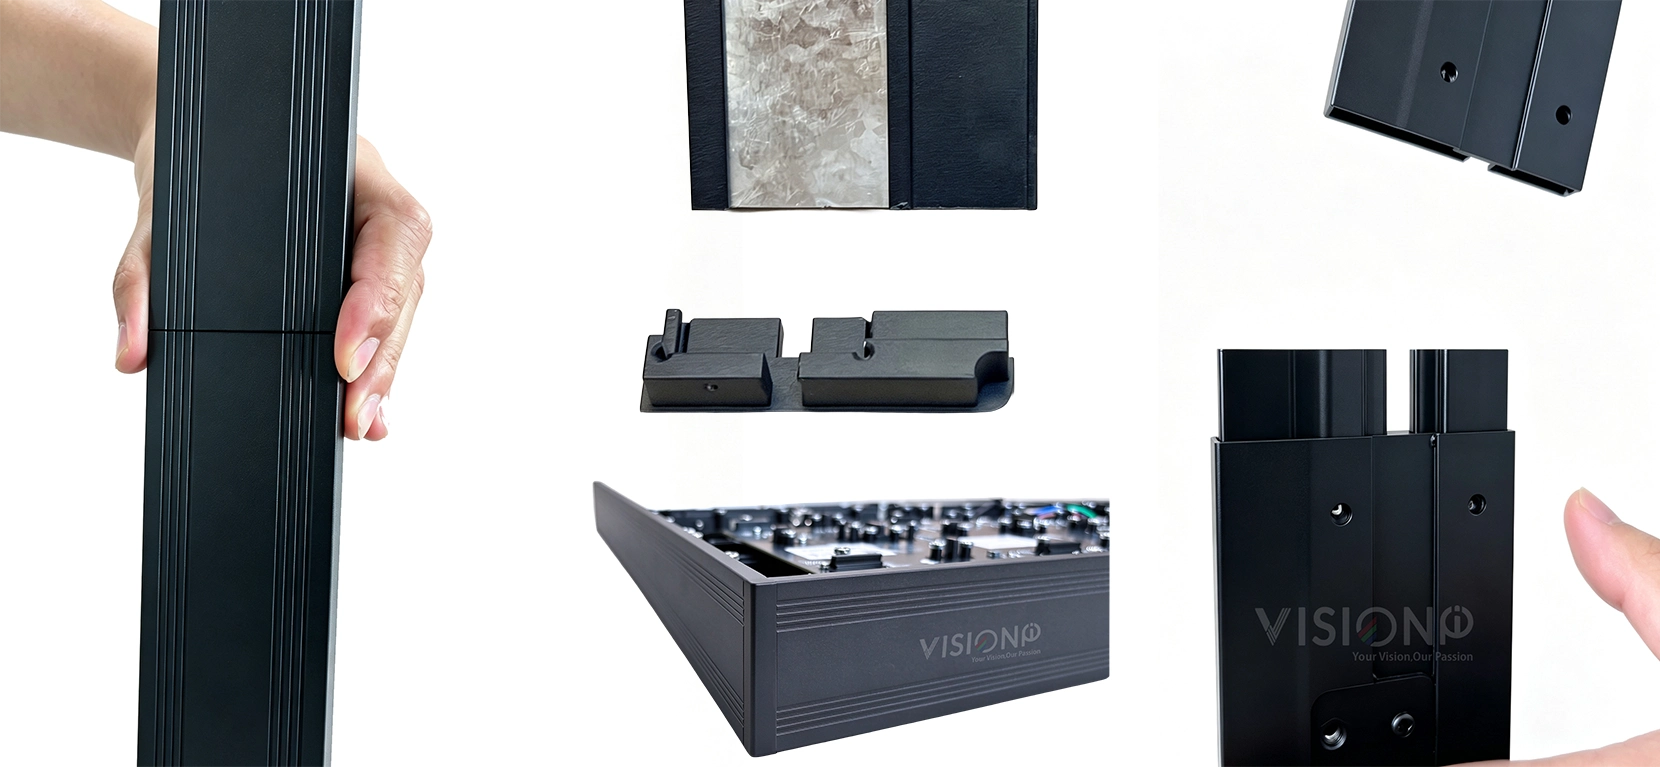
Join the two 1.5m sections to make the 3 m-long trims for the top and bottom sides. Now you have your full set: 2 pieces for the top & bottom (3m each), 2 pieces for the left & right (1687.5mm each).
It is engineered to match our 600mm LED cabinets, with available lengths of 1200mm and 1800mm. We offer two standard height modules: 1012.5mm and 675mm. These standard modules can be stacked freely to achieve the required overall height, while the 1200mm and 1800mm lengths can be joined to reach any desired width. Stocking just these four standard sizes covers most video wall dimension requirements. The depth is fully customizable to match the cabinet thickness from different manufacturers. This allows the trim to sit flush with the display surface for a seamless finish.
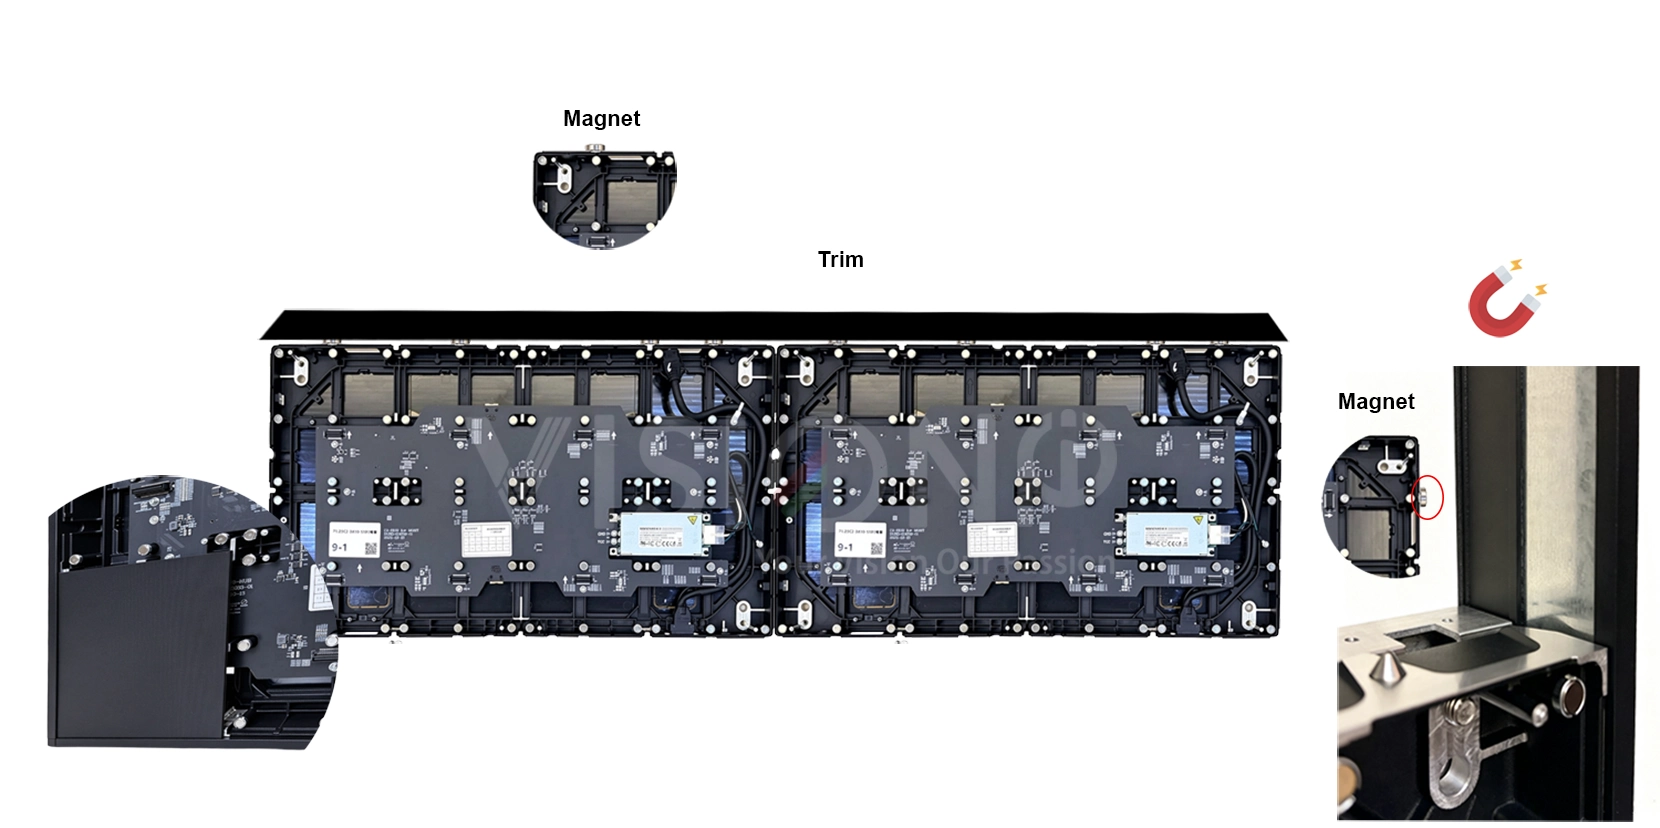
Attach the trim around the screen perimeter. The trim sticks onto the cabinet by the pre-installed magnets.
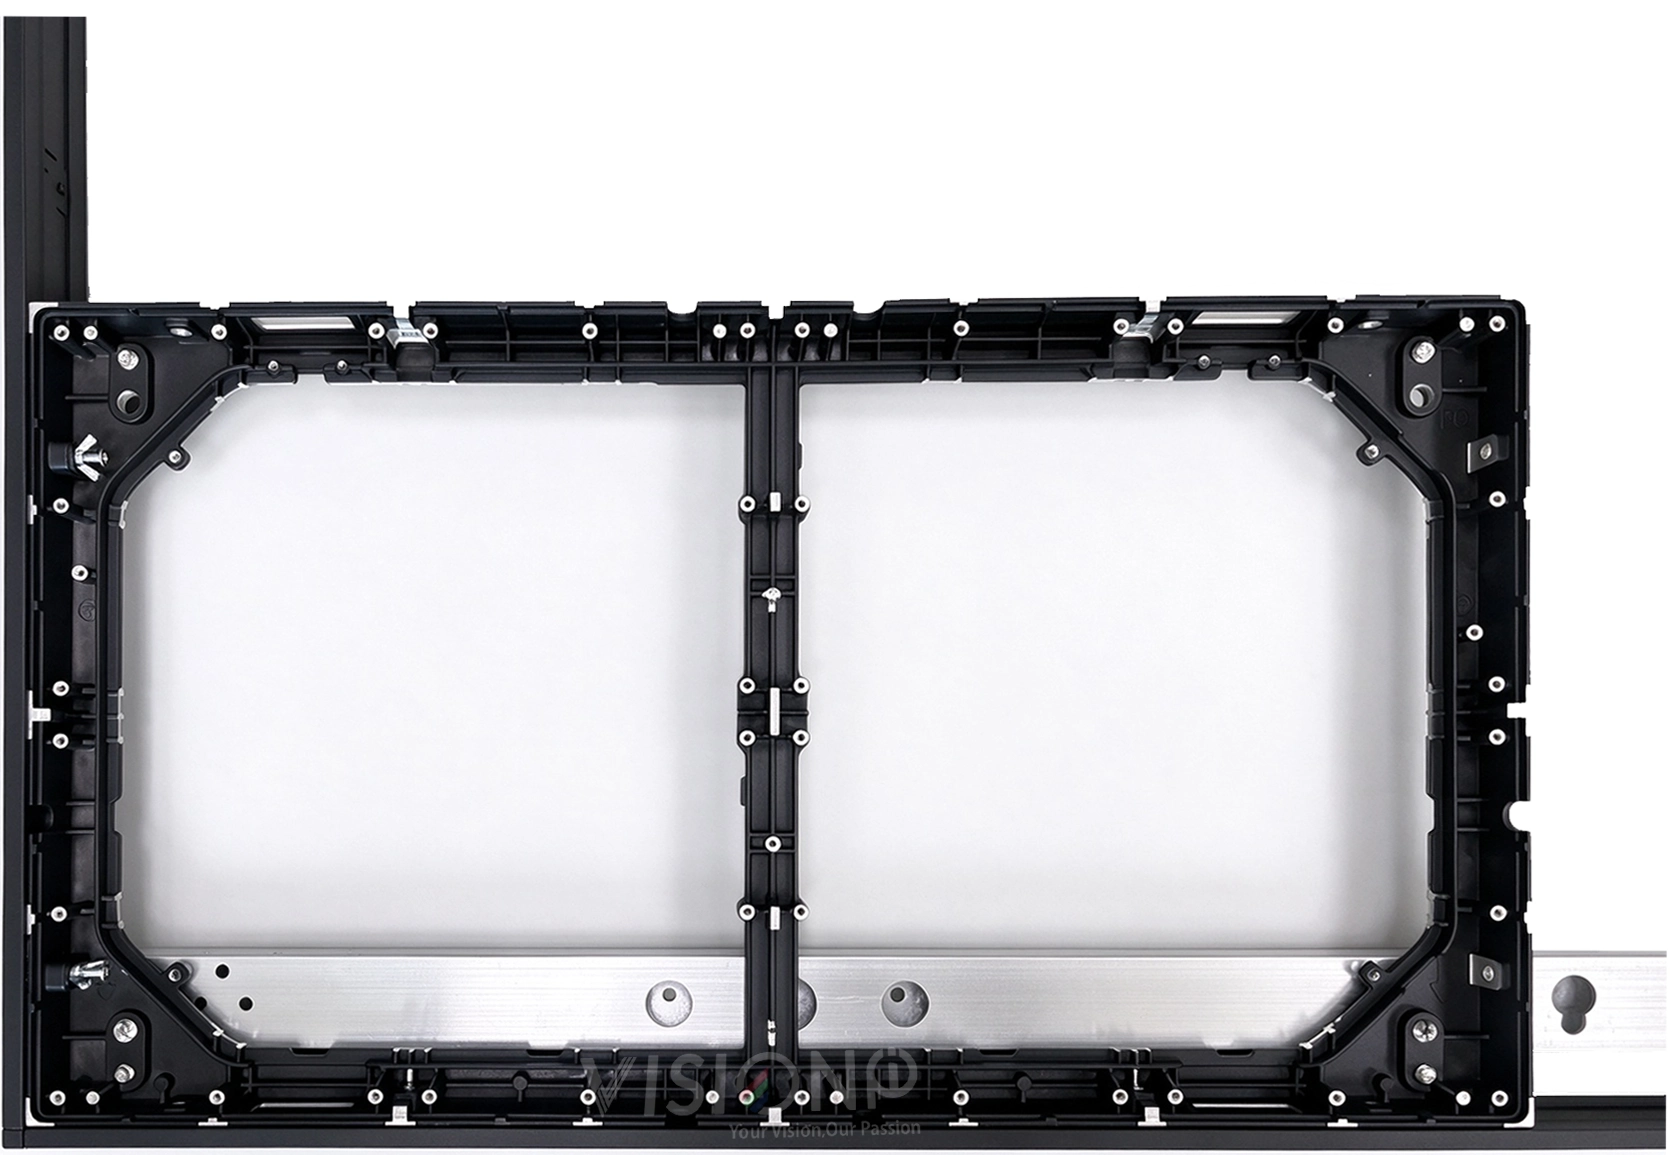
Fit the 90-degree corner brackets at all four corners of the frame. Connect the trim ends with these corner brackets. Once all corners are locked in place, the installation is done.
If you need a custom back frame or perimeter trim for your LED display, feel free to contact us. We can tailor the frame and trim solution to match your cabinet dimensions and site requirements.