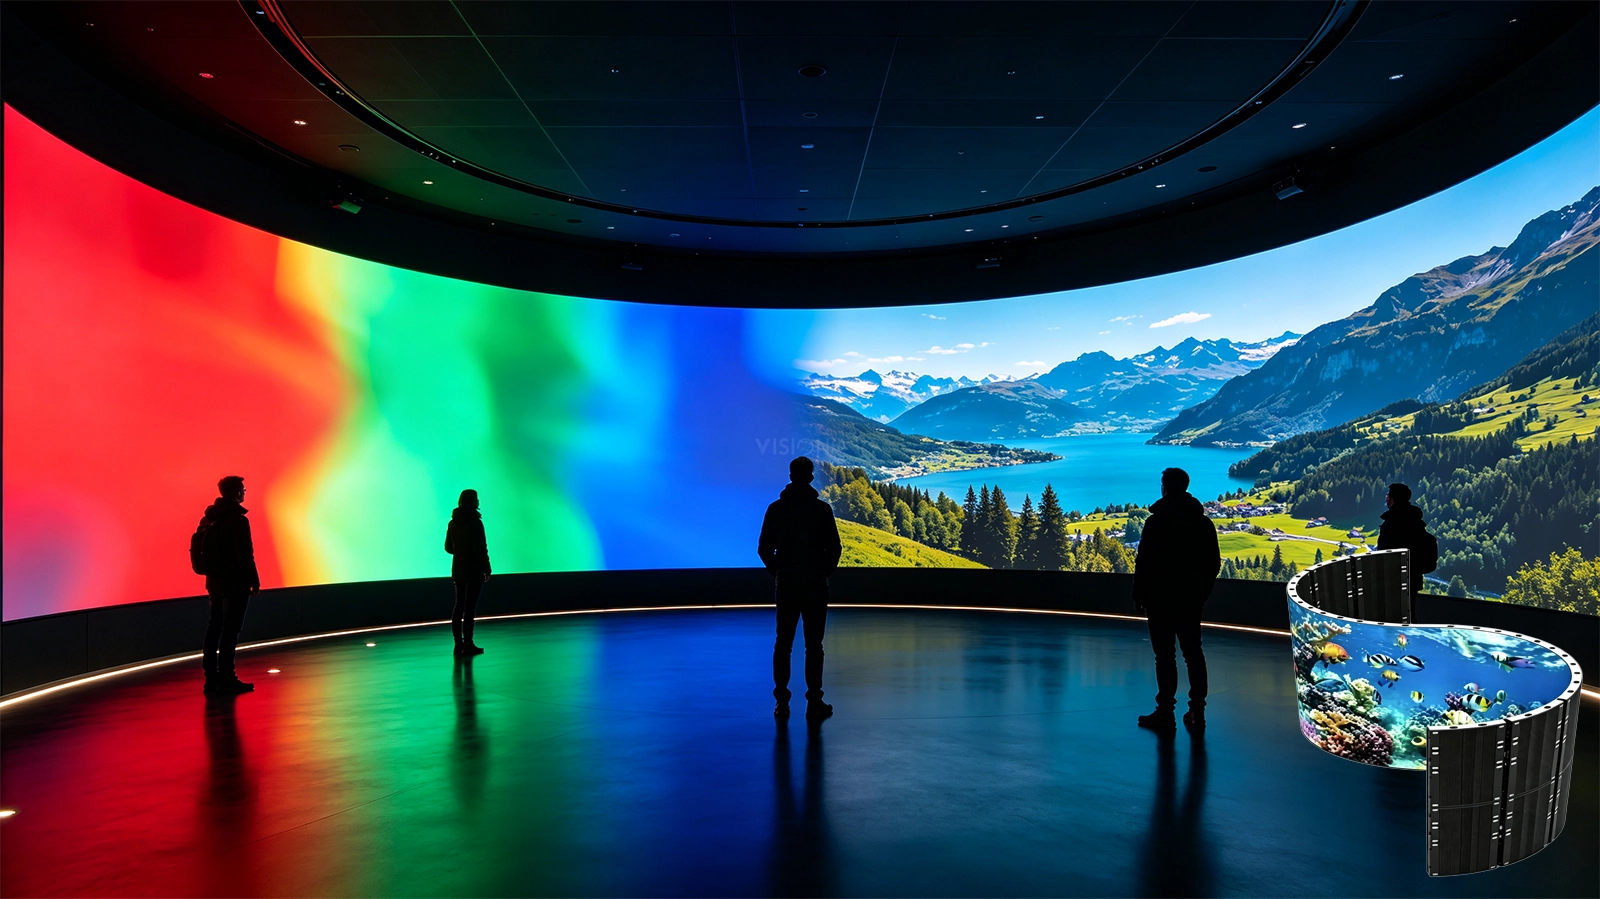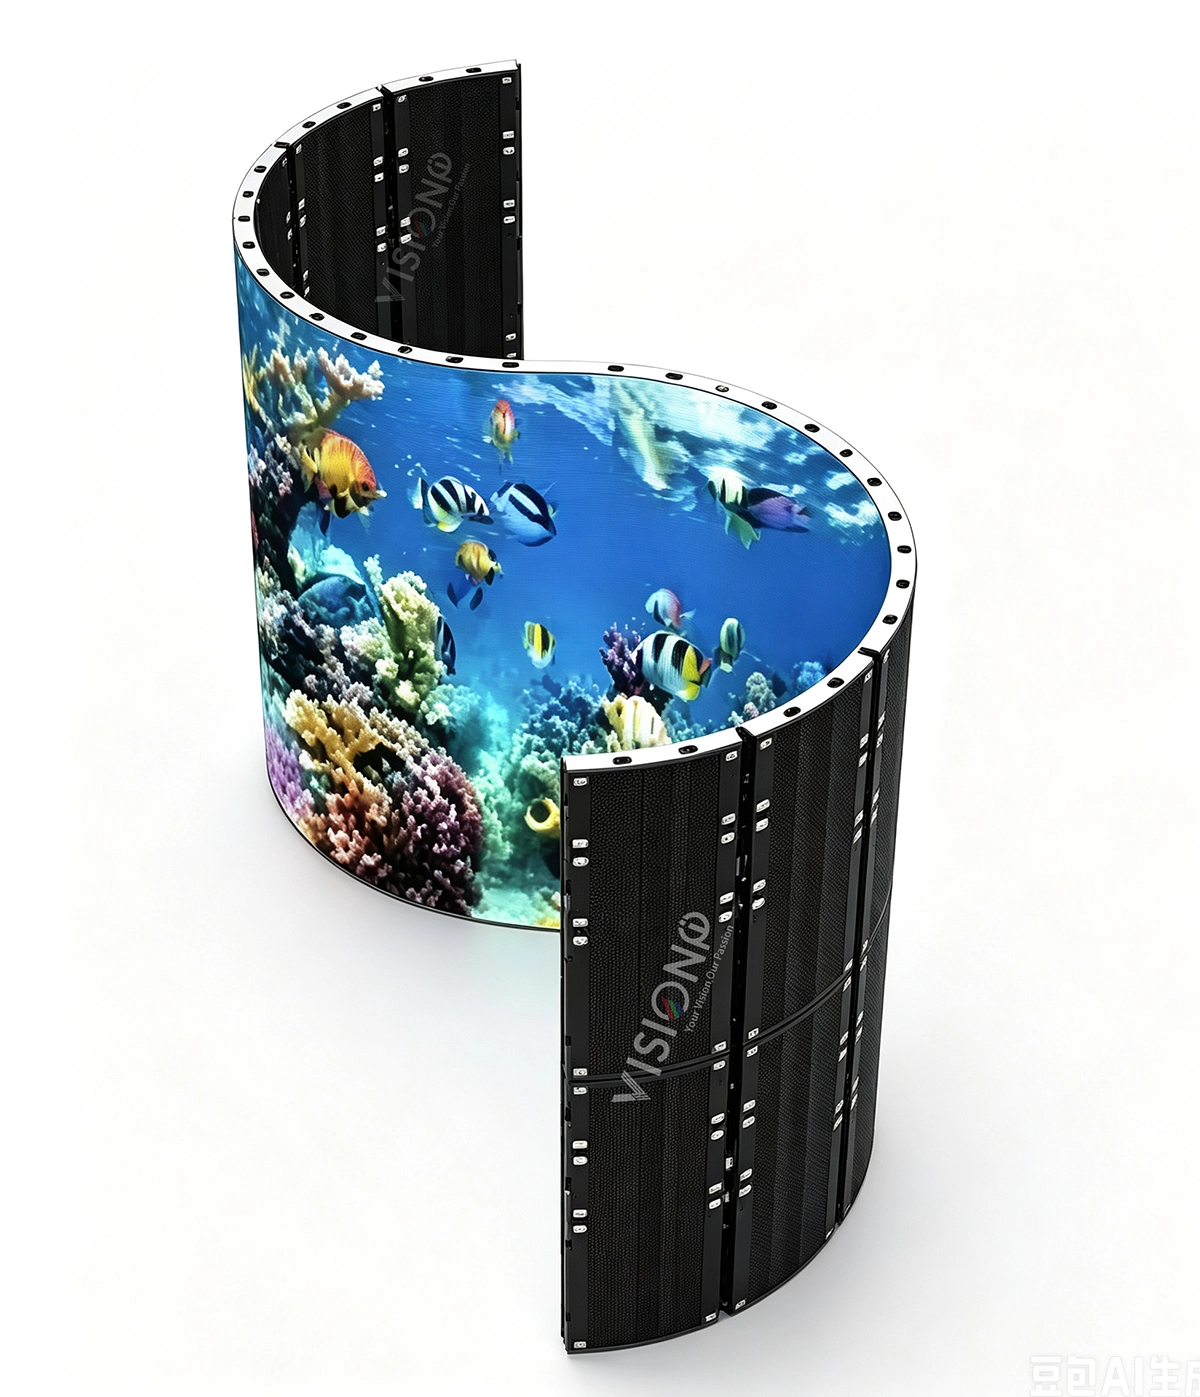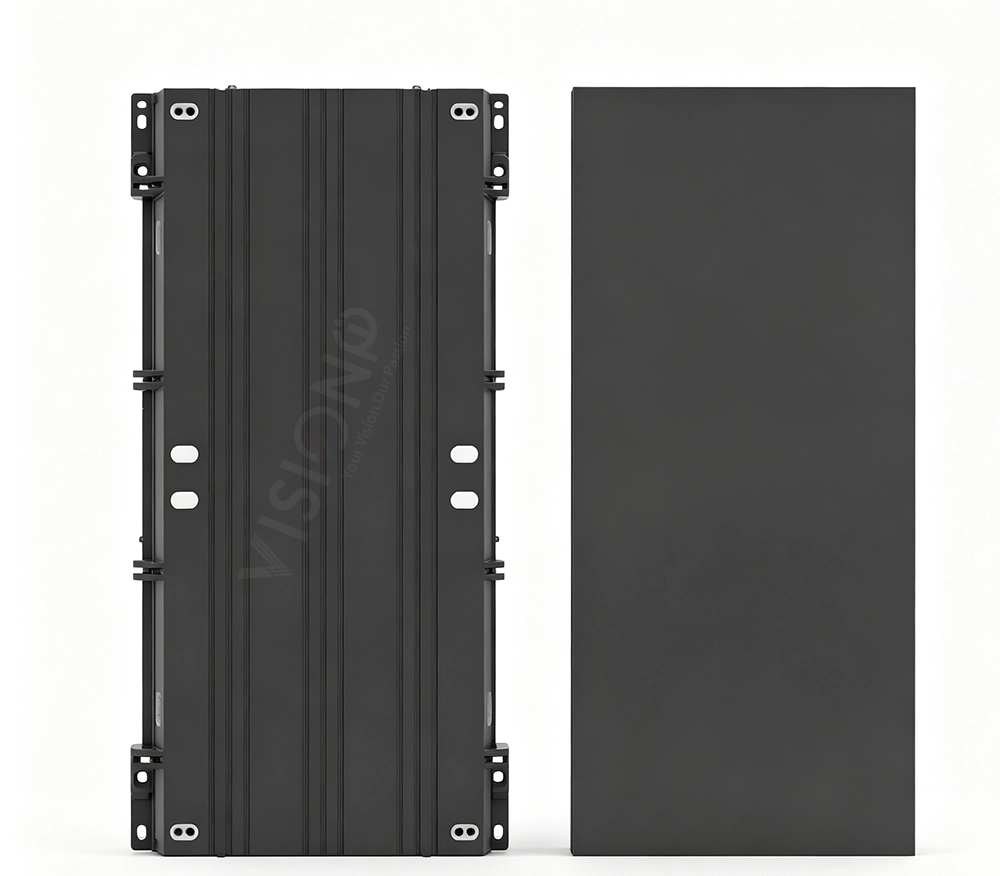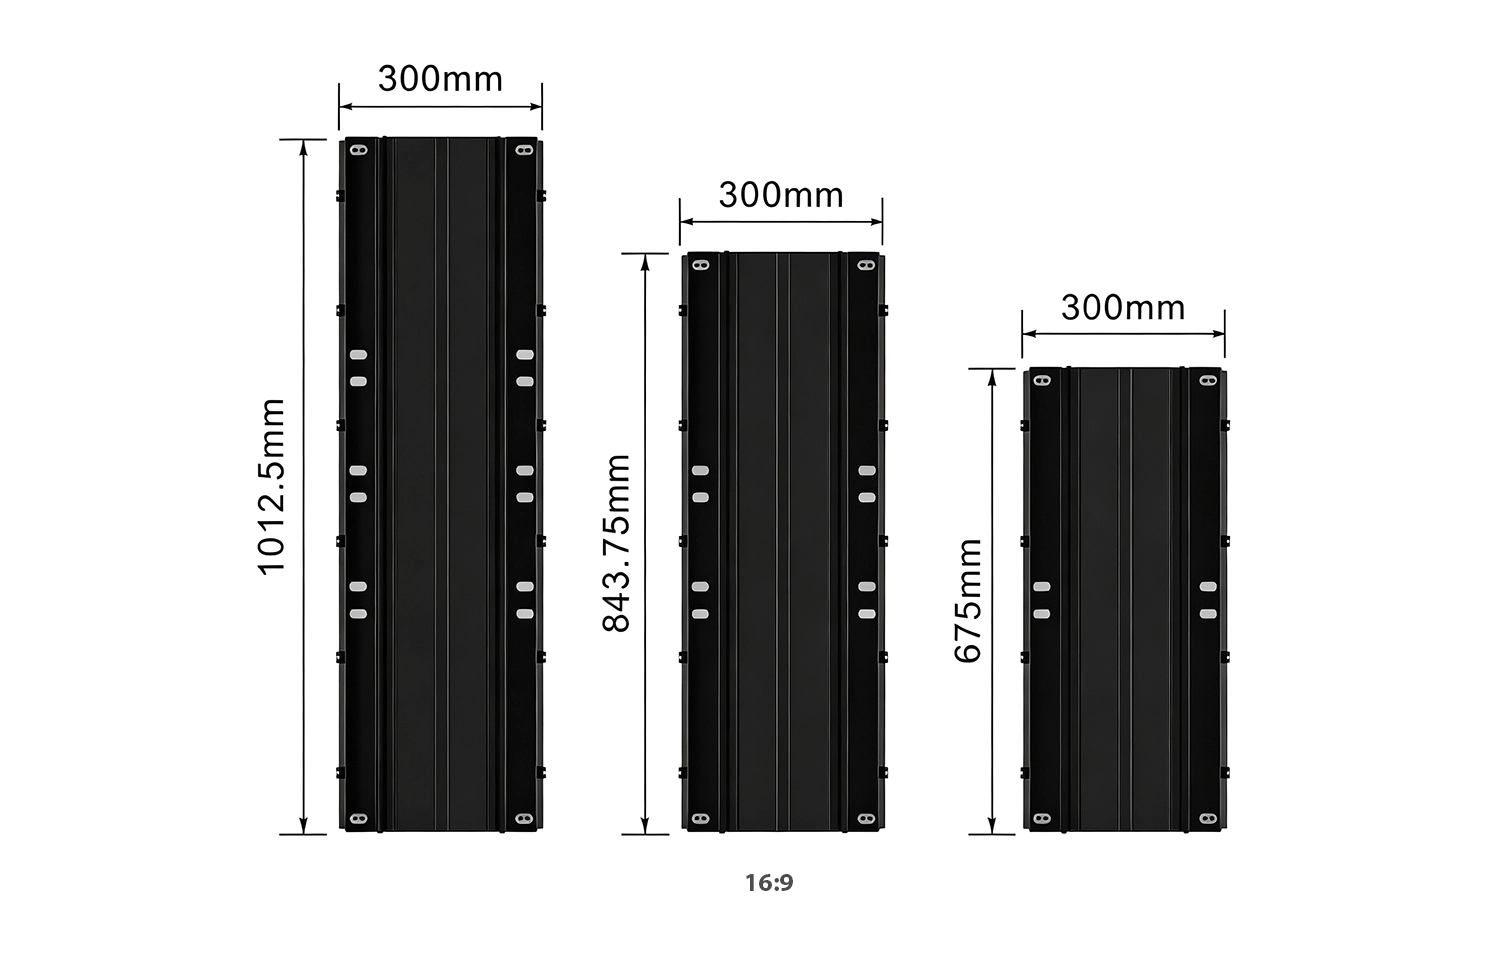
2ft × 1ft Outdoor LED Display

2ft by 1ft Outdoor LED Display: Key Features & Applications

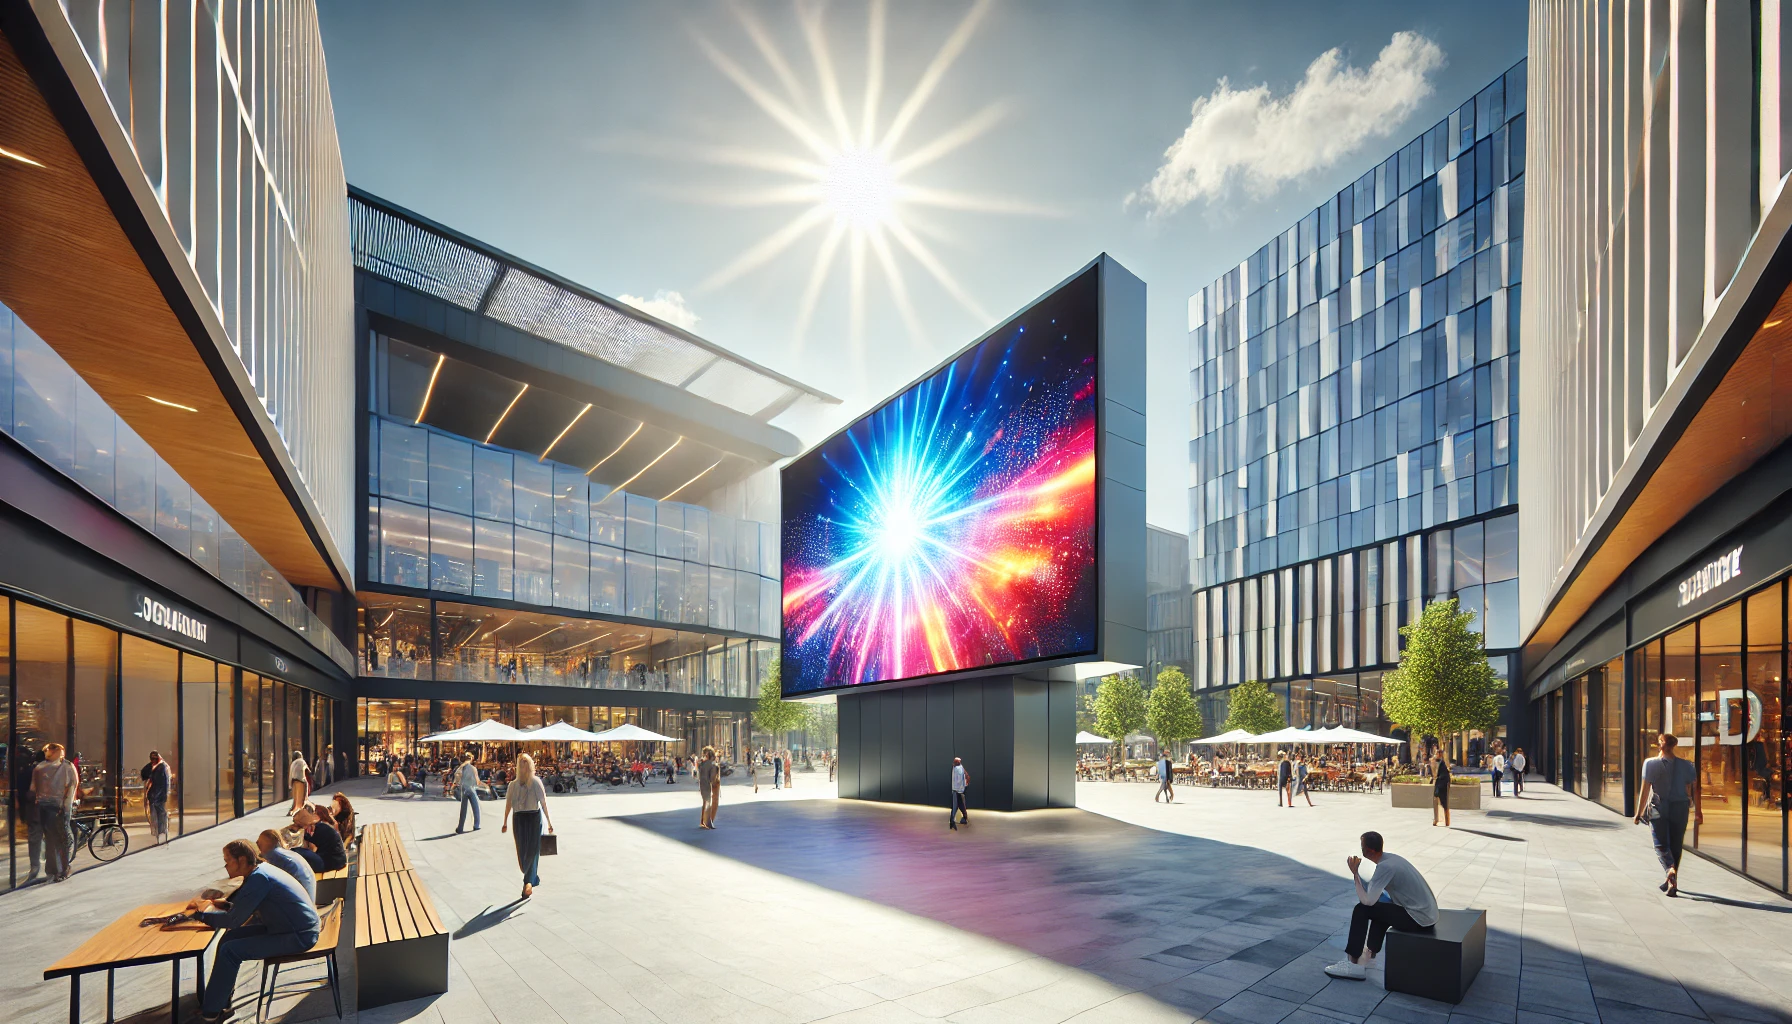
The 2ft by 1ft outdoor LED display is a compact, modular solution designed for a wide range of outdoor visual communication needs. Built with practicality and adaptability in mind, this panel size offers a balance of performance, ease of installation, and versatility for various commercial and public environments.
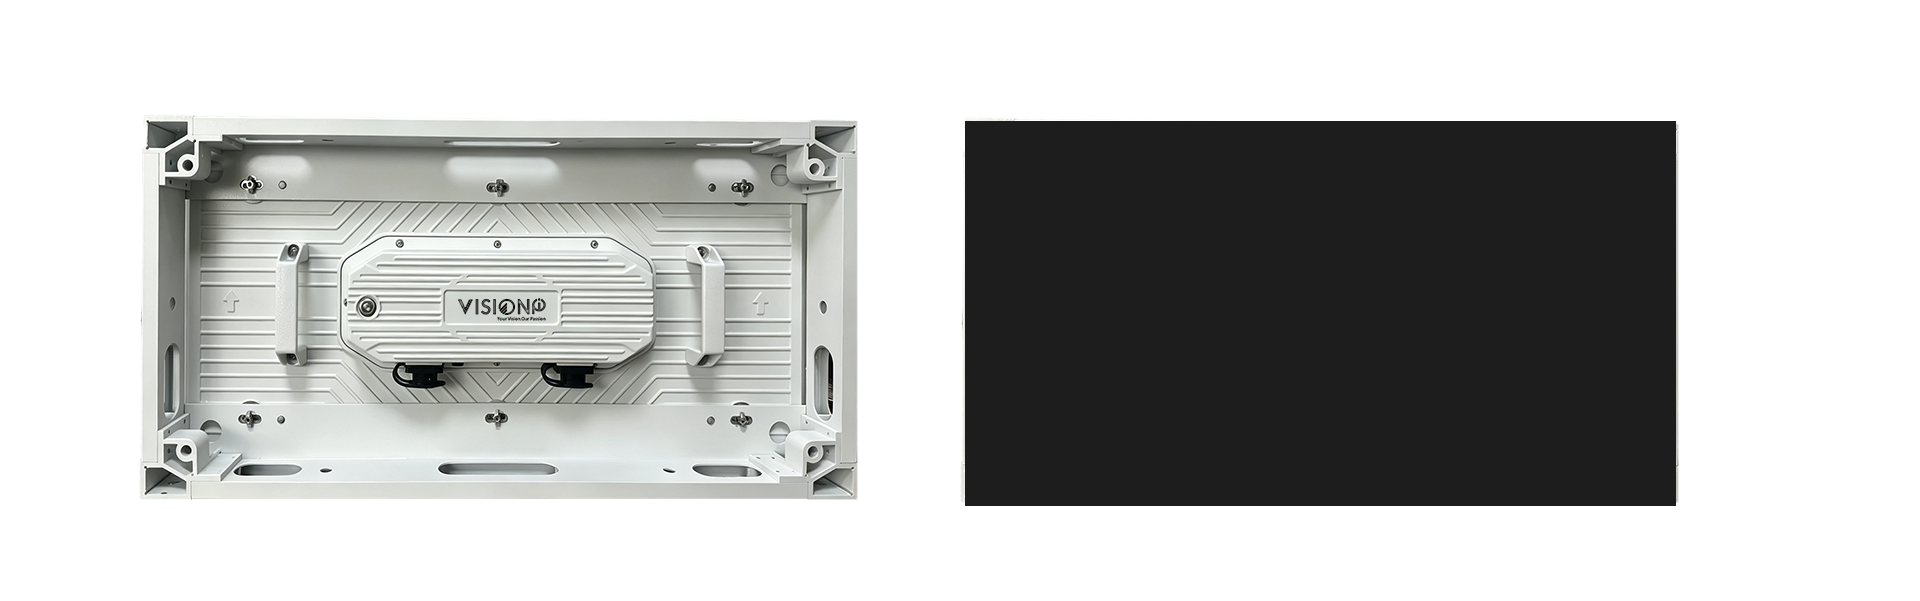
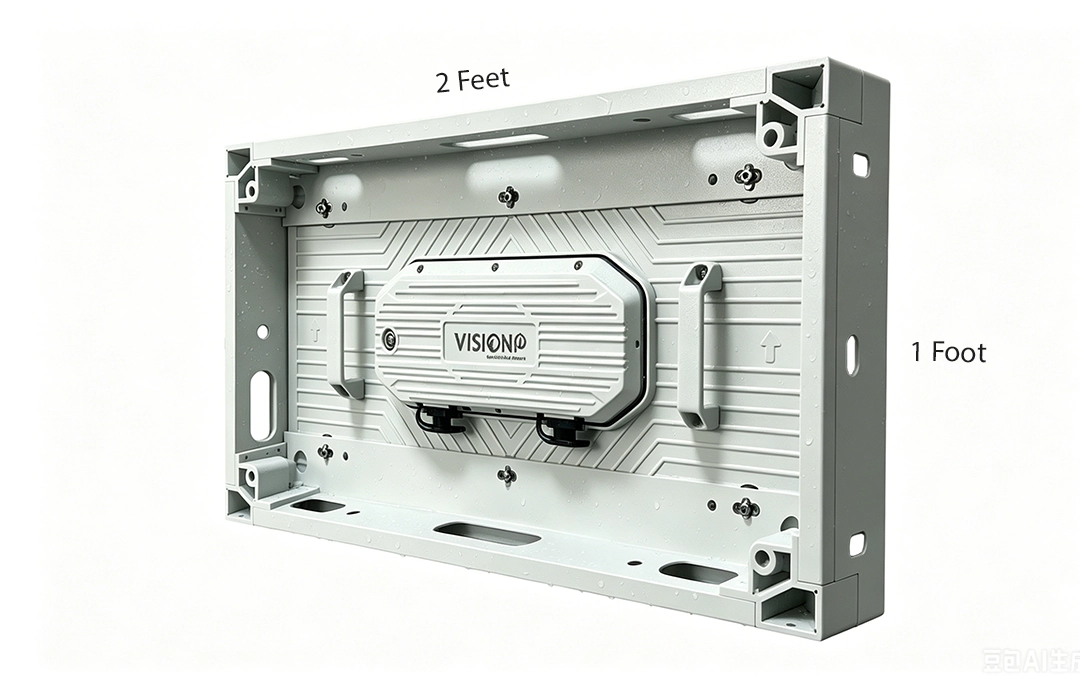
2ft by 1 ft outdoor led display 2feet by 1 foot

Product Overview: 2ft by 1ft Modular Design 

The core of this display is its standardized 2ft × 1ft panel size, engineered to simplify screen configuration and installation. Unlike fixed-size displays, the modular structure allows users to scale the screen to fit specific project requirements, from small signage to large-format installations. This flexibility is particularly useful for projects with custom dimensions, such as billboards, bus shelters, and mobile advertising units.

Key Features 

2feet by 1ft outdoor led signage

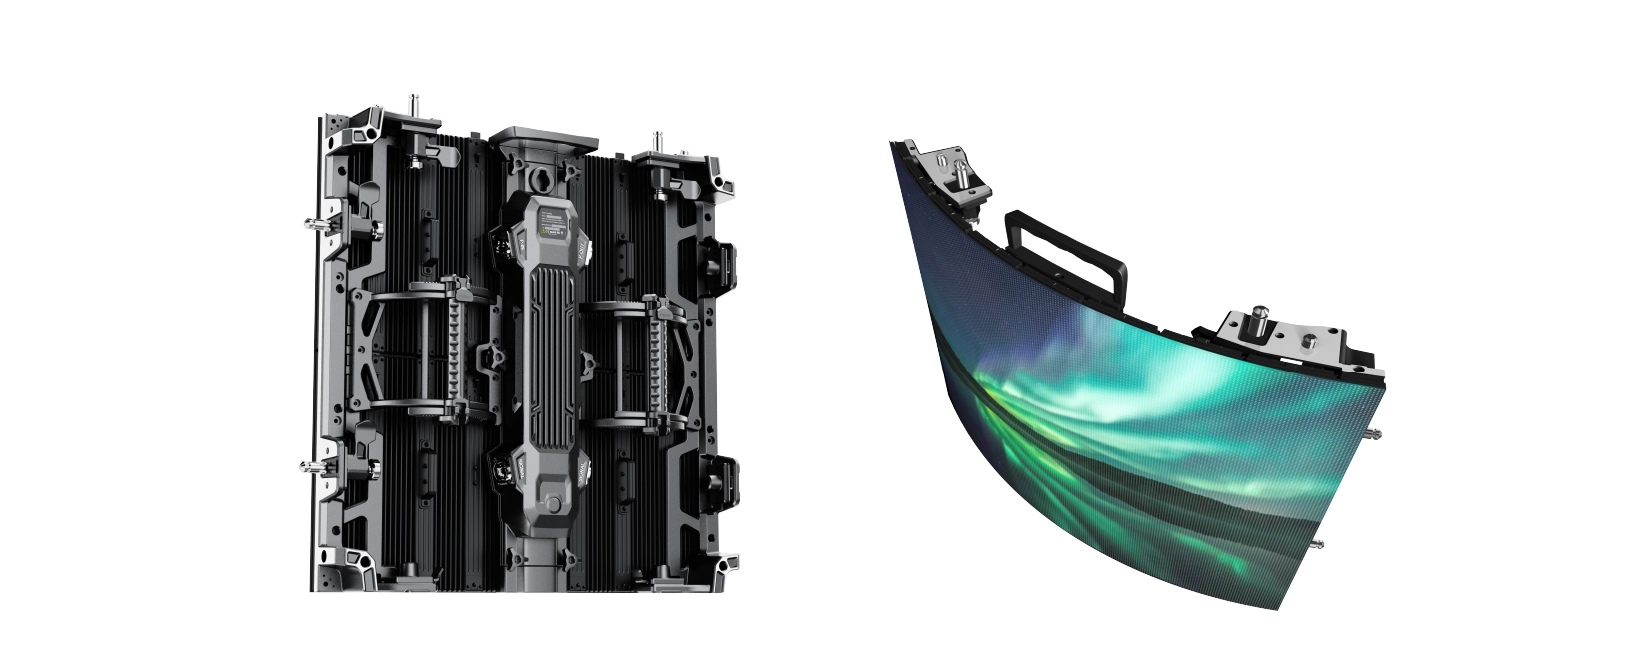
 IP68 Protection for Flat and 90-Degree Angles

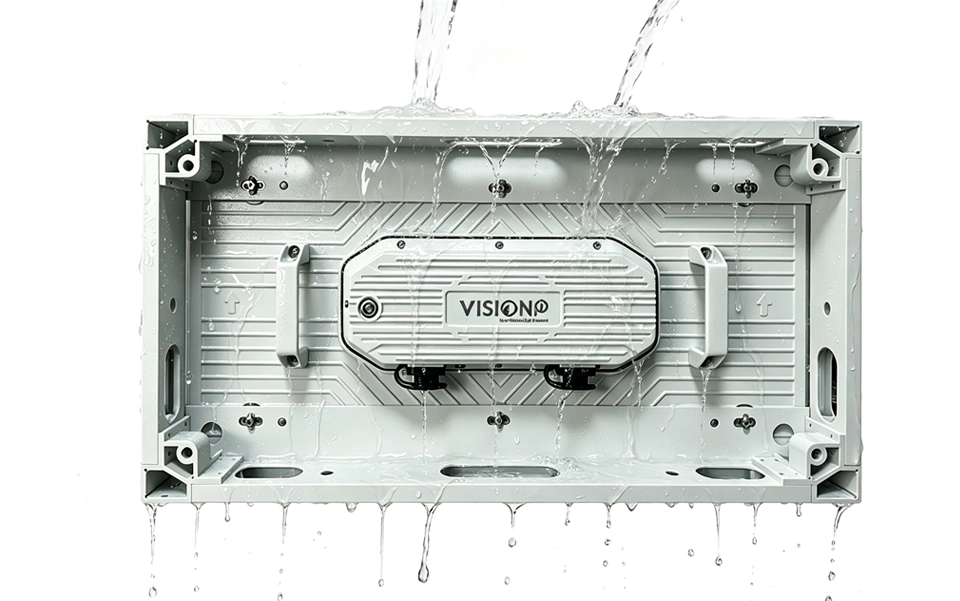
With an IP68 rating, the display is fully protected against dust ingress and water immersion, making it suitable for long-term outdoor use. The rating applies to both flat panels and 90-degree corner configurations, ensuring consistent durability in applications like building facades, retail storefronts, and public transit shelters.
ip68 feet size outdoor led display

High Brightness (Up to 10,000 Nits) and Reliability

The display delivers brightness levels up to 10,000 nits, ensuring clear visibility even in direct sunlight. Combined with robust component design, this high brightness supports reliable performance across diverse outdoor environments, from bright urban areas to remote roadside locations.
outdoor fine pixel led display high brightness p2.5

Flexible Screen Size Configuration

The small 2ft × 1ft panel size enables precise customization of screen dimensions. Users can build displays in standard configurations (e.g., 8ft × 4ft, 6ft × 3ft) or create fully custom shapes, including 90-degree angled screens. This adaptability makes the display suitable for applications where space or design constraints require non-standard layouts.

Lightweight and Labor-Efficient Installation

Each panel weighs only 3.9 kg, significantly reducing the physical effort required for handling and mounting. The lightweight design also lowers structural load requirements, allowing installation on a wider range of surfaces, including existing frames and temporary structures. This results in faster installation times and reduced labor costs compared to heavier outdoor LED panels

Common Applications

The 2ft by 1ft outdoor LED display is well-suited for:
  • Outdoor Billboards: High brightness ensures visibility from long distances, even in daylight.
  • Bus Shelters: IP68 protection and compact size fit standard shelter dimensions.
  • Mobile Signage: Lightweight panels are easy to mount on vehicles or temporary structures.
  • Retail and Commercial Facades: Flat and angled configurations enable dynamic storefront displays.
  • Public Transit Stations: Durable construction withstands frequent exposure to the elements.

2 in 1 LED P1.9 Rental Display

The Power of  2 in 1 IMD LED Display Technology

For fast-paced event production and high-end rentals, LED displays are subject to an endless process of assembly, transportation, and disassembly. This continuous processing presents a formidable problem: the repeated release of a single LED. Not only does such a problem affect visual performance and reduce the life of a product, but it also brings higher maintenance and operation costs. To solve this major industry pain point, Visionpi developed an innovative solution: a 2-in-1 IMD LED display. This new development is designed for the adverse indoor rental screen environment.

IMD ANTI-COLLISION HIGH END RENTAL LED DISPLAY P1.95 INDOOR EVENTS

What is an IMD LED Display 2 in 1? 

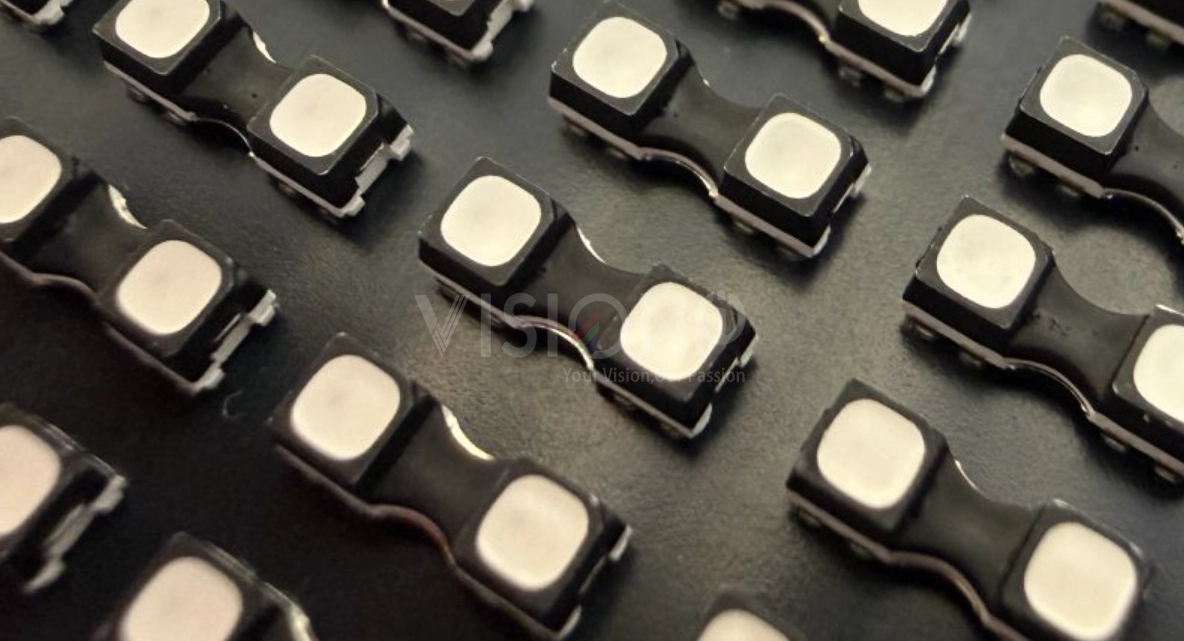
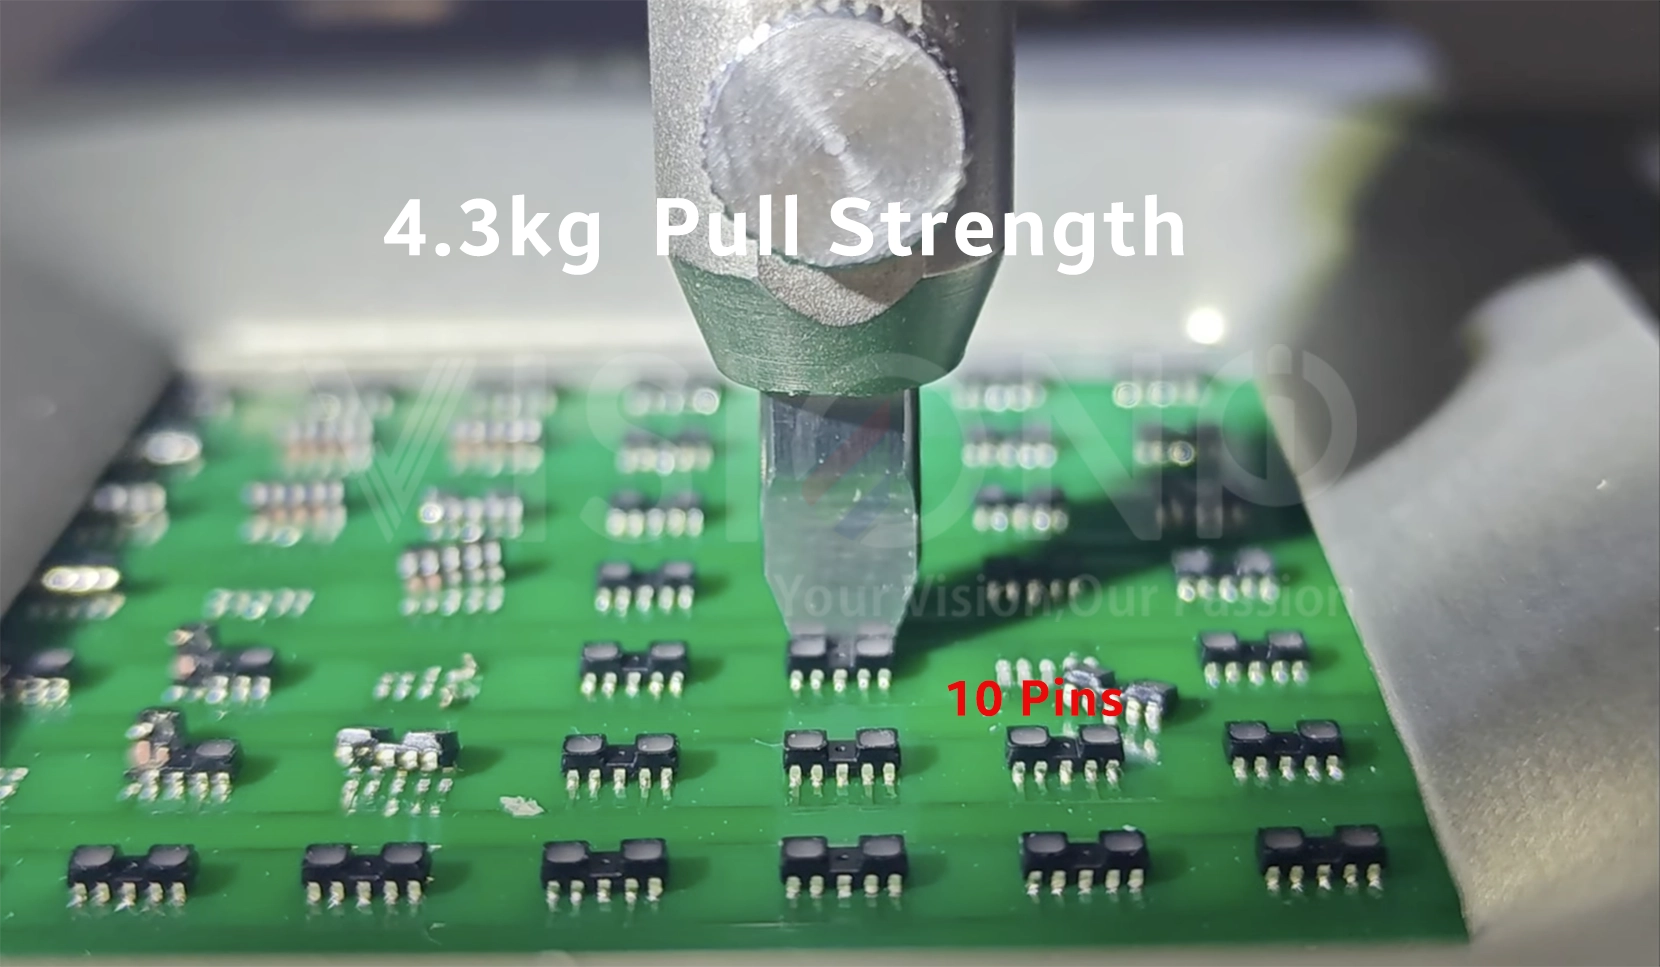
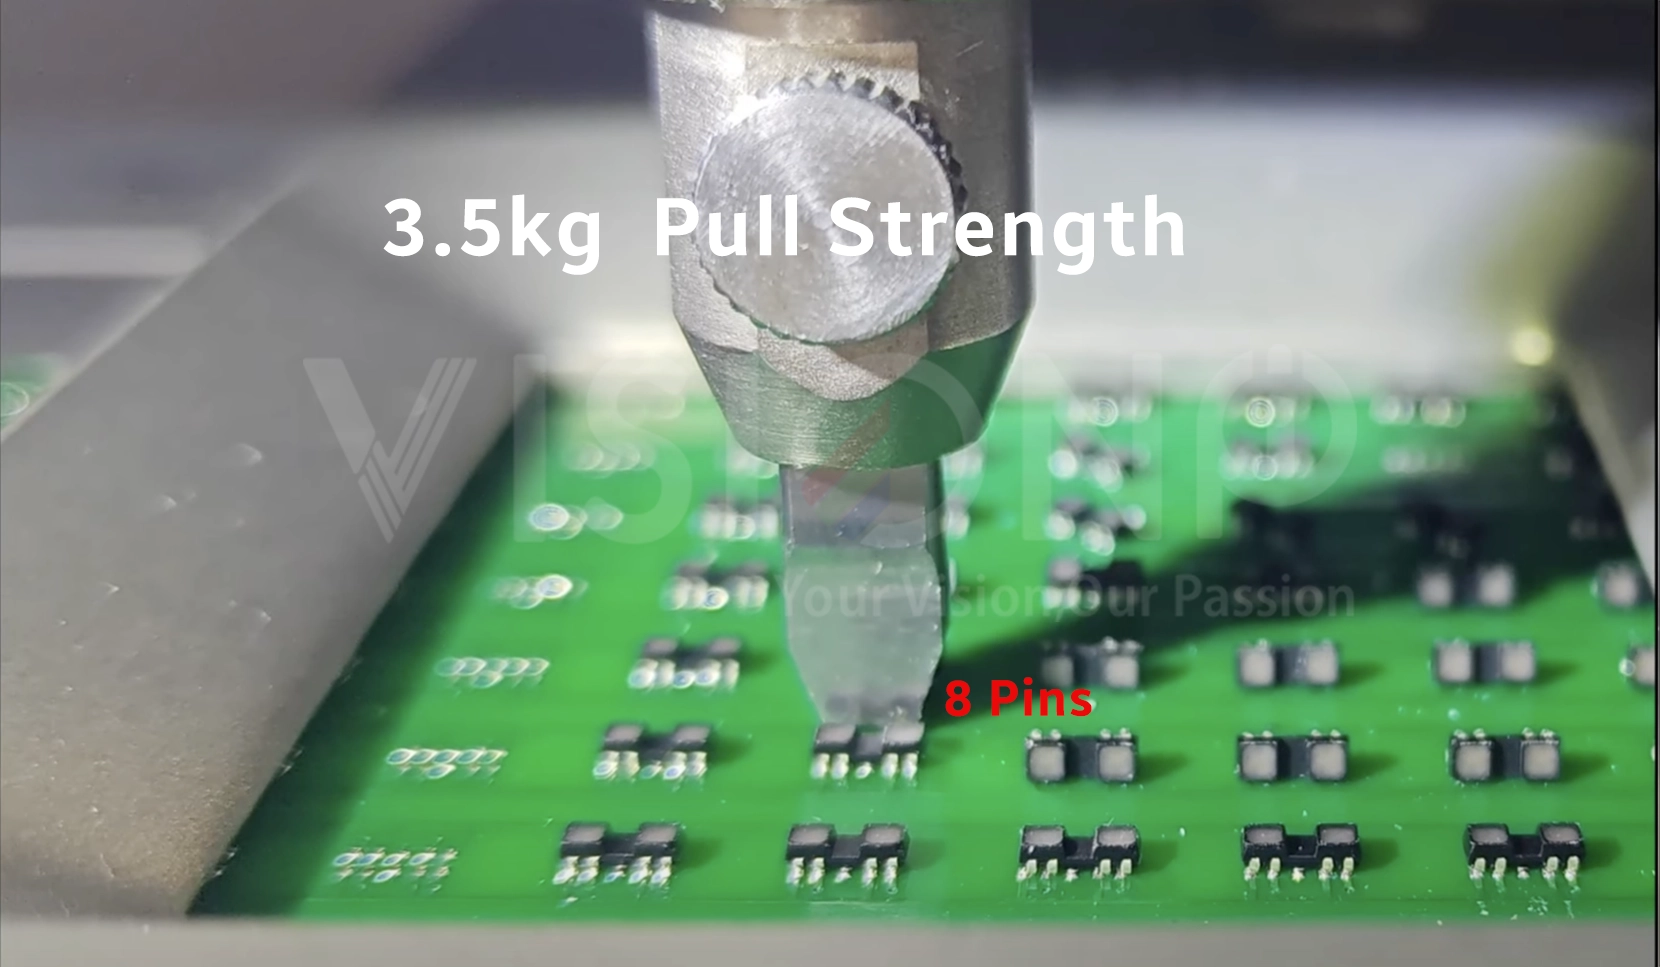
The 2 in 1 (2195) is a big advance in LED packaging technology. Going beyond a traditional single-unit structure, it incorporates two LED chips in one strong package. This 2-in-1 design is what makes it so special and why rental companies will appreciate how much tougher and reliable the AR Converter by N-Microwave is. ACHI-5028J 8-pin and ACHI-5030J 10-pin. Both of these deliver a direct high-performance upgrade path for manufacturers.

2 in 1 led 2195 IMD

Difference Between IMD 4-in-1 and IMD 2-in-1

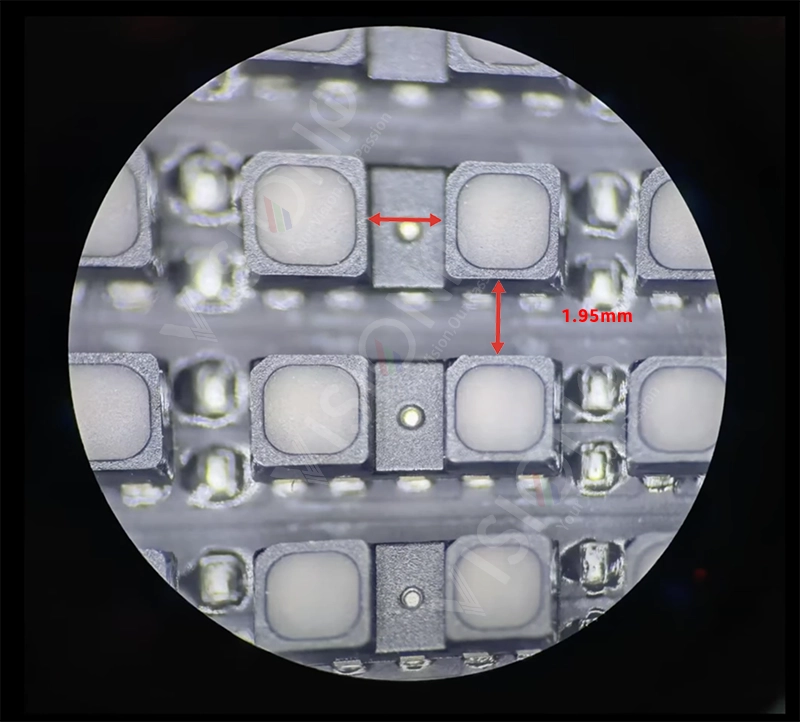
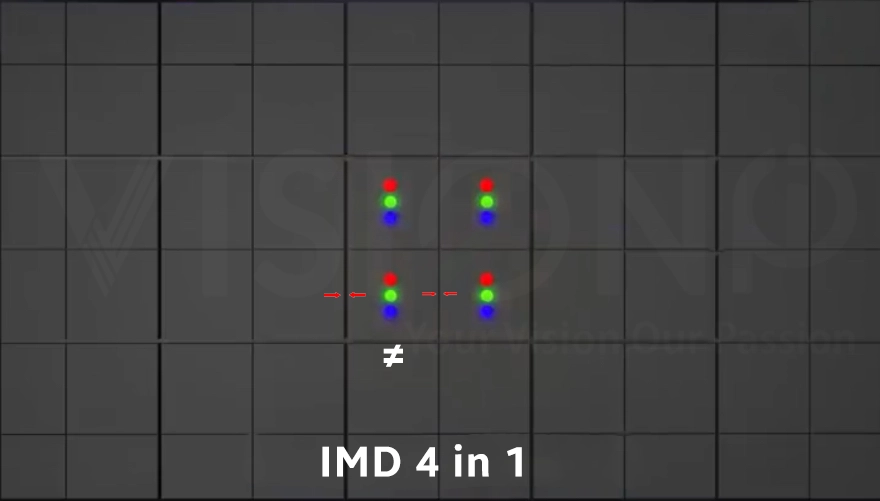
In an IMD 4-in-1 design, four LED chips are integrated into a single package. Although the specified pixel pitch may be 1.95 mm, the actual distance between the individual LEDs inside each package is smaller than 1.95 mm. This means the internal LED spacing does not fully match the pixel pitch, which can negatively affect display uniformity, grayscale performance, and overall visual consistency—especially at close viewing distances.

In contrast, IMD 2-in-1 uses two LEDs per package, and the spacing between the LEDs is consistent with the pixel pitch. For example, with a 1.95 mm pixel pitch, the distance between the LEDs is also 1.95 mm. This more uniform spacing results in better brightness balance, improved contrast, and overall superior display performance.

As a result, IMD 2-in-1 typically delivers more accurate image quality and a more refined visual experience compared to IMD 4-in-1.

p1.95 rental led display
imd rental led display p1.9

Advantages of 2 in 1 IMD LED DISPLAY

Enhanced Thrust & Anti-Collision Performance 

ANTI COLLISION EVENTS RENTAL LED DISPLAY INDOOR 1.9MM
IMD 8 PINS 3.5 KG PULL STRENGTH TEST P1.9 INDOOR RENTAL

High-Quality Visuals, Even for the Most Demanding Applications

Durability doesn’t mean compromising on aesthetics. The t 2-in-1 LED display for clerk/splitter both use the quality PCB and material for a good quality image.

It is made of high-quality chips and patch glue, which makes it have a bright and uniform display.

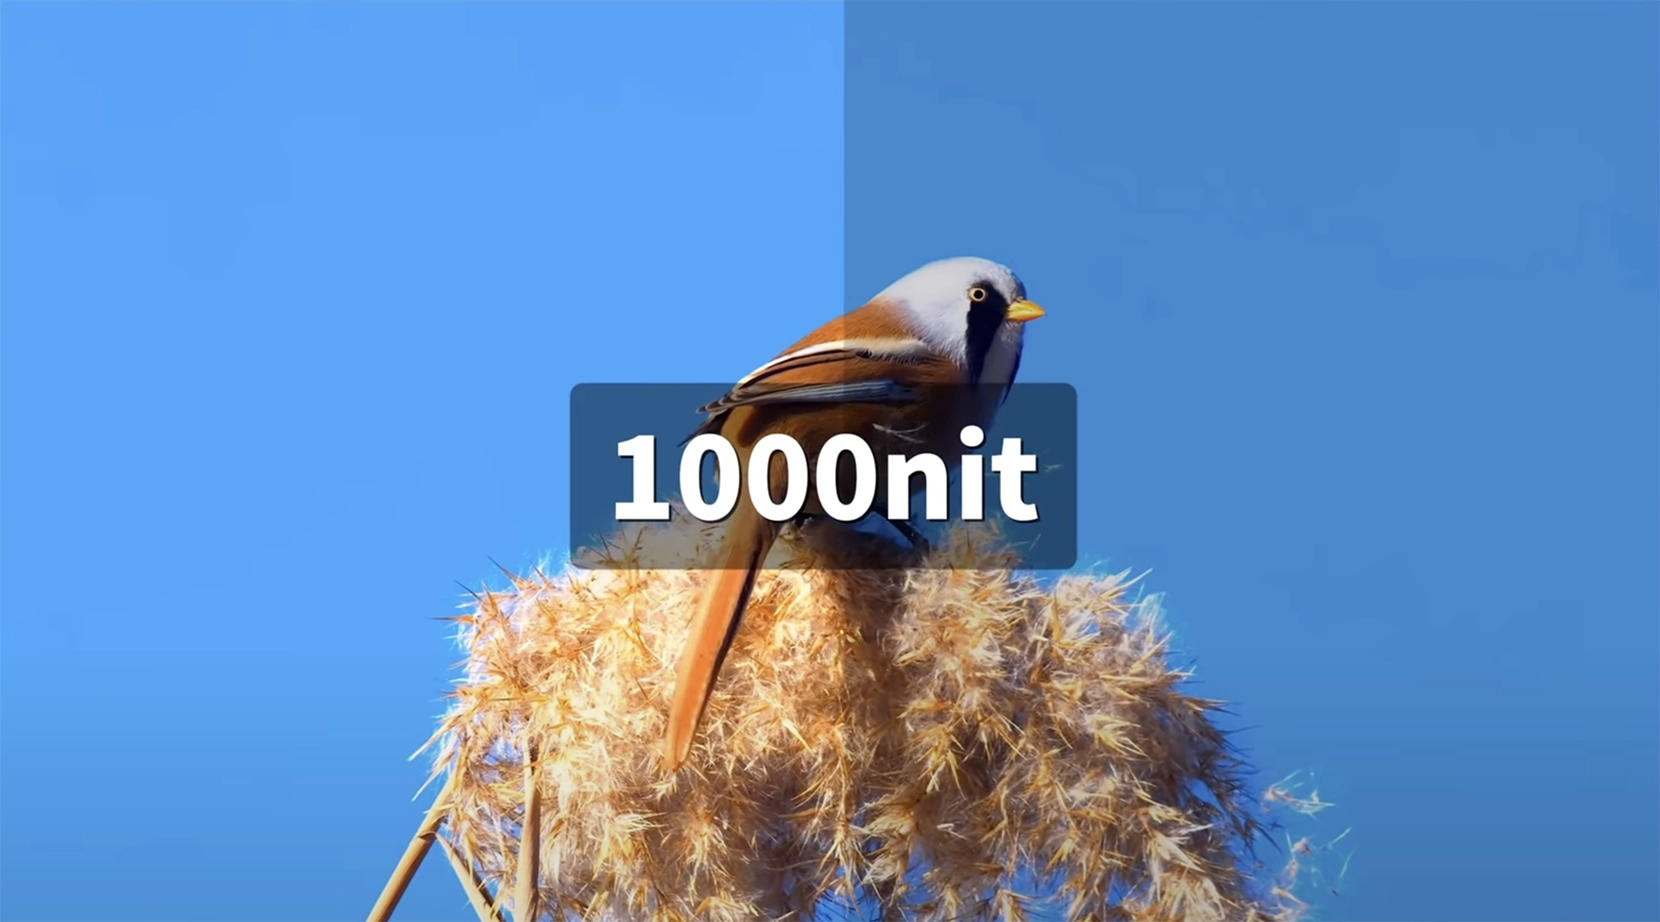
In P1. 95 fine pixel pitch installations, it delivers screen brightness of over 1000 nits, meeting the demands of a variety of indoor environments, from meeting spaces to stages.

No Caterpillar issue

> When moisture enters the LED package, it can cause a short circuit at the negative electrode of the red chip, resulting in an entire column of red LEDs remaining constantly on.
>With the optimized internal structure of the 2-in-1 LED package, the negative electrodes of the red, green, and blue chips are completely separated. This design effectively prevents short circuits and eliminates the risk of abnormal constant-on LEDs caused by moisture.

caterpillar effect failure led display indoor

Higher contrast ratio

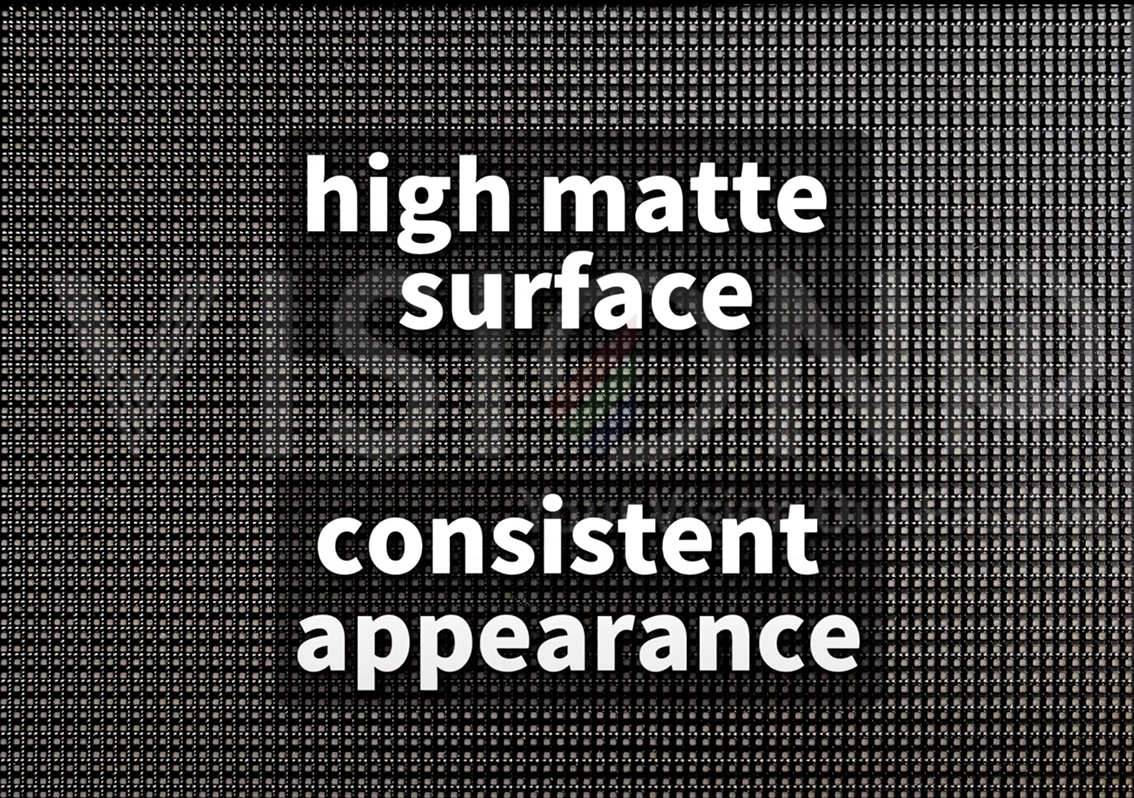
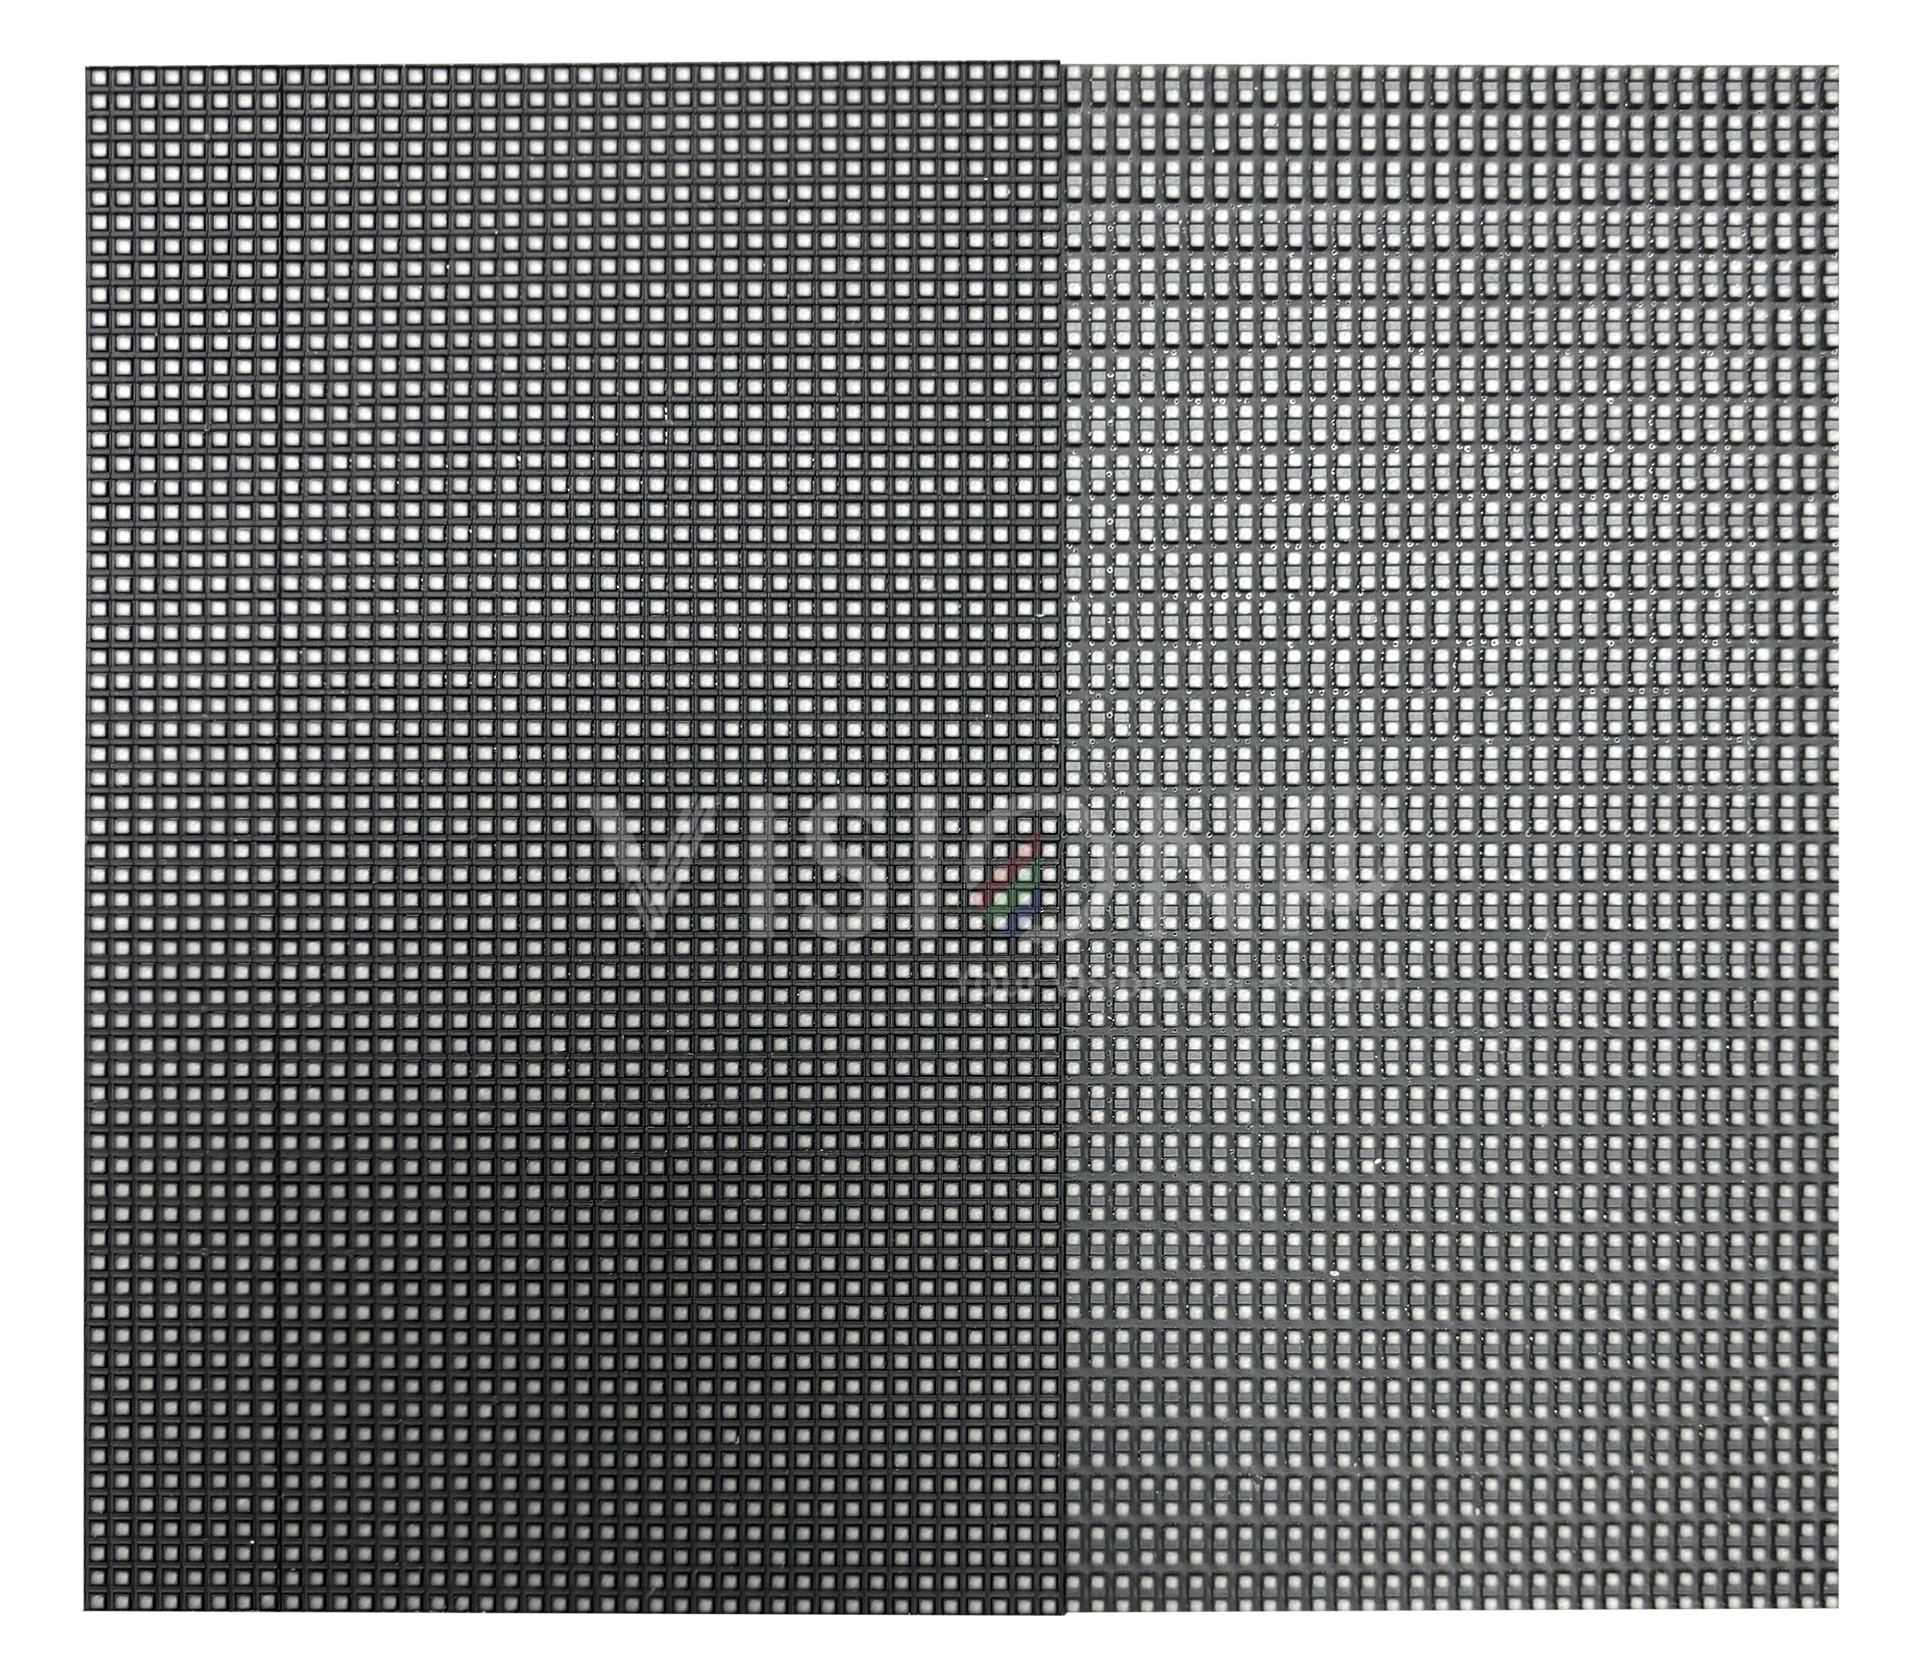
The matte-finish design, combined with a uniform ink-color coating that is compatible with standard masks, significantly reduces reflections and delivers a vivid, professional visual effect for a wide range of commercial events.

In addition, the P1.95 pixel pitch allows a surface mask to be installed, further enhancing the contrast ratio while providing extra protection. This added layer does not complicate maintenance or repairs, ensuring both performance and practicality.

2 in 1 imd led modules 250x250mm
imd 2 in 1 smd led display for p1.953

High Brightness

Durability doesn’t mean compromising on aesthetics. The t 2-in-1 LED display for clerk/splitter both use the quality PCB and material for a good quality image.

It is made of high-quality chips and patch glue, which makes it have a bright and uniform display.

In P1. 95 fine pixel pitch installations, it delivers screen brightness of over 1000 nits, meeting the demands of a variety of indoor environments, from meeting spaces to stages.

High brightness 1000nits p1.95 rental

Ready to end the cycle of broken LEDs and costly repairs? Discover how the Kinglight 2195-S1 2-in-1 IMD LED can make your rental screens tougher, brighter, and far more reliable—let’s talk.

Get Quote for high quality led wall

We are passionate to offer you the best possible services

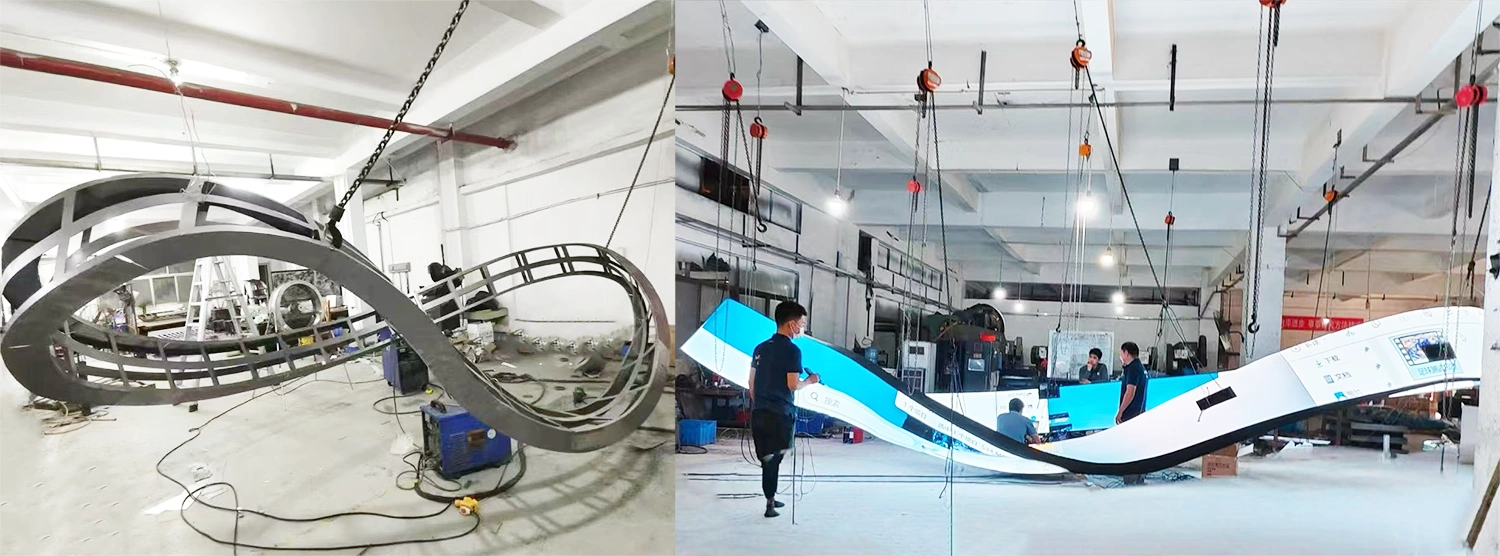
Customized Mobius Strip LED Display

mobius led screen infinite loop led display

What Is a Mobius Strip?

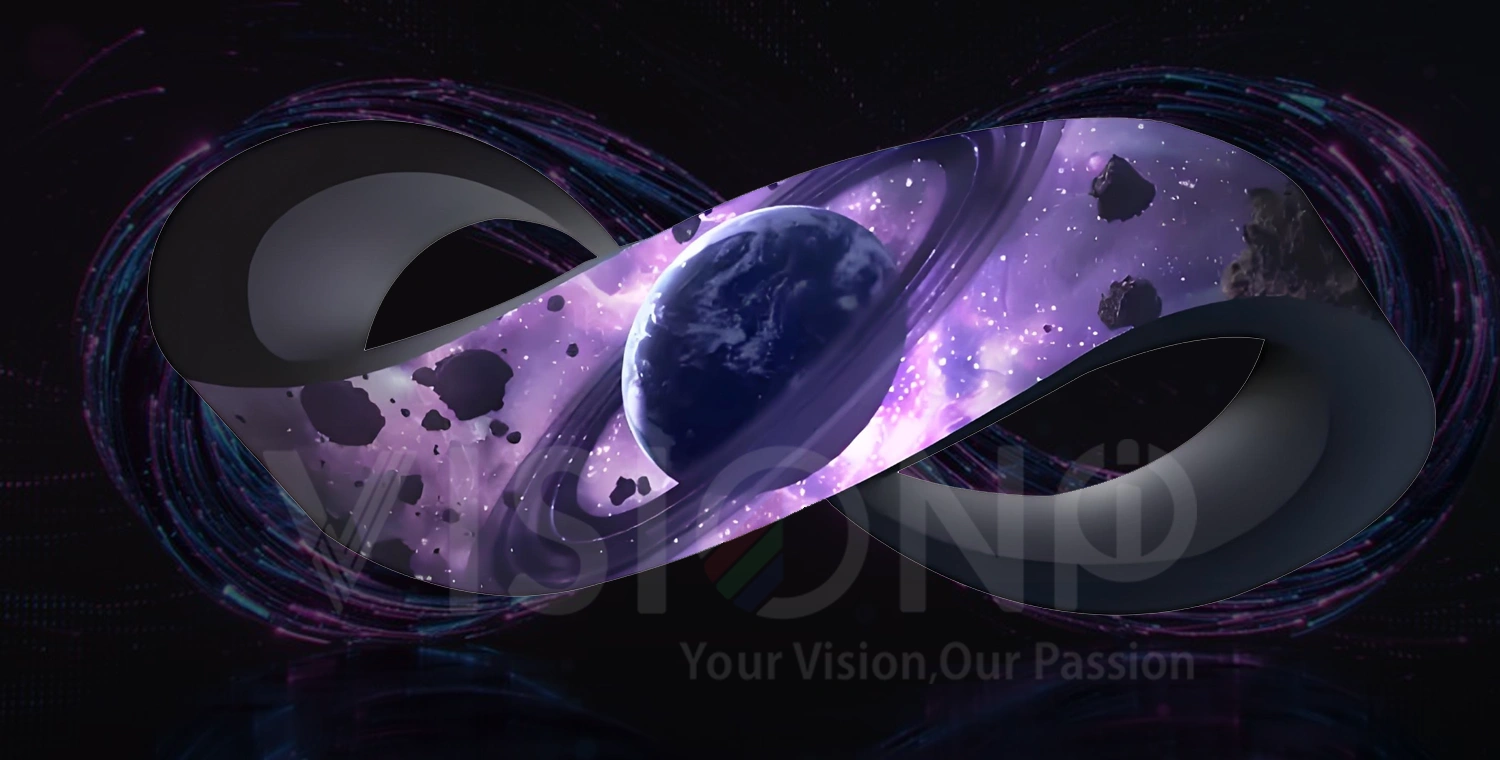
Inspired by the mysterious Möbius strip (a surface with one side and no end), this display curves light around a continuous loop. Not like most screen around the confines of a frame:”Content will stream along these digital rivers ‘forever’ | According to a framework the popular media company has concocted. Viewing angles curve 360º around the buildingImpossible immersion that takes the audience into the story Call it a dance of geometry and light.

The Mobius Ring LED Display: Where Math Meets Magic in Immersive Visuals

First impressions count in this digital age of speed and appearances. Be it a corporate lobby, an exhibition booth, or any event venue, your front desk defines the face of your brand. This is why we are proud to introduce our newest product: the Digital LED display Counter, a curved LED desktop display that combines digital signage and practical furniture in one module.

infinite loop LED Screen:Breaking the Flat-Screen Barrier

In a time where consumers desire memorable experiences, traditional LED failed to be remarkable. This is where the Möbius Ring LED Display comes in — Mathematically elegant and designed to break down the barriers between great content and reality.

“We’re not only displaying content — we’re setting it free.”

Why Designers & Brands Are Choosing the Mobius Strip LED Display?

The “Infinity Effect”

  • No seams. No dead zones. Content circulates in hypnotic fluidity

  • Ideal for: Kinetic brand stories | Live visual performances | Data art

  • Real impact: Luxury retail spaces using Möbius loops saw 35% sales growth (Shanghai flagship case)

360-Degree View:Every Perspective Is Perfect

  • Walk around it. Peer through it. Every angle reveals the full story

  • Event Application: At major concerts, 15m diameter rings let fans orbit the stage—each step unveiling new visual chapters

  • Stat: 89% of attendees report “deeper emotional connection.”

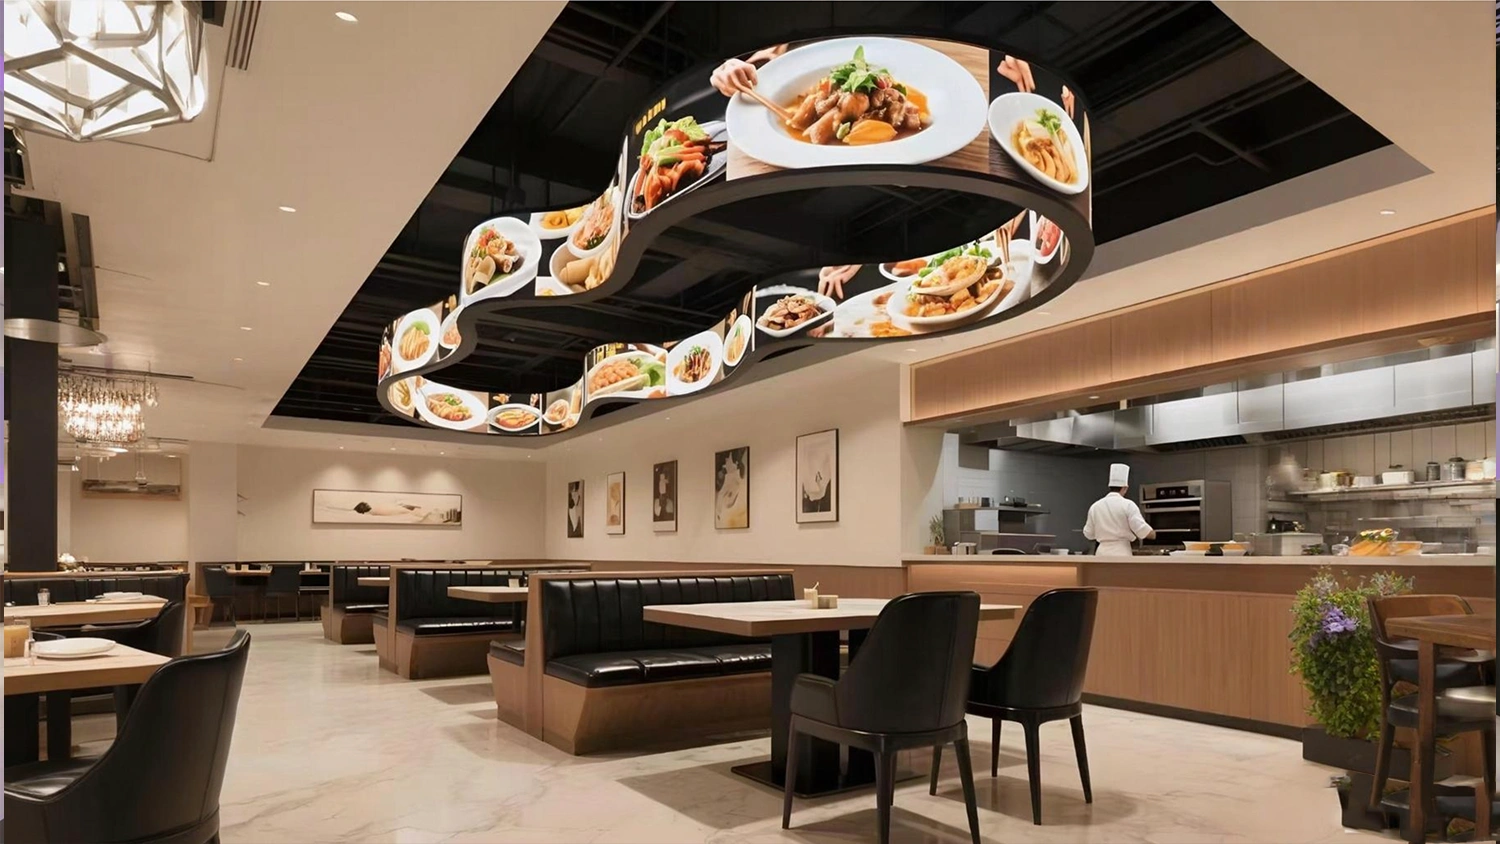
mobius led display in restuarant

Built For Reality

  • Pixel perfection: P1.2 to P4 micro-pitches deliver razor clarity

  • Armored tech: GOB-coated modules withstand vibration, humidity & Champagne spills

  • Steel cabinets: Front-service design simplifies maintenance

Infinite loop LED Display scenario

Commercial Advertising & Brand Promotion

Transform Spaces Into Attention Magnets
The Möbius Ring LED display revolutionizes brand storytelling with its hypnotic infinite-loop visuals. Unlike static billboards:

  • 360° engagement captivates crowds in high-traffic zones (malls, pedestrian plazas, commercial hubs)
  • Dynamic content flow turns ads into immersive narratives
  • Proven recall boost: Early adopters saw 27% higher brand recall versus traditional displays
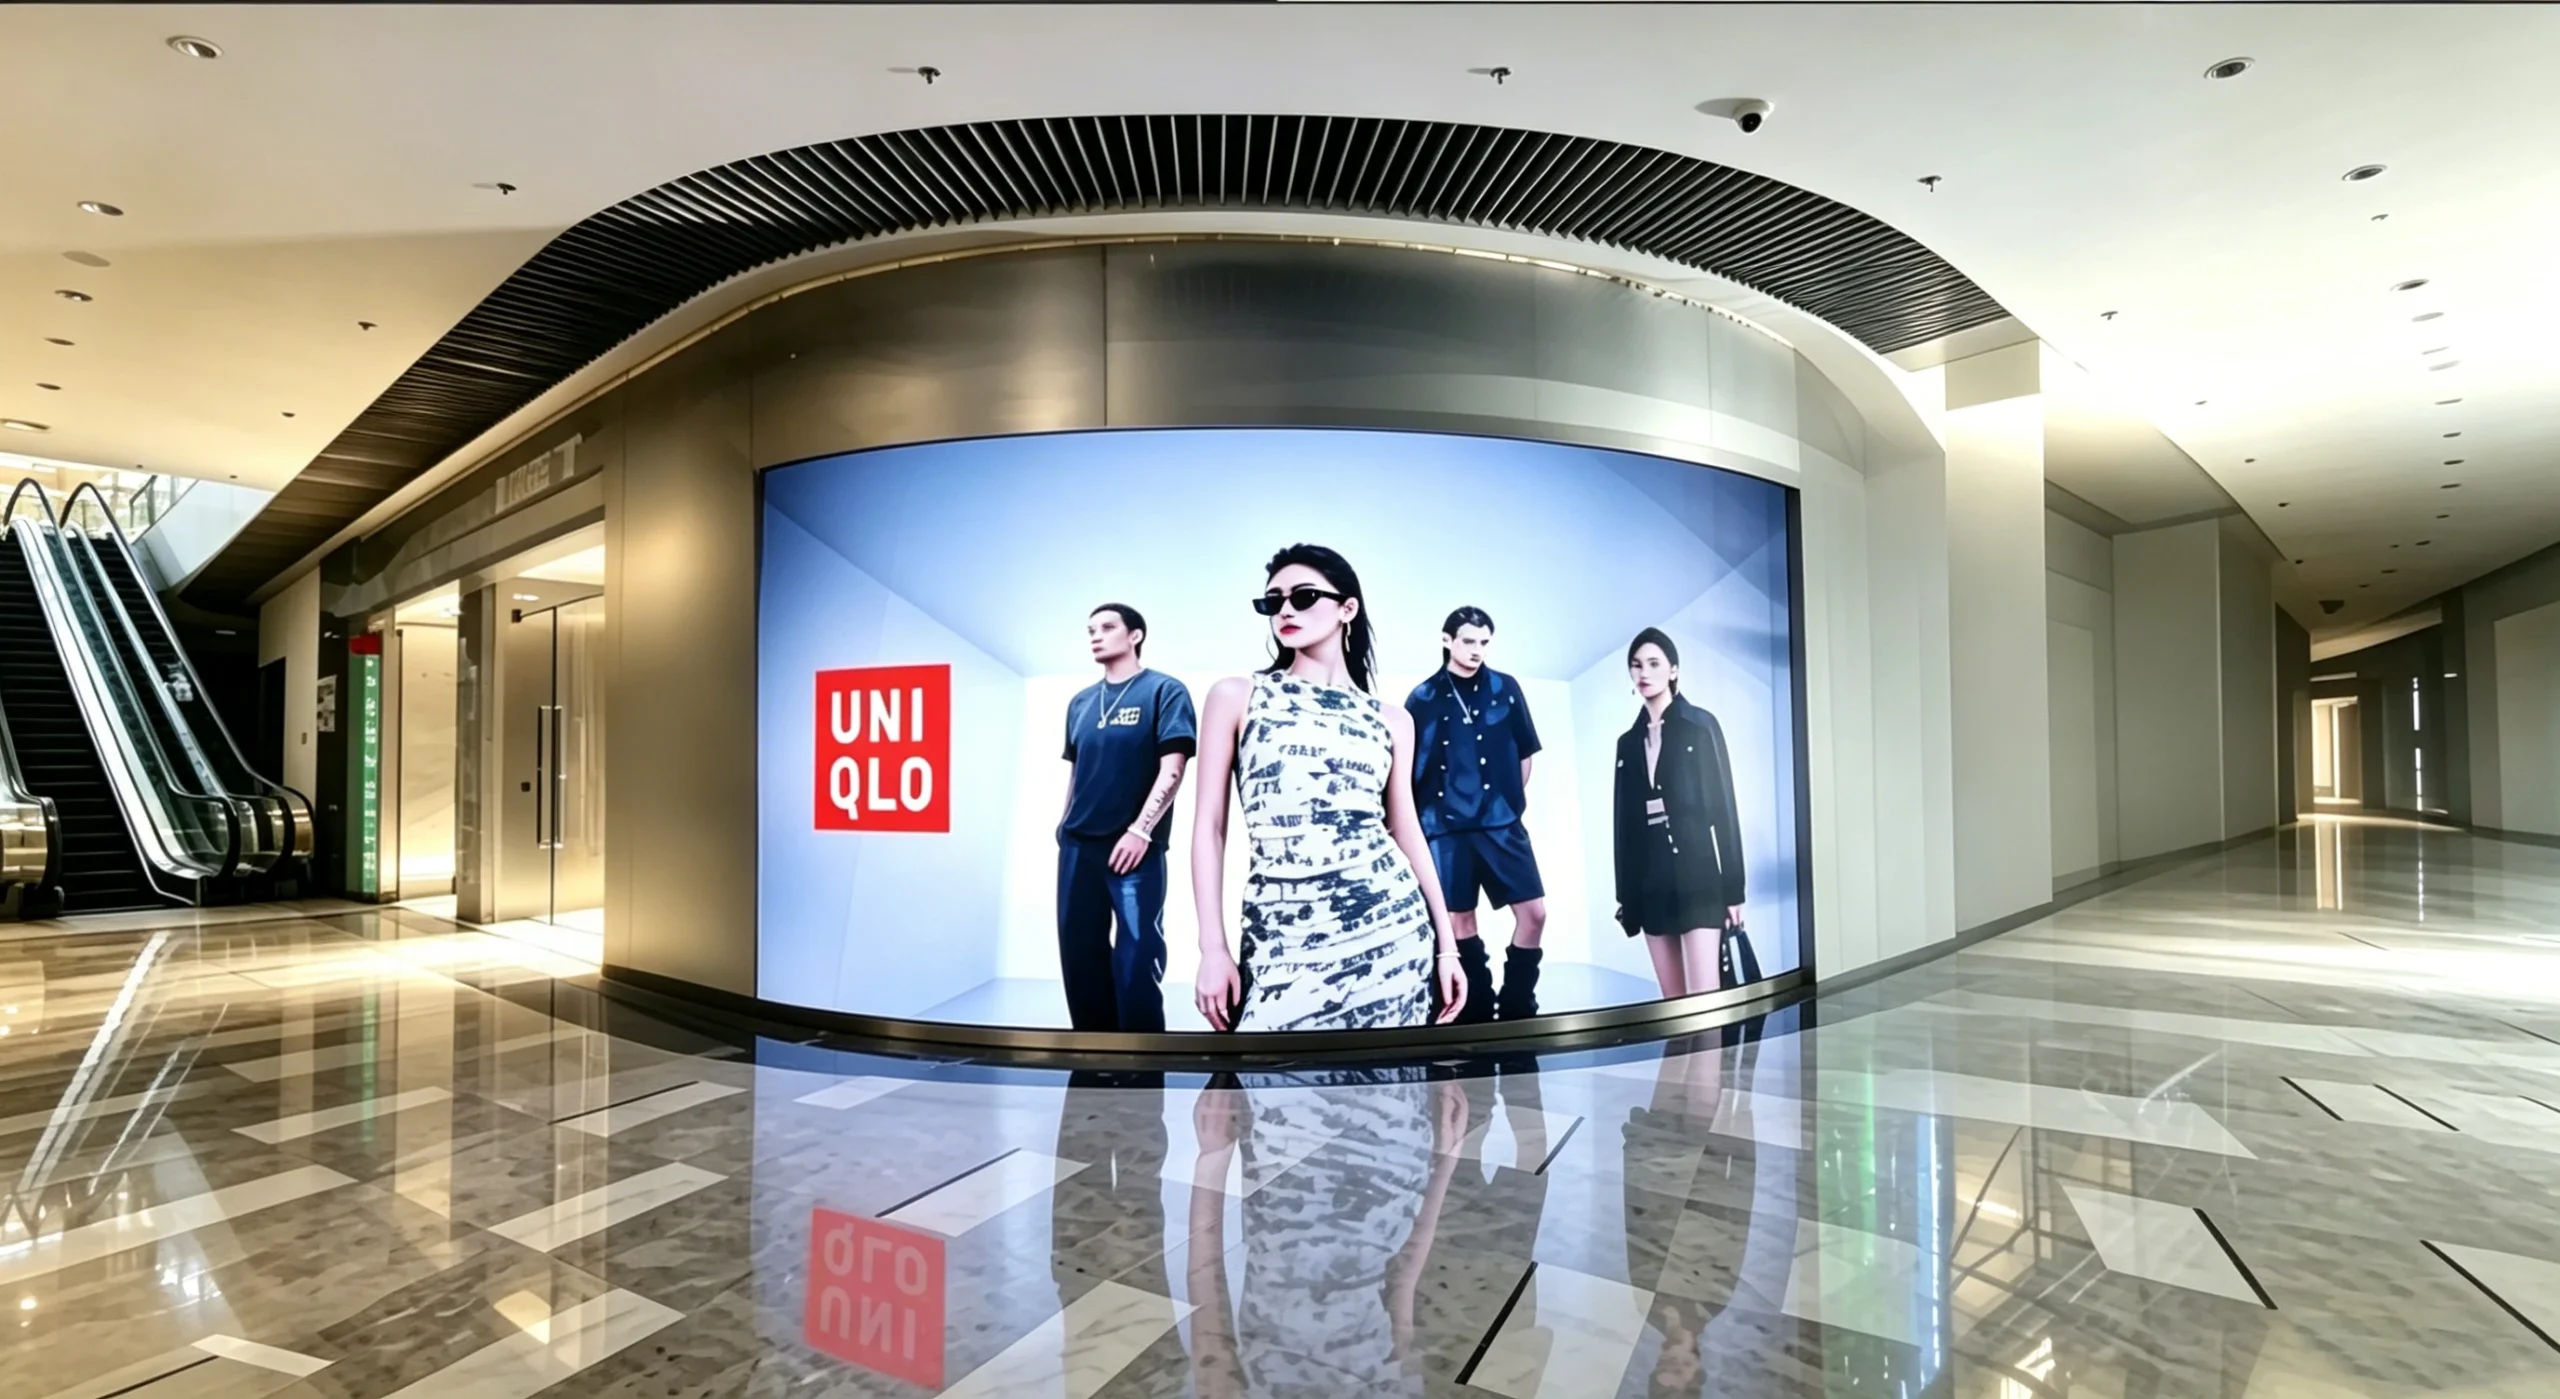
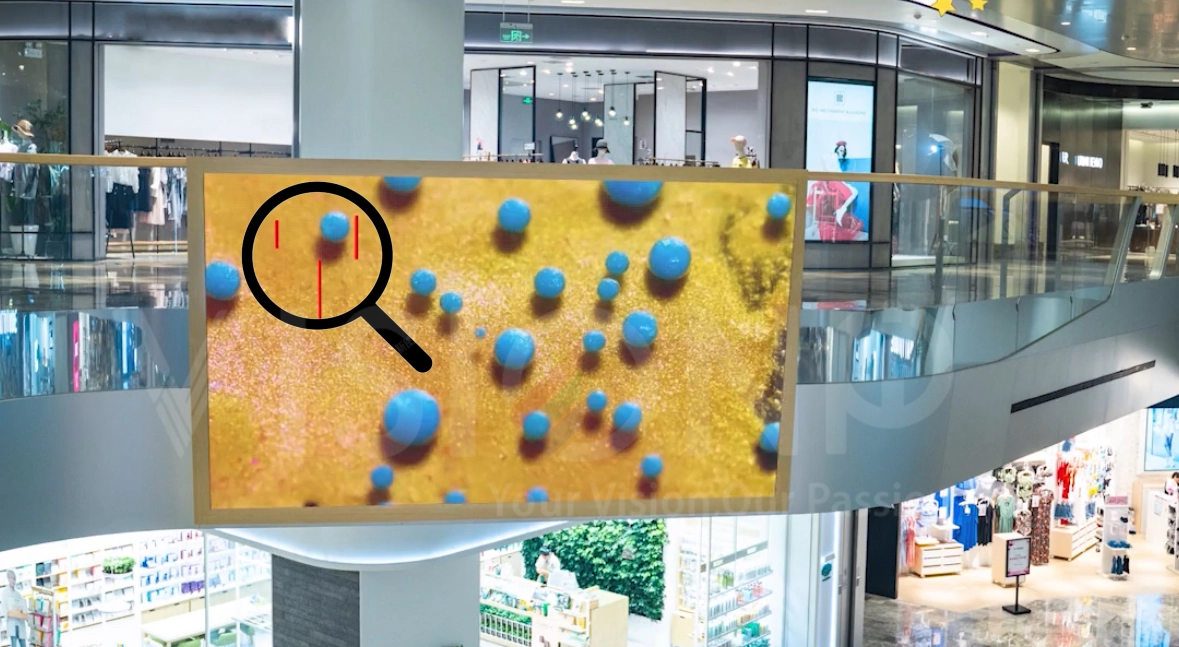
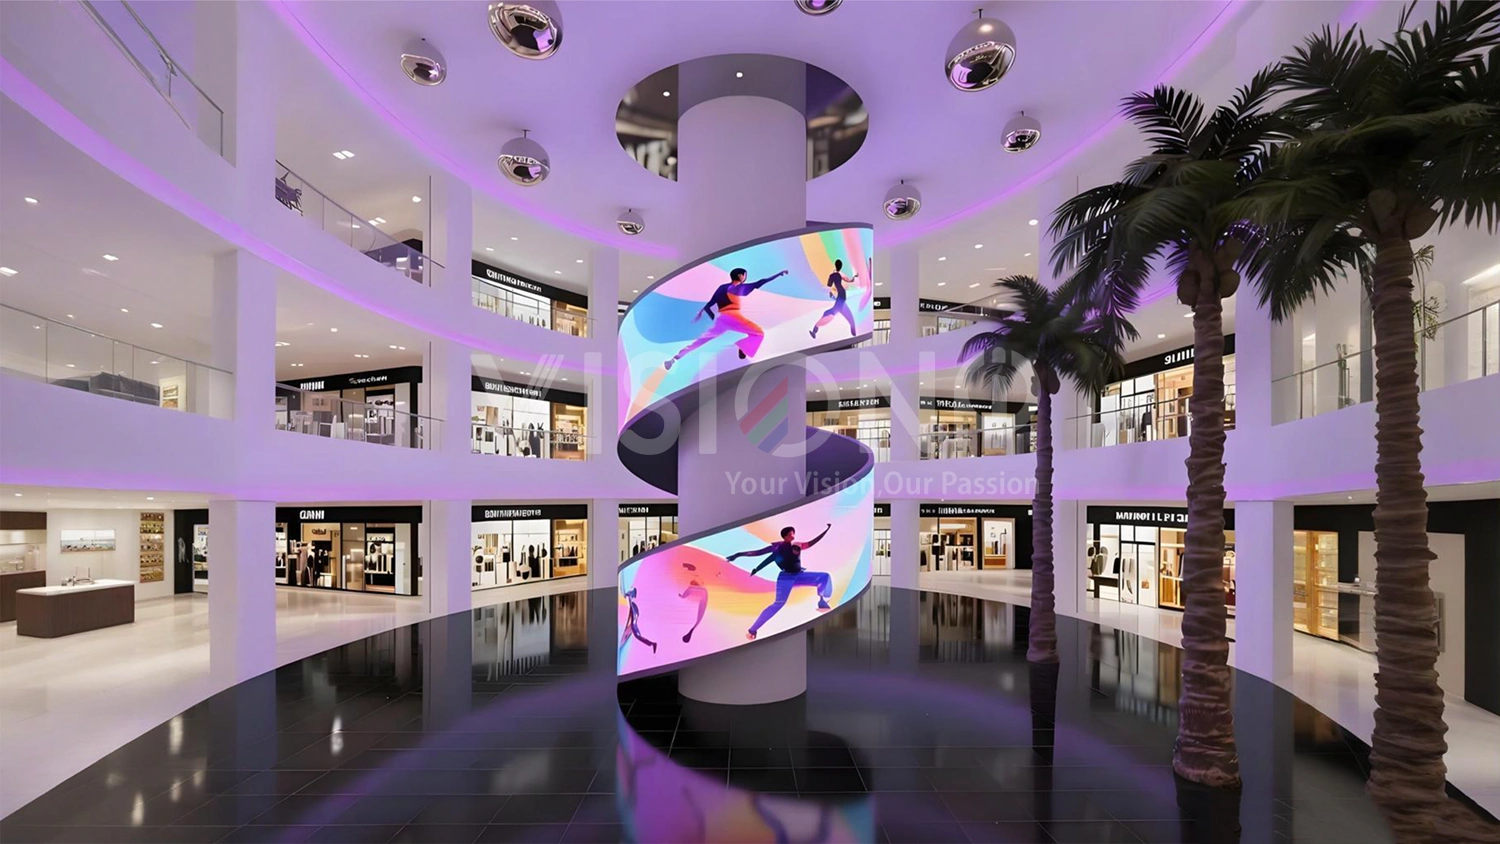
mobius led display in shopping mall

Public Spaces & Art Installations 

Where Infrastructure Becomes Art

  • Convert sterile places into cultural venues:
  • Sculpted presence uplifts Up your urban aesthetic in the daylight
  • Transforms into a dynamically programmed mural of light art in the evenings
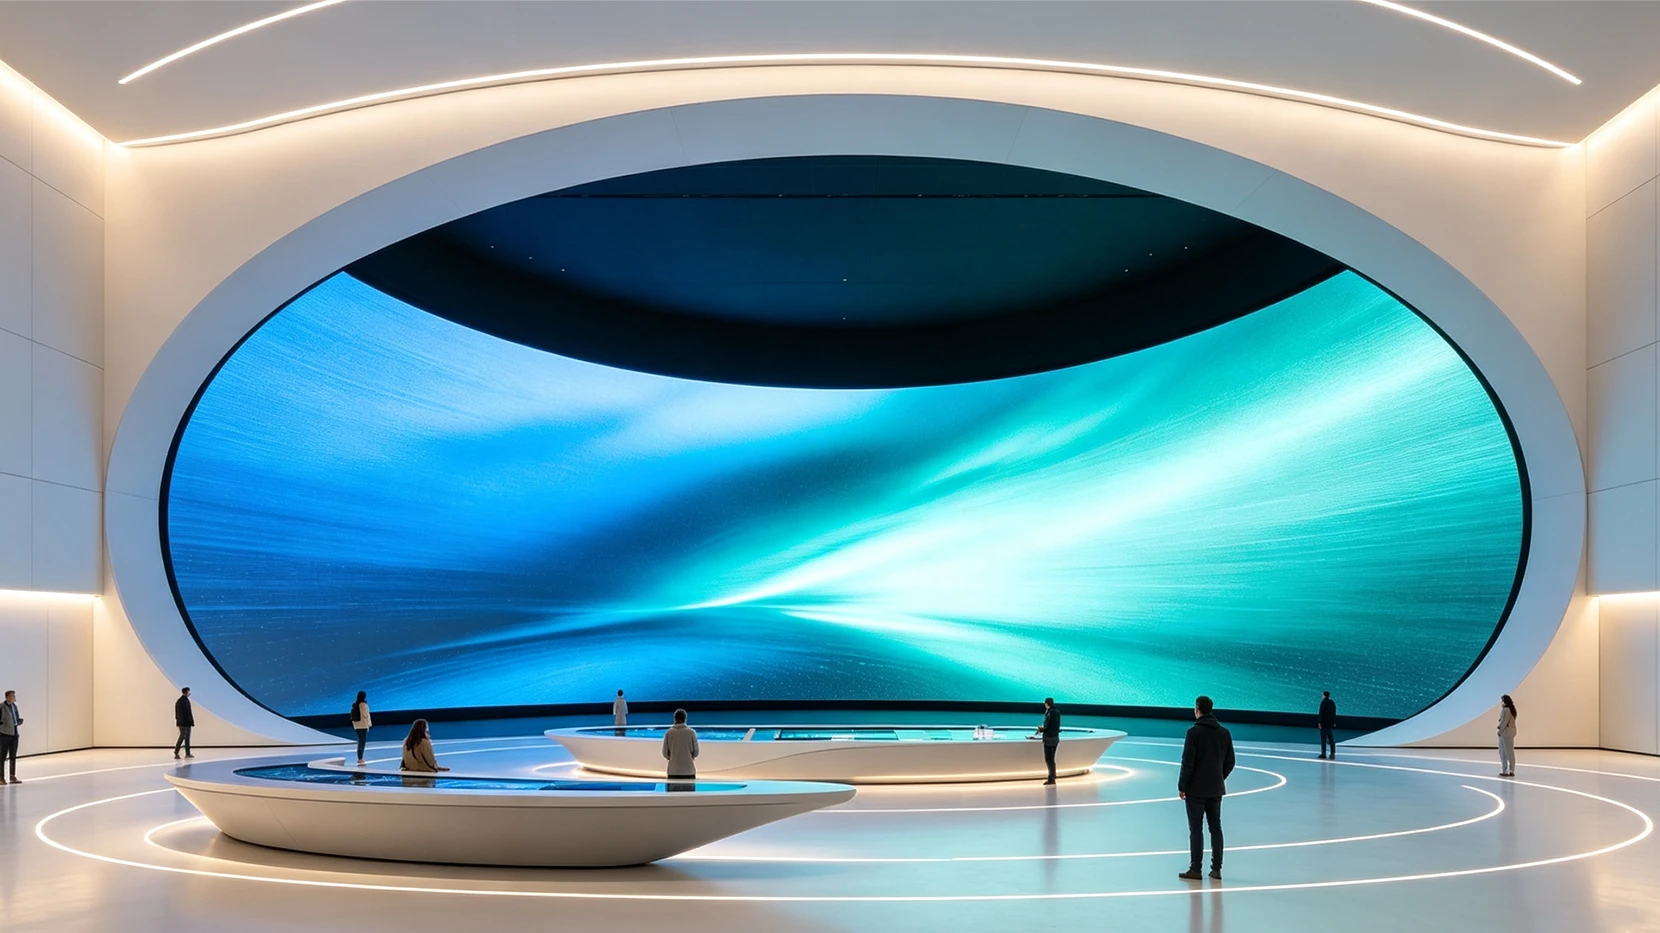
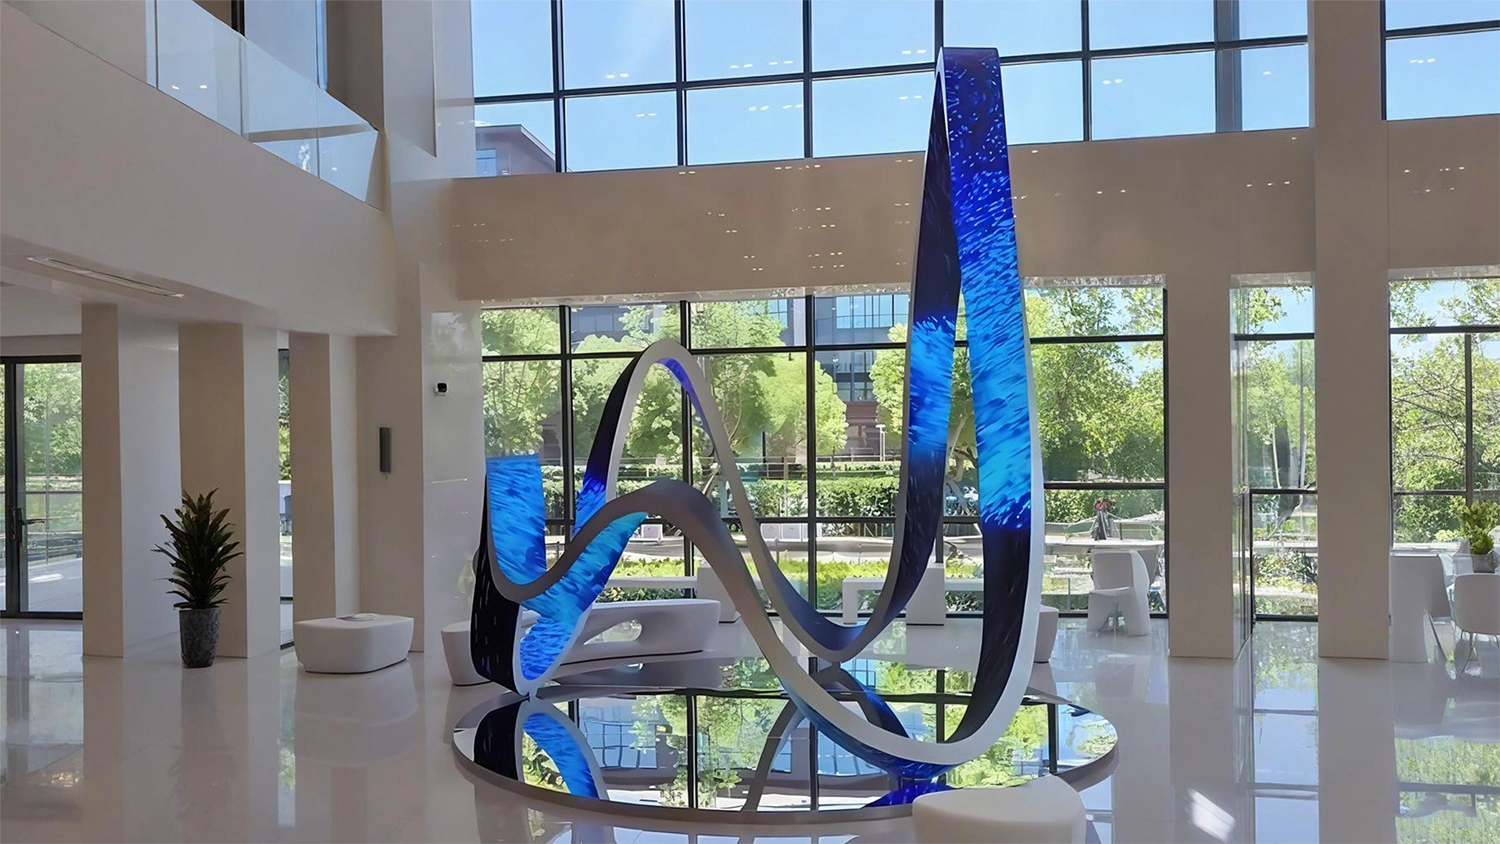
mobius ring led screen in lobby hotel and public places

Events & Exhibitions

The scene shot of Mobius ring LED display in the stage show and technology exhibition is really awesome! In a theater performance it can serve as a backdrop or prop that offers the actors a chilled performance space.

The view on the screen can change along with the pounding rhythm of music and the unfolding story to make the audience feel they are in a world filled with fantasy and romance.

Ready to Redefine Reality?

Whether you’re
• Designing a stage that immerses the audience completely
• Turning storefronts into unforgettable brand worlds
• Bringing public spaces to life with motion and light

The Möbius Ring goes beyond screens—transforming them into powerful experience engines.

mobius ring led screen in lobby hotel and public places
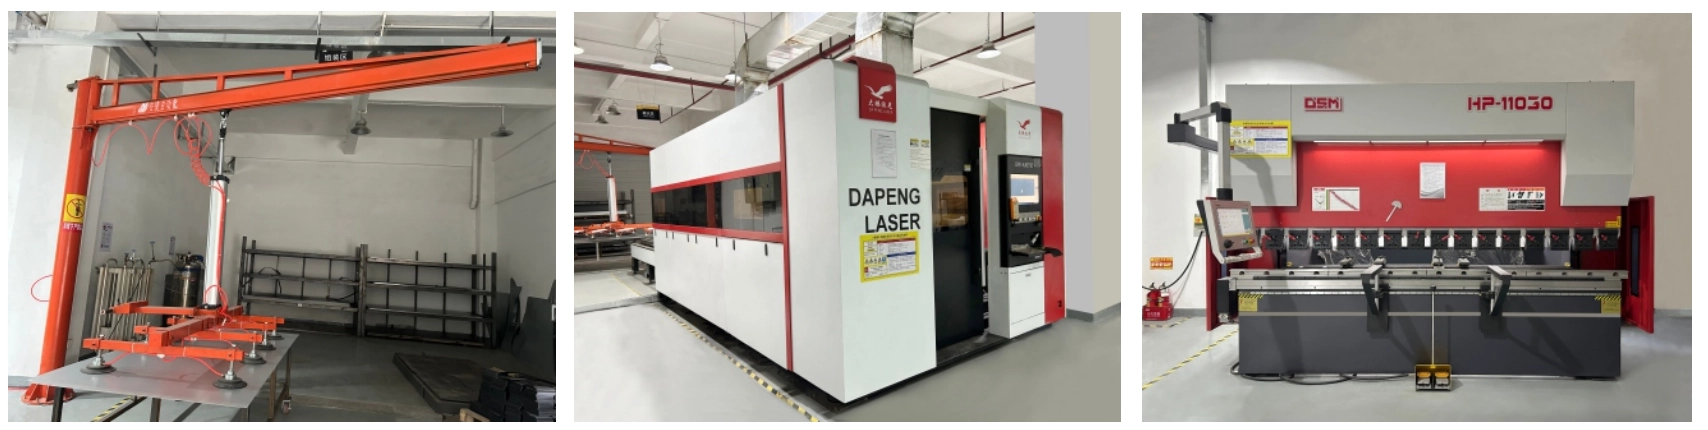
infinite loop led display produciton factory
mobius ring led screen in lobby hotel and public places

How to Set Up DNA Rotating LED Display

How to Set Up DNA Rotating LED Display | Full Installation Tutorial

How to install indoor led wall

1. Preparations

1.1. Unpacking

Warning: To prevent damage to the LED panel, wear anti-static gloves before installing/touching the display. After unpacking, do not place the display vertically on the floor, an accident such as a fall may be caused.

DNA SPINING LED DISPLAY Signal Connection Topology Diagram

LED Module: 250×250mm. One receiving card per layer (both sides). Total 6 LED modules for Side A & B.

DNA Rotating LED Display Motor Controller Connection Diagram

DNA ROTATING LED DISPLAY MOTOR CONTROLLER CONNECTION DIAGRRAM

IP Controllers: Preconfigured

Motor Controller Port Wiring Guide
  1. Port Setup
    • 8 preconfigured ports (1–8), factory-assigned to devices No. 1–8.
  2. Wiring Rules
    • Connect each port only to its matching device (e.g., Port 1 → Device 1).
    • No cross-connections to avoid signal issues or equipment damage.
Servo Motor Controller Default IP & PC Setup

Servo Motor Controller Default IP & PC Setup

Default IP Subnet for Servo Motor Controller
  • Controller Default IP Subnet: 192.168.1.xxx

    (Example: 192.168.1.253 is a typical device IP address)

Computer IP Configuration Requirements

Same Subnet Rule

The computer’s IP address must reside in the same subnet as the controller (i.e., 192.168.1.xxx).

  • Subnet Mask: Must be 255.255.255.0 (standard for Class C private networks)
IP Conflict Avoidance

The computer’s IP address cannot duplicate the controller’s IP address.

(Example: If the controller uses 192.168.1.253, the computer cannot use 192.168.1.253.)

Valid Computer IP Examples
    • 192.168.1.250
    • 192.168.1.100
    • Any unused address within 192.168.1.1 to 192.168.1.254 (excluding the controller’s IP)
led display and accessories visionpi led display
1.3. Tools

• LED Cabinets &LED Modules

• Power cable;LAN cable (RJ45, CAT-5)

• Connection plates

• LED Controller

led screen installation tools
• Test led modules

Press the CHECK button on the back of each cabinet to check if the product can operate normally.

test led display

2. Structure Installation

Precautions when handling the cabinets:

• Do not drop or apply shock/vibration to the product. Strong impacts may damage the component inside.

• Only a qualified service technician should perform the installation.

• Only use approved cabinets. • Be careful not to damage the corners of the cabinet.

• Install the display in a well-ventilated area.

• Always wear anti-static gloves when touching the display.

• Provide air conditioning around the LED display to allow heat dissipation away from the display.

• To maintain proper ventilation, keep clear space from the mounted displays to the wall. Installing the product in poorly ventilated spaces may damage the LED.

led display installation standing structure

Wall Mount Kits

A wall mount kit is made of aluminum profile 40x40mm (in some regions sold separately or available from third party vendors) allows you to mount the LED display on the wall. For detailed information on installing the wall mount, see the instructions provided with the wall mount. Wall mounting can only be performed from the front side of cabinets.

wall mounted structure led wall visionpi
1. Fixed the aluminum profile on the wall with anchors. Insert cage nuts into the slot of the aluminum pipe

2. Insert the connection plate on the structure, and use the Allen screw bolt to connect the cage nuts.

led wall wall mouted structure
3 connect cabinets with structure by connection plate with Allen; connect cabinets together by faster lockers

4. Install led modules (follow the arrow direction of the modules)

led screen installation steps

3. Cabinet installation

Step 1. Use a gradienter to adjust the flatness and verticality and then secure the cabinet to the connectors on the rack frames. Use connection plates to fix the screen. Start your installation from the bottom row. Install the connecting plates on the bracket (Fig 1). Rotate the hex key clockwise until the screw bolts are inserted, and fasten the fast locker on between two cabinets (left to right, up to down)(Fig2.) ※Do not fix the screws between the connectors and cabinets too tight for future adjustment.

led screen cabinet installaiton
Step 2. Install the connecting plates on the structure. Rotate the hex key clockwise until the screw bolts are inserted. Do not over-tighten the screw bolts yet as you may need to adjust the connecting plates again. Ensure that the seam and flatness between cabinets conform to the standard after each cabinet is installed. Otherwise, make some adjustments, lockout LED lamp boards after they are adjusted horizontally and vertically because the boards will probably be moved during the installation of other lamp boards. Repeat the above steps to install the other cabinets in the lowest row.
connect two led screen cabinet
Step 3. fasten the lockers and check the unevenness of the nearby cabinets, and adjust them by the hex, loosen, or tighten to bring the cabinets to the same level. can use fingers to feel the “cross” of four nearby cabinets to see if the cabinet is well aligned. Ensure that all the cabinets are flat and vertical and the seams between the cabinets are even. Then tighten the screws to complete the installation.
cabinets connection

4. Power and Signal Wiring

The data wiring process must follow a zigzag order between the cabinets, always starting from the one located at the bottom left. The modules are then connected to the data in and data out ports. Thanks to our system software we can verify the correct wiring of the entire screen with simple tests. Finally follows the color calibration and brightness setting.

 5. LED Modules installation.

After check all the cabinets are well installed, attach the led modules to the cabinet, please check the arrow on the back of the PCB and follow the direction, and connect the flat cable and power cable from the hub to each of the modules. tips: to check the status of each led module on the cabinet, you can use one spare cabinet to test the condition of the led modules by pressing the test button on the hub.

led modules installaiton step 4
To install the module to the hub board, the flat cable that connects between them has to be properly wired. One end of the flat cable is already attached to the hub board, use the other end to connect it to the module. Before connection, make sure that the arrow sign on the module ispointing up. Connect the flat cable to the connector on the module until it clicks into place. 
modules installaiton indoor led screen

Modular Cabinet 320x480mm Installation

320x480mm led cabinet installation layout

Long Louver Outdoor LED Display

LED modules Louver and masks

In most LED modules, the Louver (also called masks) is the final installed component. This louver structure, fixed after the basic assembly of the module, is critical for measuring the off-state brightness performance.

Less direct sunlight reflection correlates with higher overall contrast. Outdoor installations are exposed to sunlight for most of the day, necessitating rigorous louver design to ensure optimal display performance. The design process requires balancing contrast and viewing angles

LED display louver : improves performance and life.

  • Full Protection
  • The high led modules mask can protect LED lamp beads from dust, water, and other debris as a bodyguard of your display.
  • Anti-Glare Design
  • Special coatings greatly reduce on-screen reflections, making it easy to enjoy in bright outdoor conditions.
  • Weather Resistance
  • Constructed from waterproof and protective materials, the mask allows users to use their display in outdoor conditions ranging from heavy rain to bright sunshine.
led louver 5mm vs 3.5mm

Enhanced Visual Quality

 A matte surface scatters ambient light via diffuse reflection, resulting in a darker off-state and improved contrast uniformity across viewing angles. In contrast, a polished coating appears dimmer at the light incident angle, theoretically offering higher contrast, but causes severe glare at reflection angles, impairing side-angle viewing

Matte surfaces on louvers are typically achieved through coating processes. Most manufacturers apply anti-reflective, UV-resistant black paint to minimize light reflection

High Louver vs low Louver

long louver high mask vs low louver led display comparision
long louver led display higher contrast ratio outdoor led display
outdoor long louver led display high contrast

Rock Series Features:

  • Die-cast aluminum cabinet and full aluminum-shell LED modules for superior heat dissipation.

  • Ultra-high brightness up to 10,000 nits, ensuring excellent visibility even under direct sunlight.

  • Front and rear service design for easy maintenance and flexible installation.

  • Extended louver design enhances contrast and image clarity.

  • Breather valve system improves stability and ensures long-term reliable operation.

long louver led dispay high contrast 6.15mm
long louver front service outdoor led display
outdoor high contrast led display

Subscribe To Our Newsletter

Join our mailing list to receive the latest news and updates from our team.

You have Successfully Subscribed!

Pin It on Pinterest